
Delivering a presentation is one thing. Keeping up with the audience is another.
The real question is: are people following along? You need a way to check for understanding in the moment, not after the session is done.
Learning to add live poll to PowerPoint can be especially helpful here. Too often, polling apps force you to step outside the very platform you are presenting in. This back-and-forth feels clunky and makes it hard to keep your audience engaged.
In this blog, we will show you how to fix that and keep everything running inside PowerPoint.
Step 1: Plug ClassPoint into PowerPoint
Before you start, make sure the ClassPoint add-in is installed on your PowerPoint. If you don’t have it installed yet, head over to the ClassPoint website to get started.

To start your PowerPoint poll prep, make sure that you have a ready question or prompt slide to key in questions to go along with your poll. This ensures your audience is guided in participating along with your PowerPoint poll during live presentations.
But that’s not always the case! Some polls are on-the-spot by nature, so running a PowerPoint poll as a surprise check-in (even without a question or prompt slide) can be just as effective.
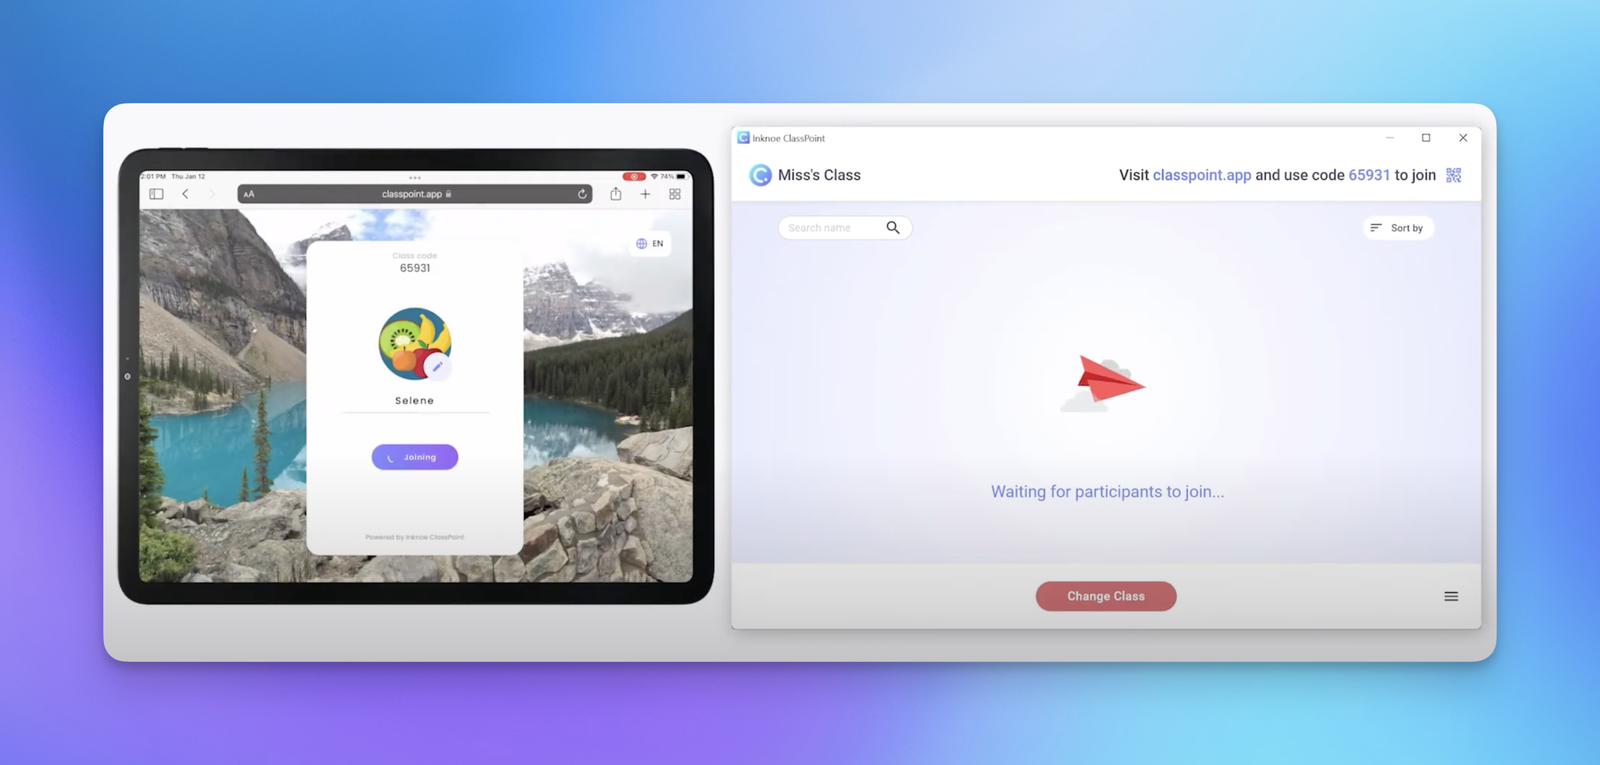
Step 2: Enter Slide Show and Invite Participants
To start your PowerPoint poll session with ClassPoint, ensure you are in slide show mode.
Once in slide show, a dedicated Class Code will appear at the top-right corner of your presentation screen which your participants can use to join your live ClassPoint session via classpoint.app.
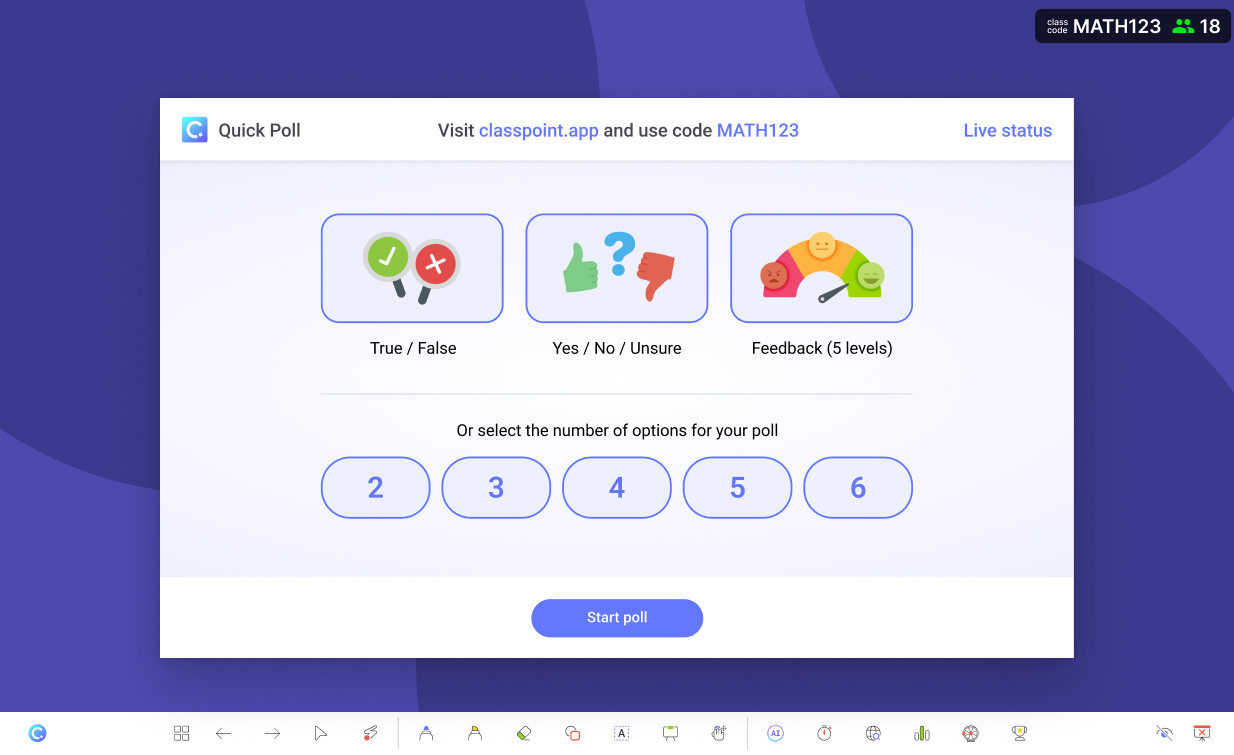
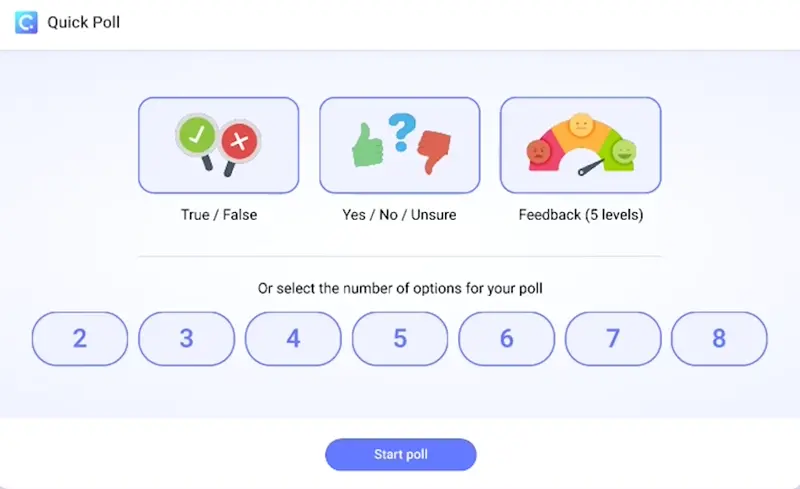
Step 3: Set Up Your PowerPoint Poll
Now it’s time to set up your live poll in PowerPoint. From the appearing slide show toolbar that comes with ClassPoint, click the Quick Poll icon.
Then, choose the poll type that best fits your lesson:
- Yes/No/Unsure – best for knowing the audience’s level of confidence in understanding the lesson
- True/False – best for testing the audience’s knowledge of the lesson
- Feedback Scale (5 levels) – best for getting the audience’s quick consensus of the a topic, whether they agree on a statement or otherwise
- Custom (up to 6 options) – best for having the audience answer the options you have in mind
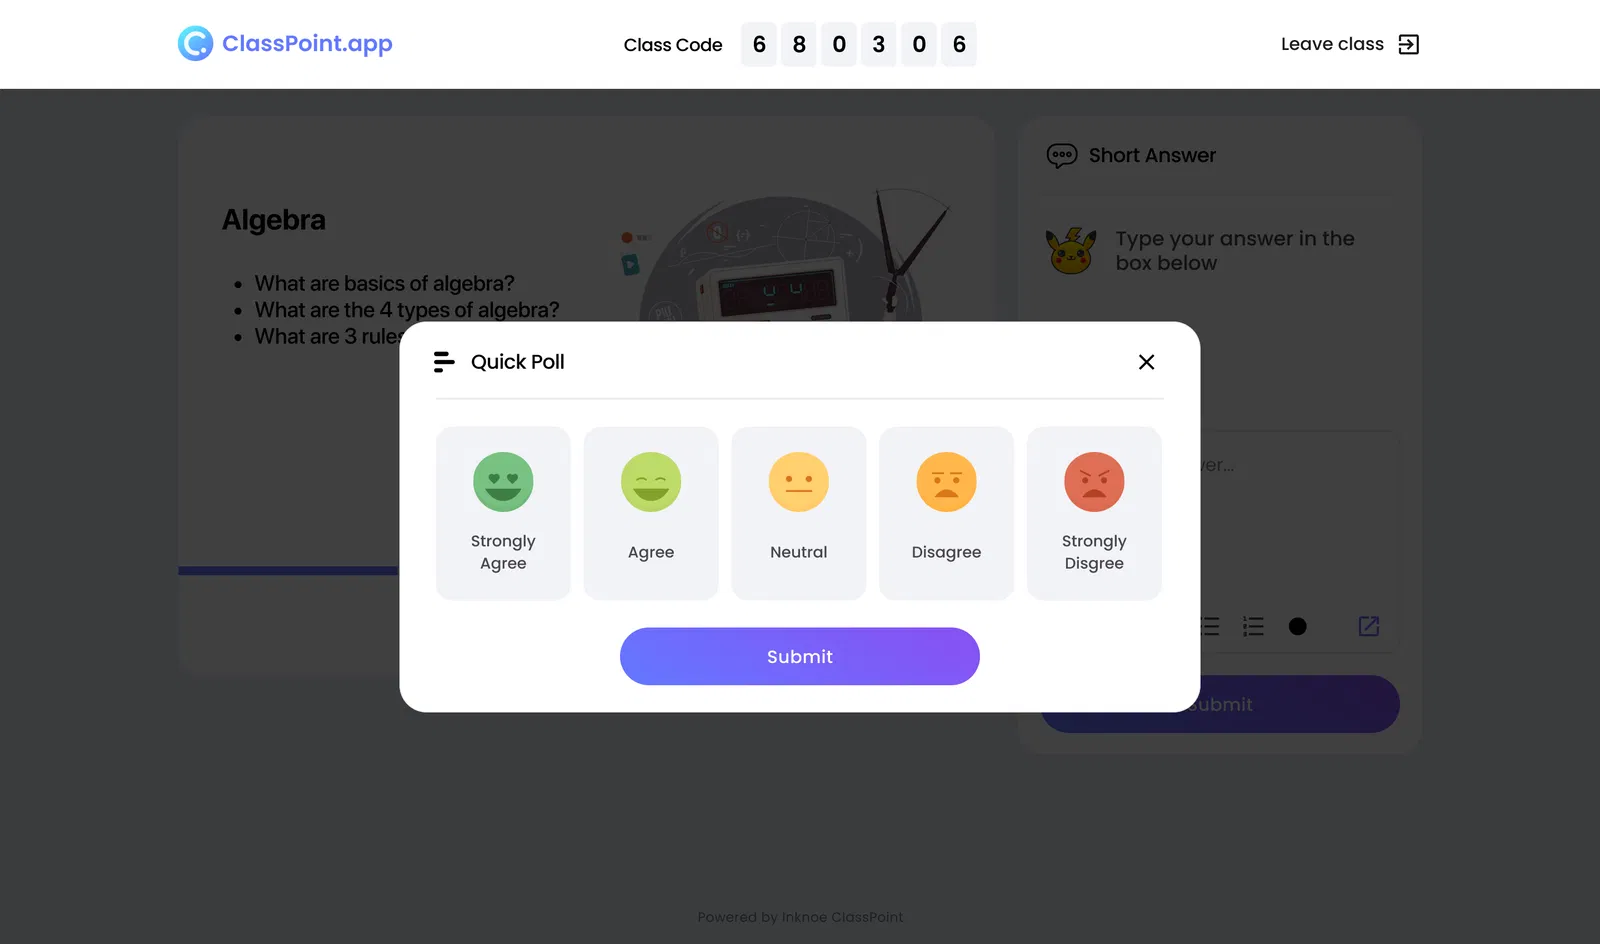
Step 4: Launch the Poll
Once your poll is ready, click Start Poll to make it live.
Participants who joined your live session will then be able to receive the poll right away on their devices, in which they can send responses from.
On your side, as the presenter, watch responses come in live on your slide.
Step 5: Discuss the Results
The real power of polls comes from discussion.
ClassPoint allows you to insert the poll results as slide. When you click ‘Insert as slide’, poll results become part of your PowerPoint deck to open up further discussion among your audience.
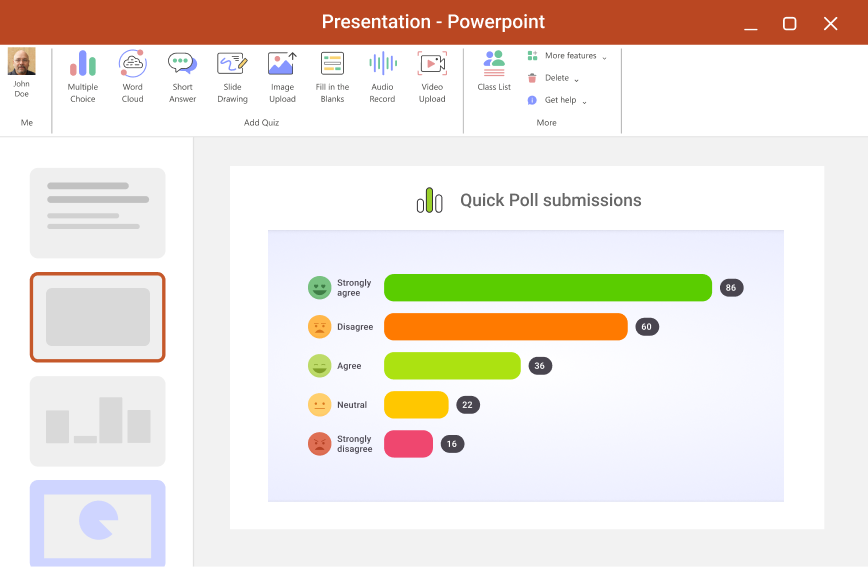
With the poll results being part of your slides, students can see how their answers compare to their peers. You can further the discussion by encouraging students to explain their reasoning or debate differences in answers.
Use the results to identify areas that may need reteaching or extra practice.
Extra Tips for Maximum Engagement
To get the most out of your PowerPoint poll, a few simple strategies can even further engagement. These extra tips help you turn responses into meaningful discussions, and sprinkle some more interactivity in between:
- Follow up with interactive quizzes. Use ClassPoint’s Short Answer, Word Cloud, or other quizzes to expand on insights from your poll.
- Pair polling with gamification. Turn results into mini-competitions or reward participation to keep energy high and engagement consistent.
- Bring in quick annotations. After showing poll results, use ClassPoint’s annotation tools or whiteboard to highlight key points or sketch out answers together. This makes the data more visual and easier to digest.
- Connect polls with Name Picker. Call on a random student after a PowerPoint poll to explain their choice. It adds a personal touch and keeps everyone on their toes in a positive way.
- Use poll data to guide teaching: Highlight patterns or misconceptions and adapt your instruction to address areas where students struggle.
These tips show how ClassPoint’s tools can work together. A simple poll can spark attention, and when paired with quizzes or gamification, it keeps students active and makes your teaching flow smoother.
FAQs
Why should I add live poll to PowerPoint in my lessons?
Adding a live poll keeps students engaged, allows instant feedback, and helps you gauge understanding, all without leaving your PowerPoint slides.
How can I use poll results to improve teaching?
Show the results as a slide, highlight trends or misconceptions, and use it to guide discussion or reteach concepts where needed.
Can I add several live polls to the same PowerPoint?
Absolutely. Insert polls at key points in your lesson to keep students reflecting and interacting throughout the presentation.
Are live polls suitable for shy or quiet students?
Yes. Polls give every student a voice, even those who are hesitant to raise their hand, ensuring participation and engagement.
How can I make my live polls more interactive?
Encourage students to explain their reasoning, pair polls with gamification, or follow up quizzes such as with Short Answer or Word Cloud activities to expand learning.
