![Create and Use Breakout Channels in Teams for Teaching [Step-by-step]](https://cdn.classpoint.io/wp-content/uploads/blogThumbnail_TemsChannel.jpg?quality=75&format=webp)
Group discussions are a great way for students to interact with each other. When teaching virtually, through Zoom, Teams, or Google, these discussions can be done through Breakout channels. It is imperative to be able to do this effortlessly on any platform.
Unlike other video conferencing platforms, Microsoft Teams doesn’t have a built-in Breakout Room feature yet (Teams Breakout Rooms feature is rolling out now.). Fortunately, however, there is an easy, round-about way of creating and using Breakout Channels in Teams for your classes.
To create these Breakout Channels within Teams, we will have to create separate channels for each breakout group you want to use. Follow along and you’ll have your own Breakout Channels created and ready to use for your next class!
NOTE: Since this article has been published, Microsoft has released a new Breakout Rooms feature. This makes using Breakout rooms easy and simple. Follow along with our tutorial guide on the new feature here: How To Use The Brand New Breakout Rooms Feature In Microsoft Teams.
Create Breakout Channels

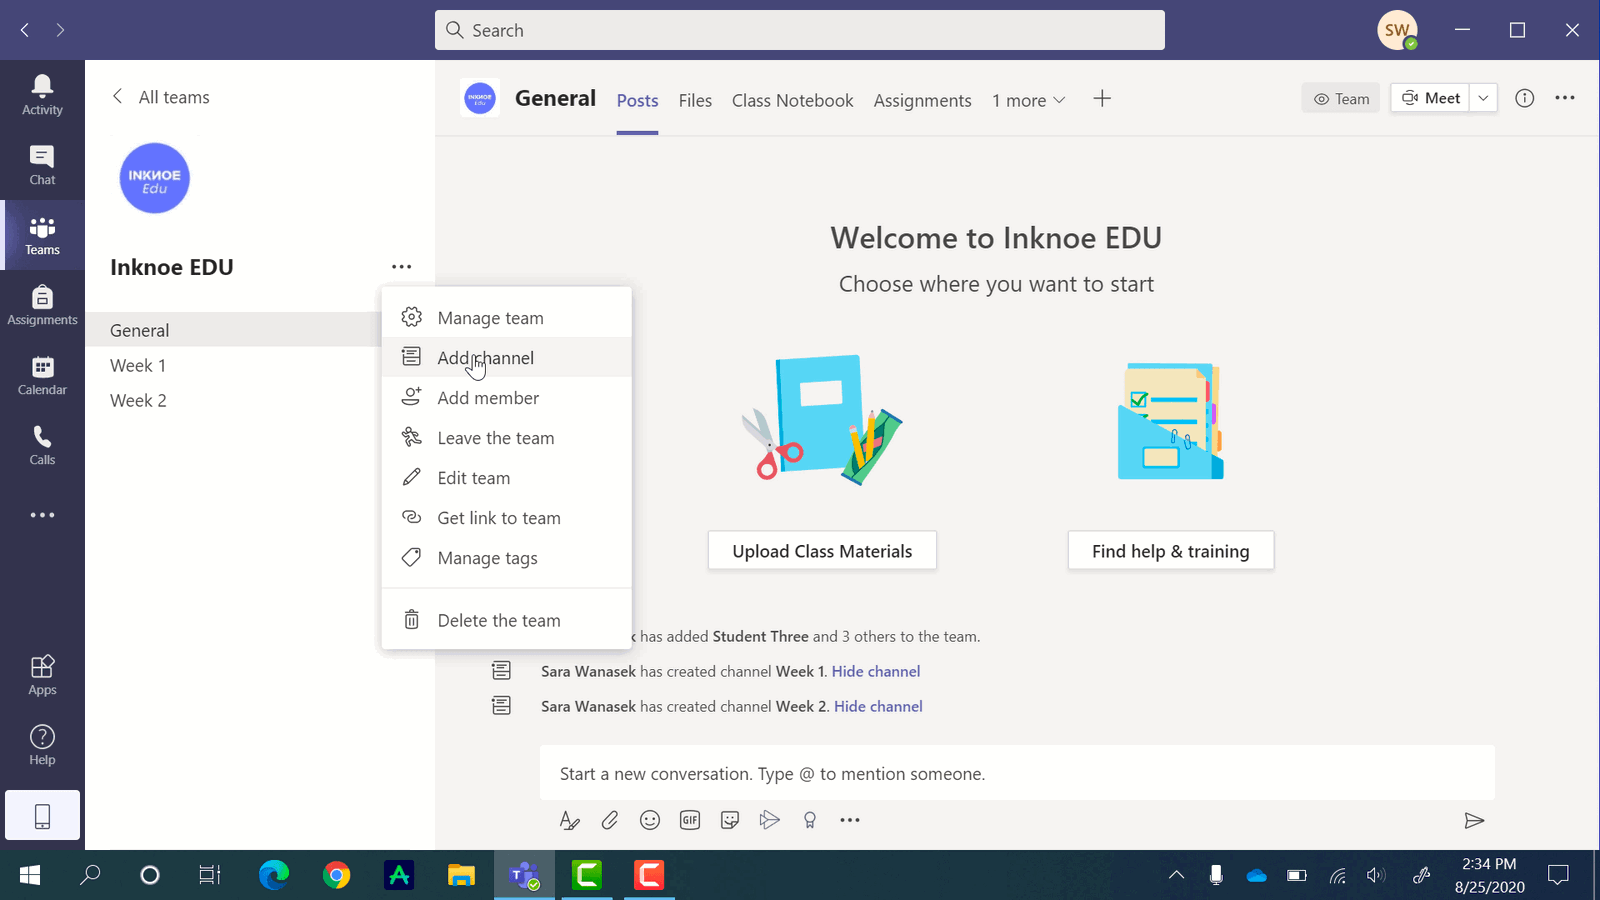
Let’s begin by creating a couple of Channels that will be used for the Breakout Sessions. In your Class Team, click the three dots on the side, and click Add Channel.
If you need help getting started with Microsoft Teams, check out this Tutorial Guide for Online Teaching.
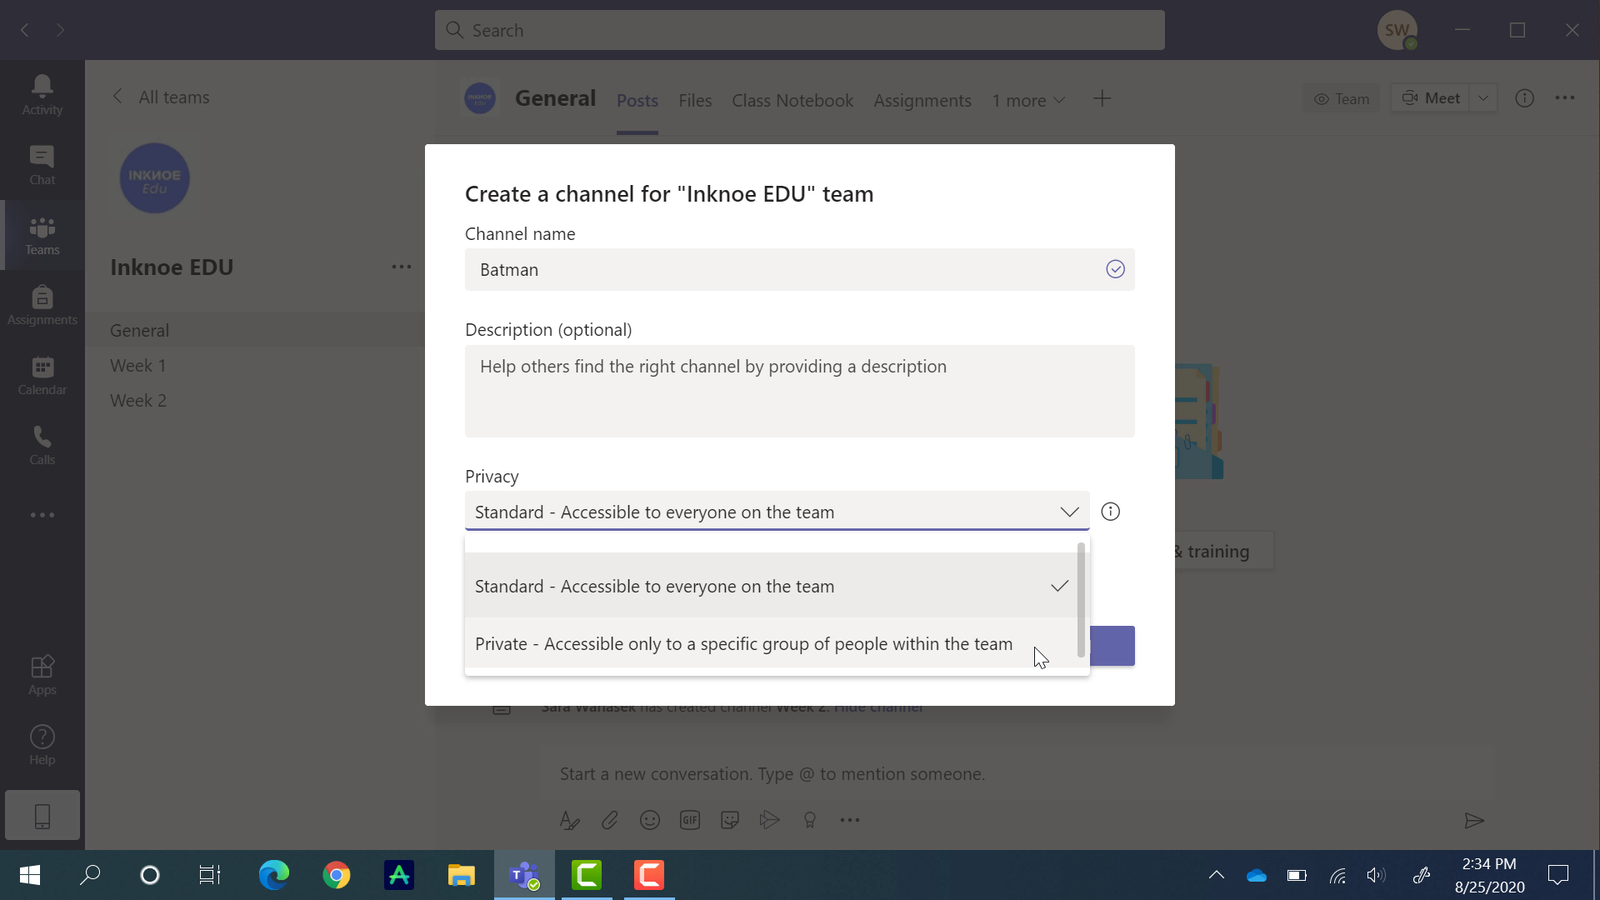
Name your channel so that you know it is a Breakout Channel. Something with a theme is helpful for students to remember which group they are a part of.
If you will have your students in the same groups for a period of time, I highly recommend, making these channels private. This way, only the students in the group will see the channel & it lessens the amount of confusion for them. Don’t worry, the members of each channel can be changed anytime, very easily.
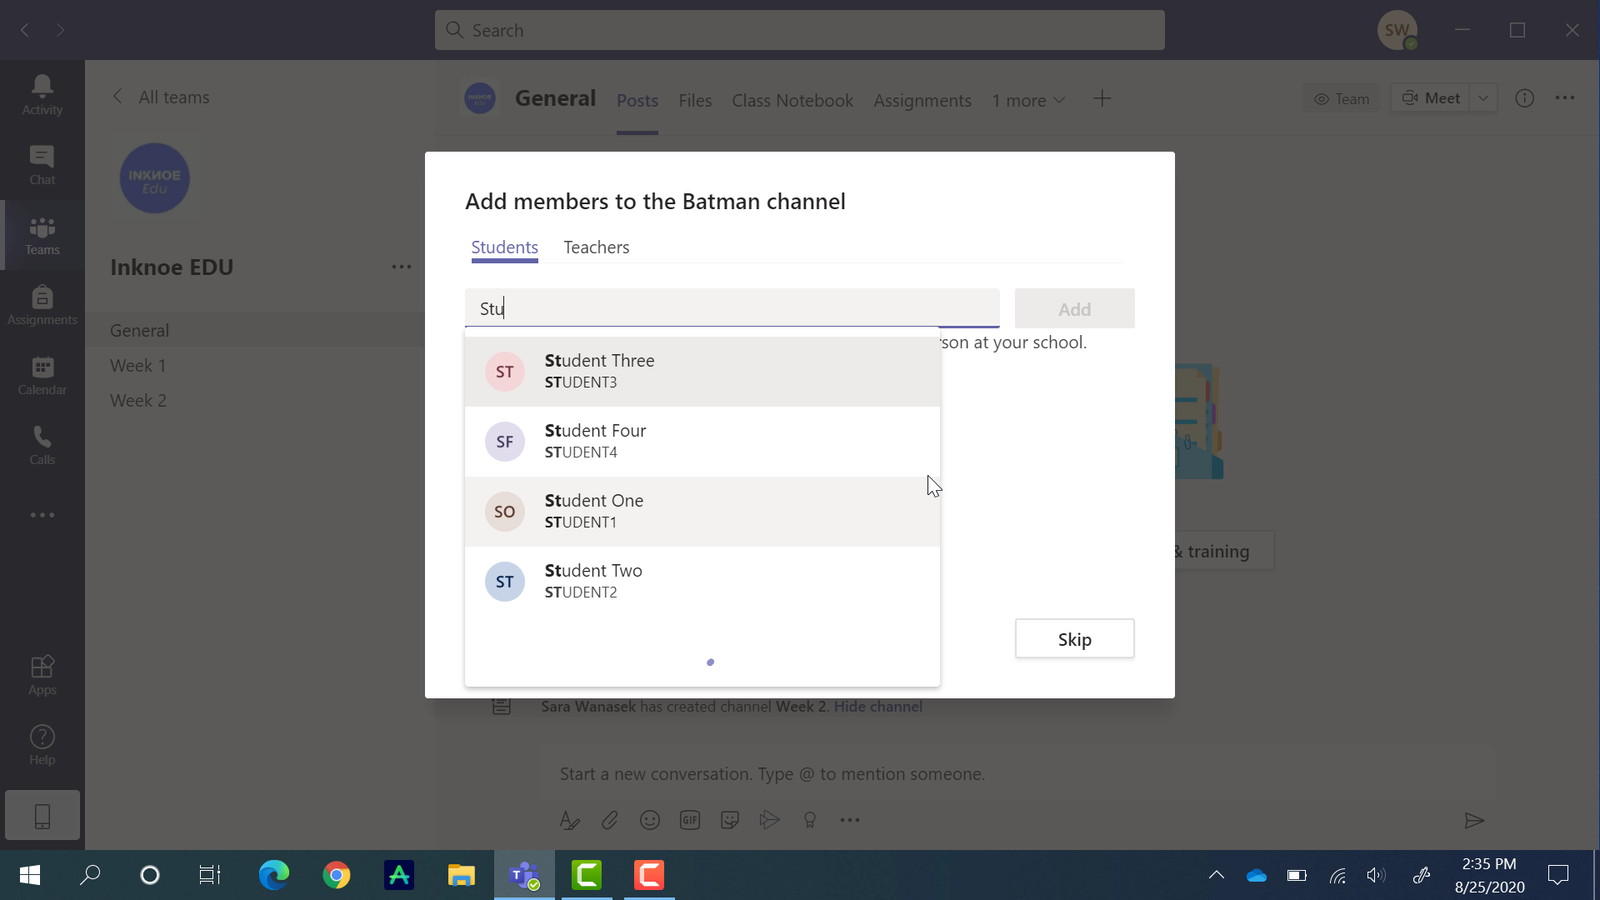
Add your first breakout channel when the name and privacy are set. The next step is to add students to the channel. Begin typing their name, and click on the students you would like to add when their name appears. You can also add another teacher to this channel by switching tabs at the top of this pop-up.
Add as many channels as you need in the same way.
Upload Files
In the Breakout Sessions, you may be asking students to answer questions, or jot down ideas. With Teams, students are able to work together over the video call on the same document. They can upload their own, or you can place a document in each group for them to work through.
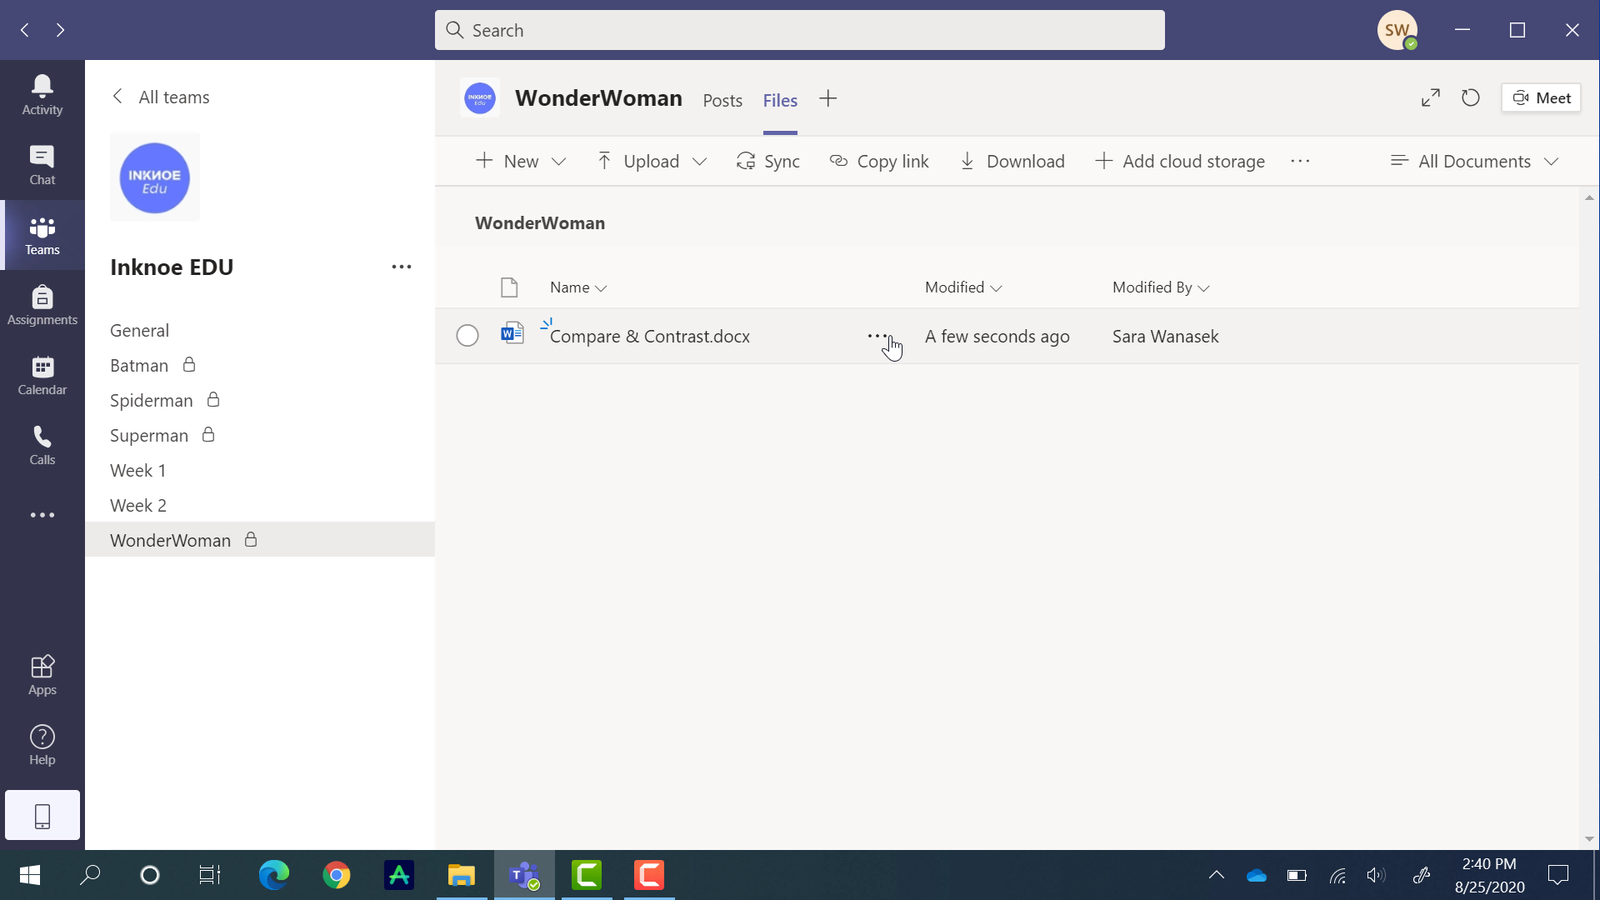
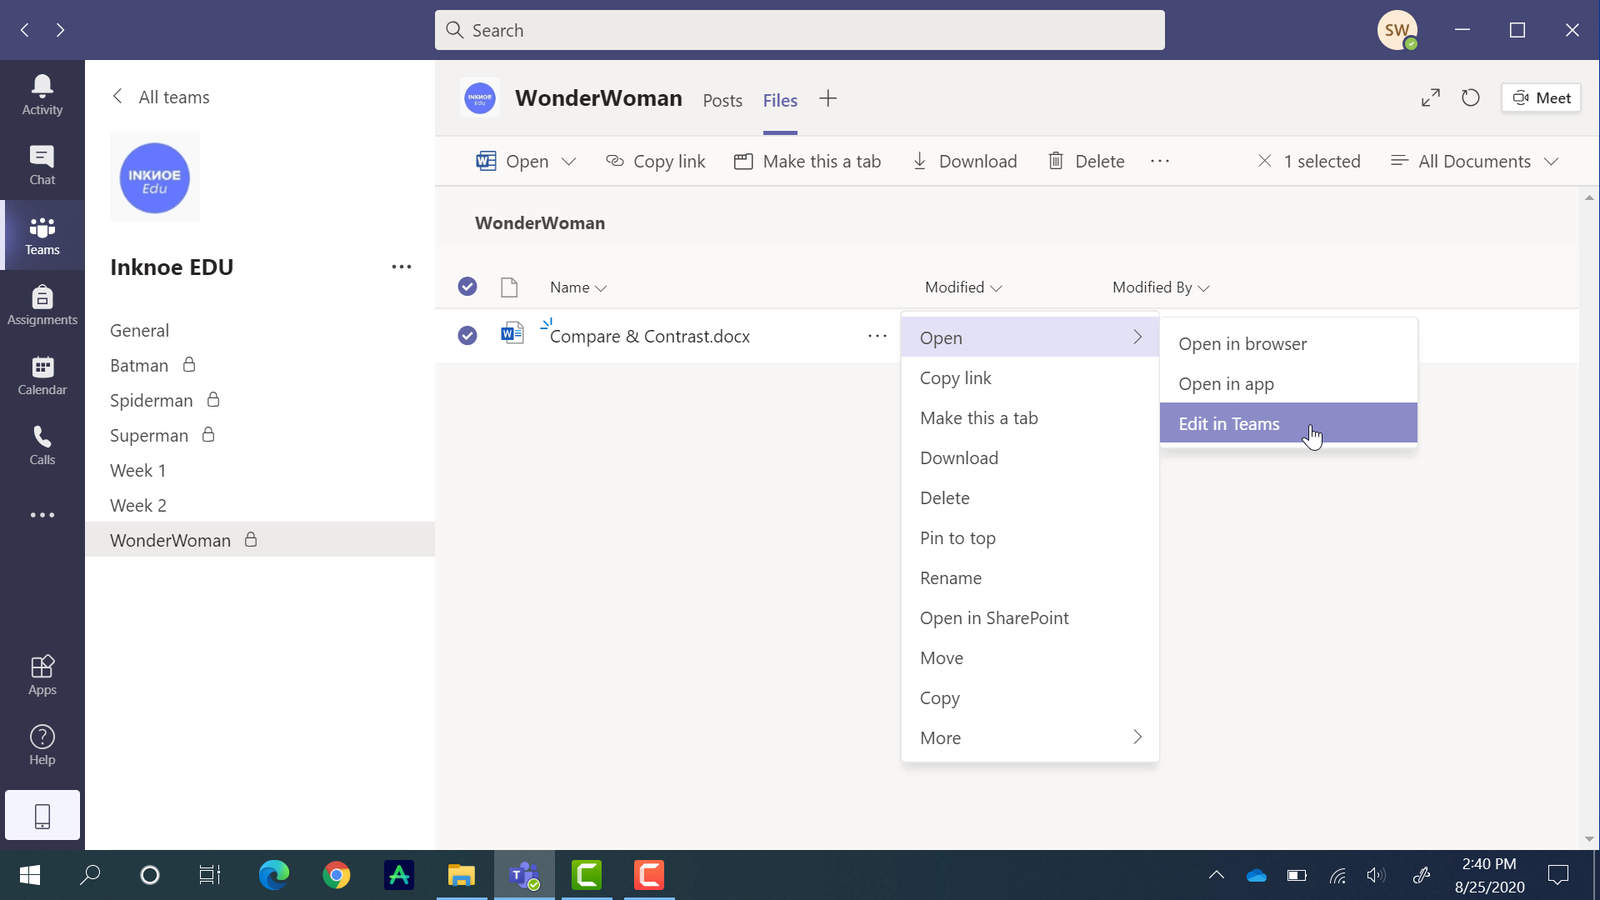
To do this, head to your first breakout channel. At the top, click the Files pivot. Here, you are able to create a new document or upload documents you have on your desktop. Once a document is uploaded, all members of that channel have access to it. Students can edit the document right in Teams during class.
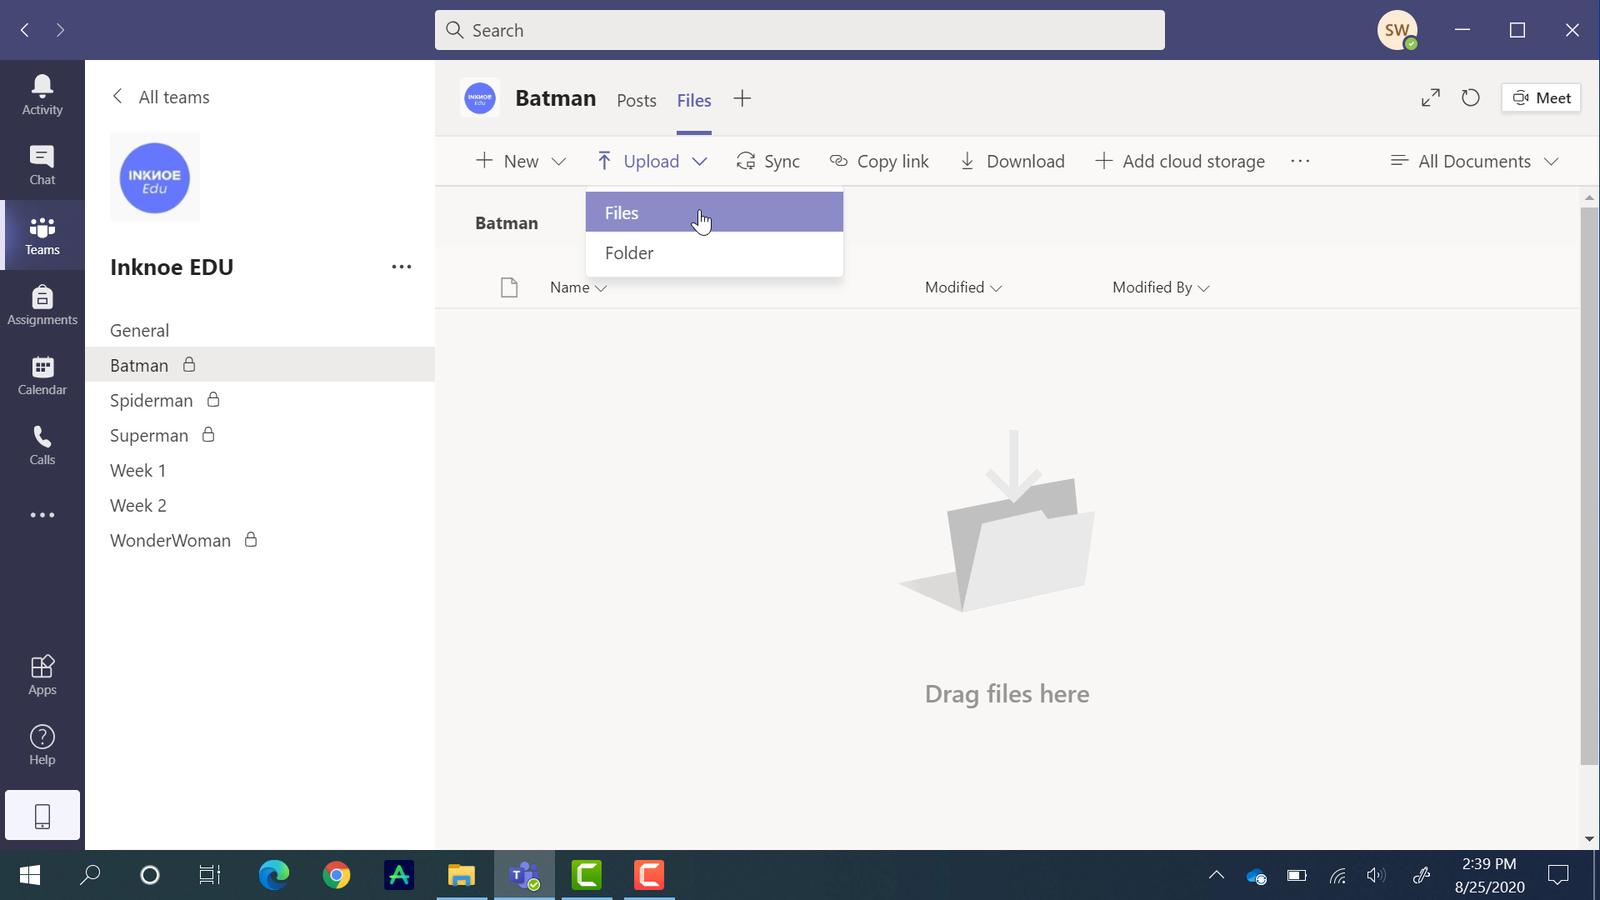
Don’t forget to upload the document in every Breakout Channel you have created!
Use the Breakout Channels

Now that everything is prepared, let’s test out how you will use the Breakout Channels during class.
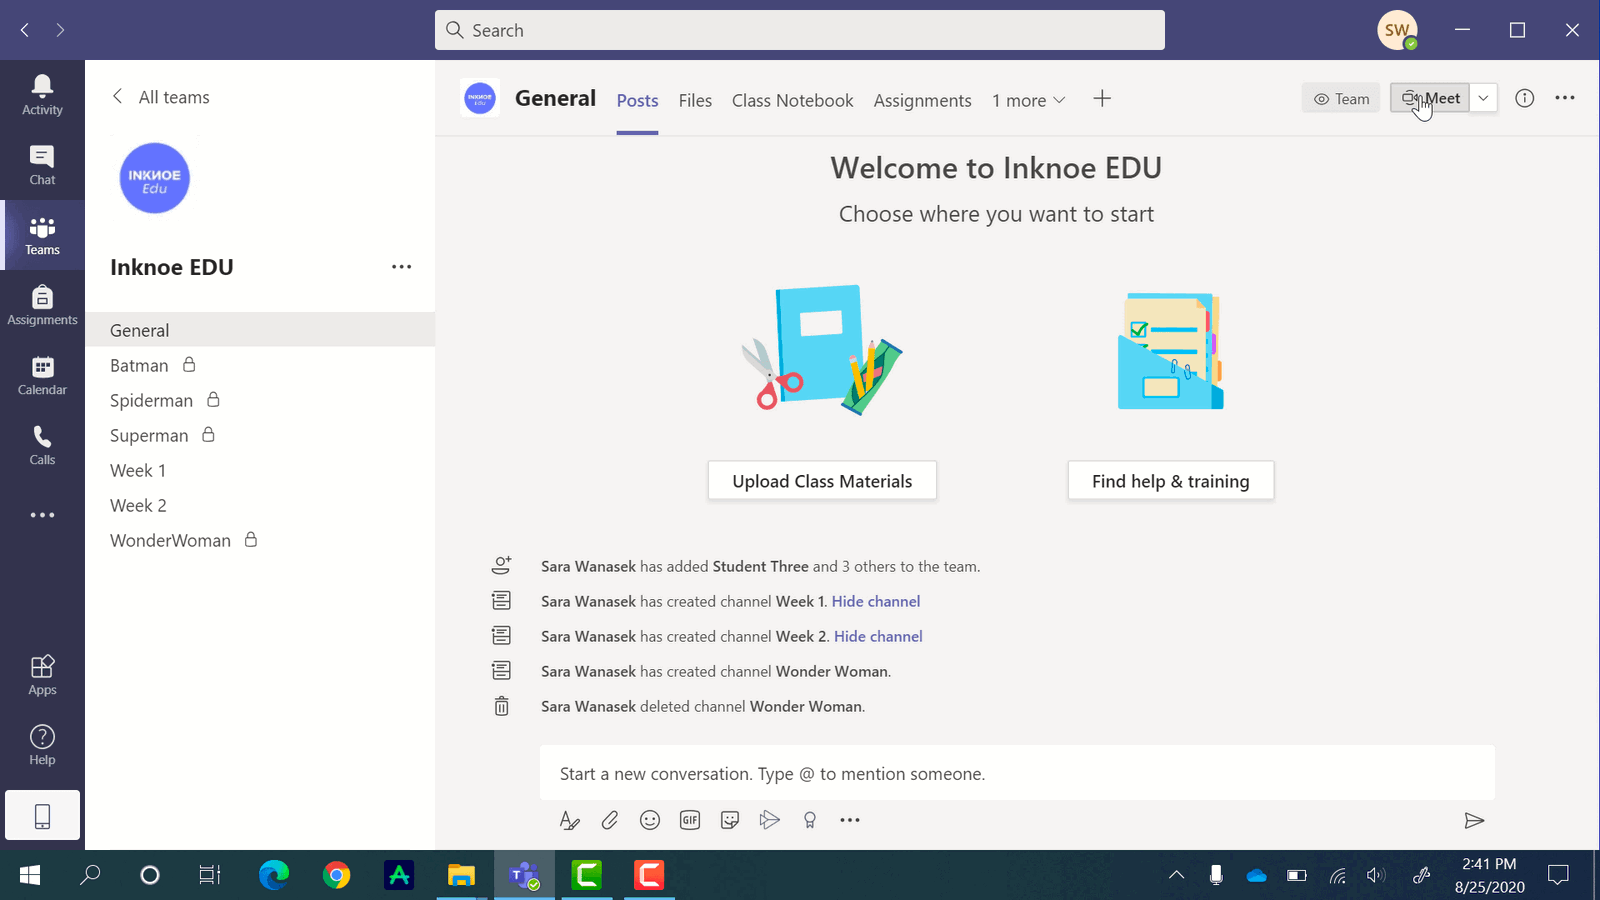
We will begin a video conferencing call in the General Channel, and in each Breakout Channel. To do this, go into the channels one-by-one, and click Meet in the top right.
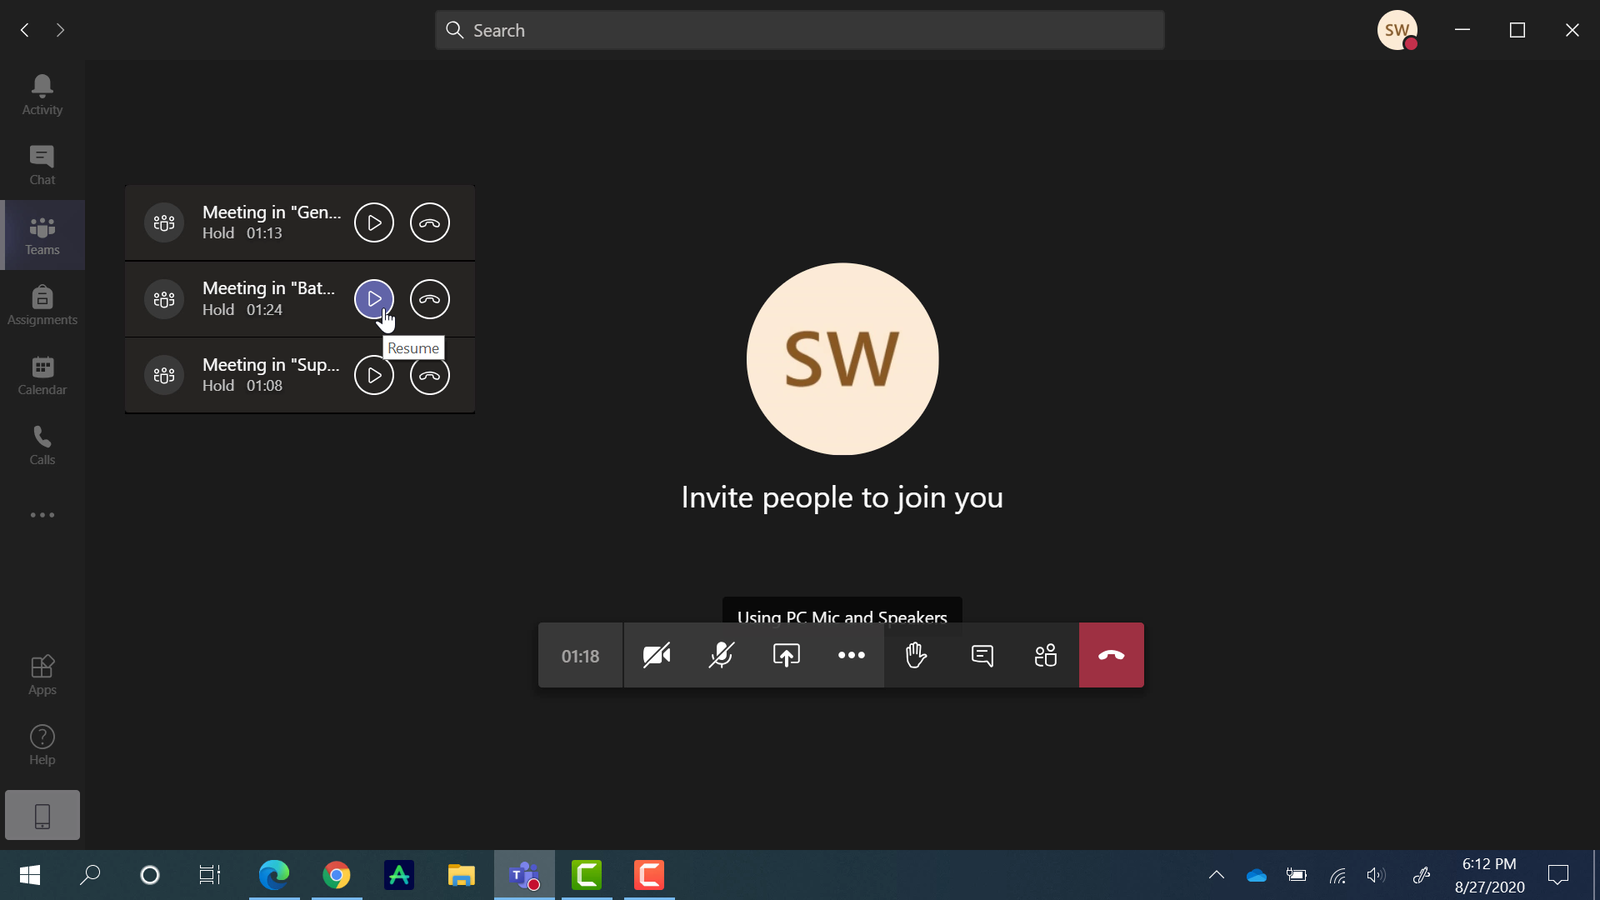
Take note: Teams only allows 4 video calls to be going at once. Therefore, if you have more than 3 breakout channels, you will need to assign a co-teacher to check on the others or end one channels meeting before you open another.
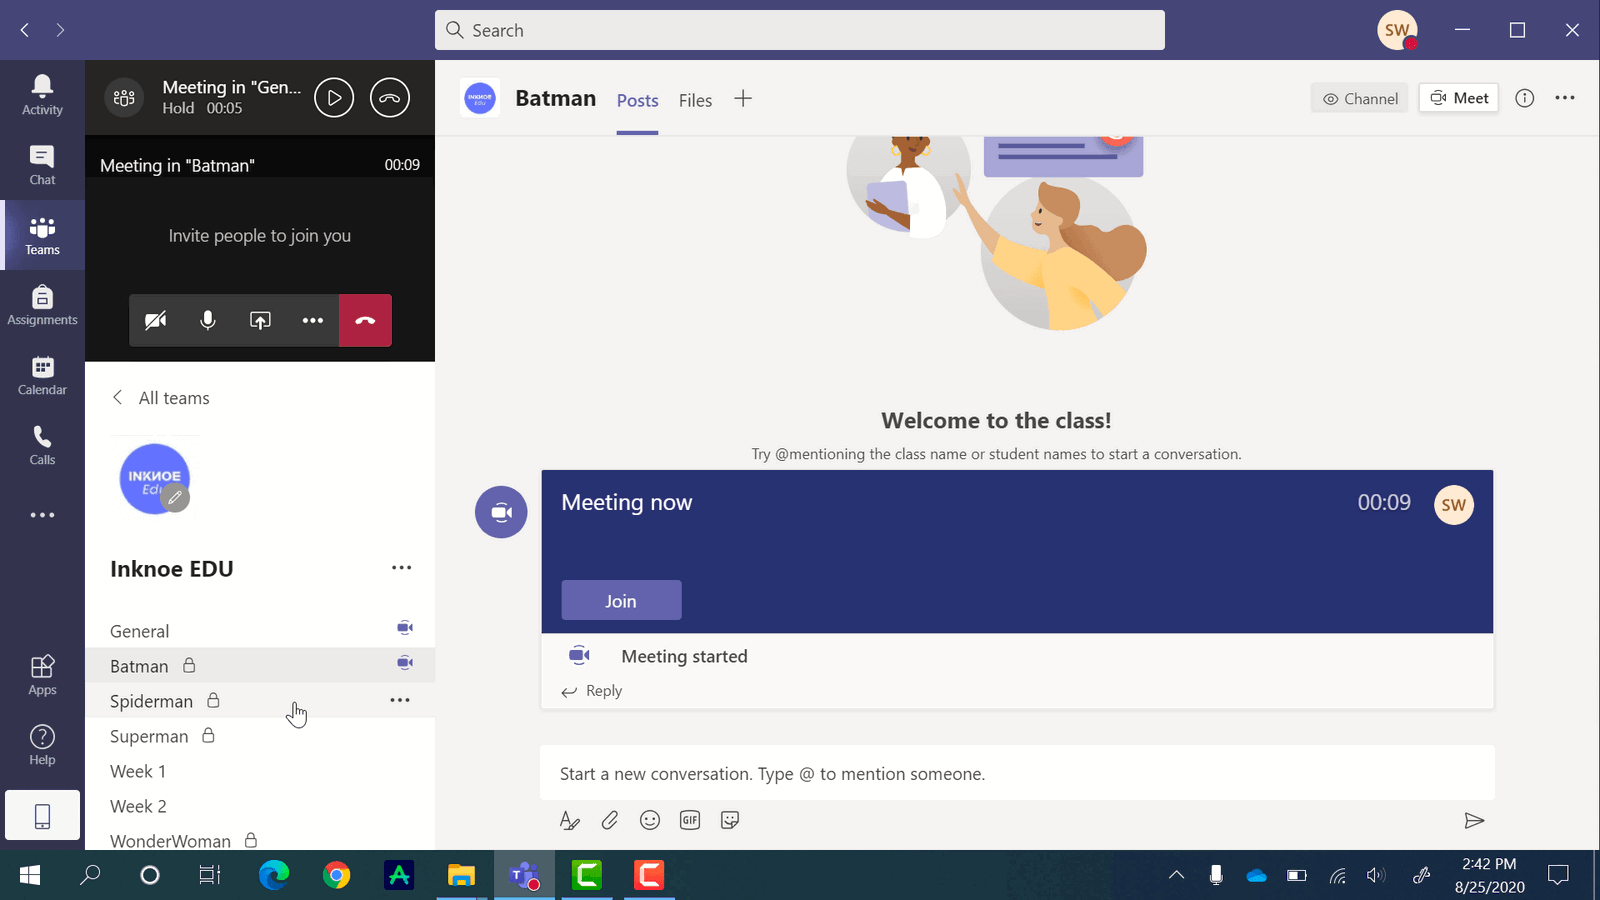
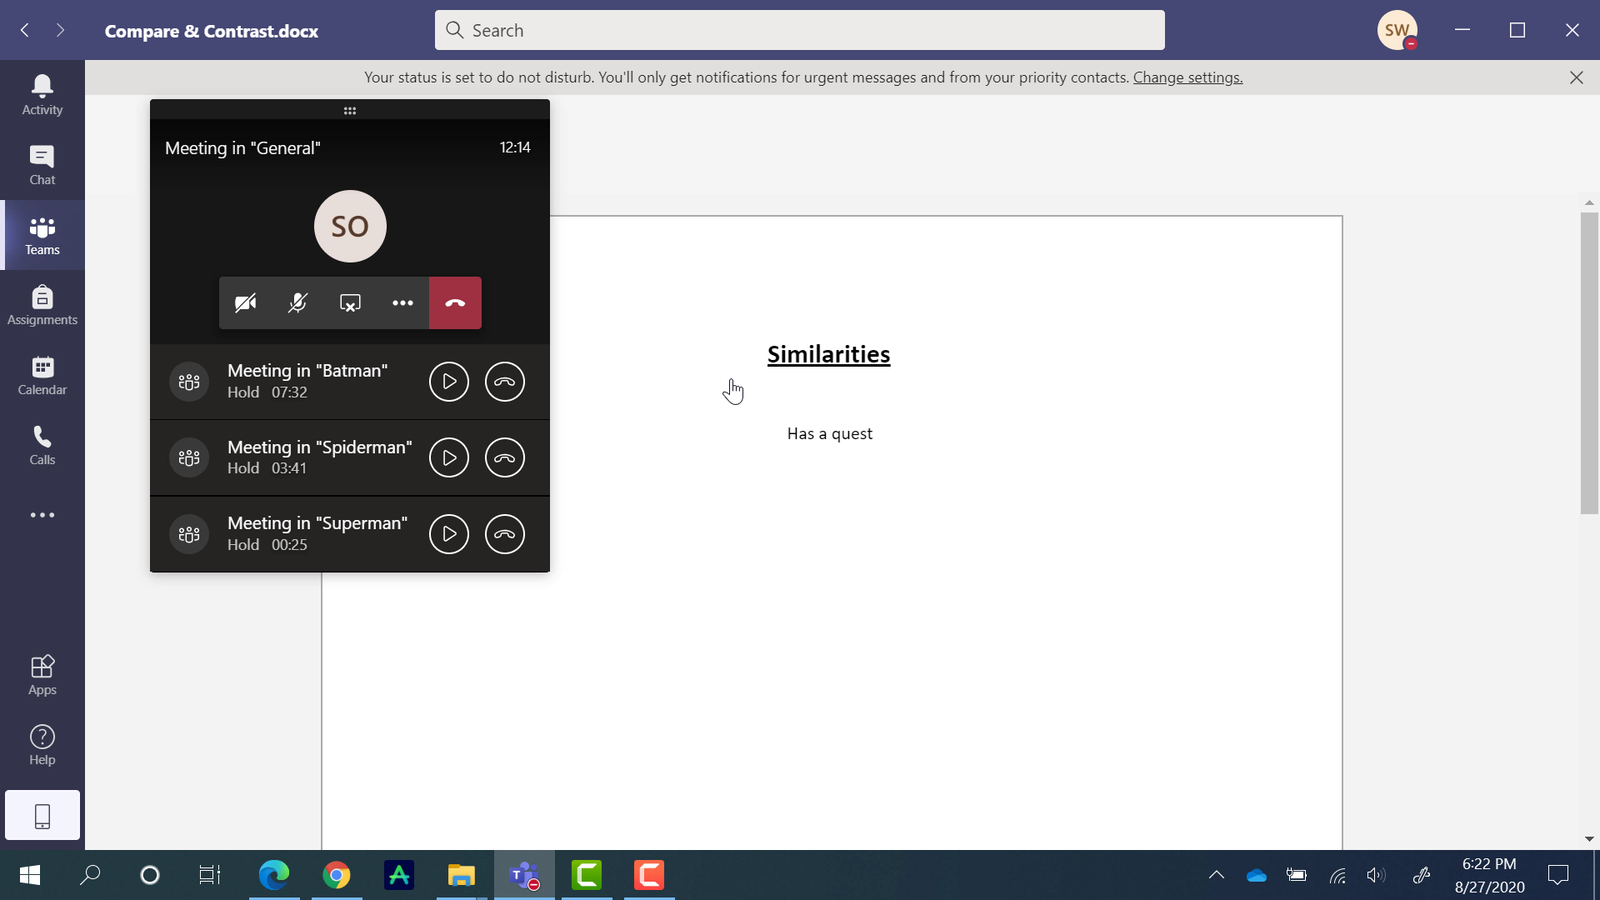
Students can join you in the General Channel video call to begin the class. When it is time for the breakout session to start, students go into their assigned breakout channel and join in the call that you have already started. Once in their breakout channel, they can begin openly discussing with their classmates.
As the teacher, you can switch between each group to check on the student’s progress by clicking the resume button. If you click the hang-up button, the call will end, so make sure when you are switching, you are sticking to the resume button.
Student View: Using the Files During a Breakout Session
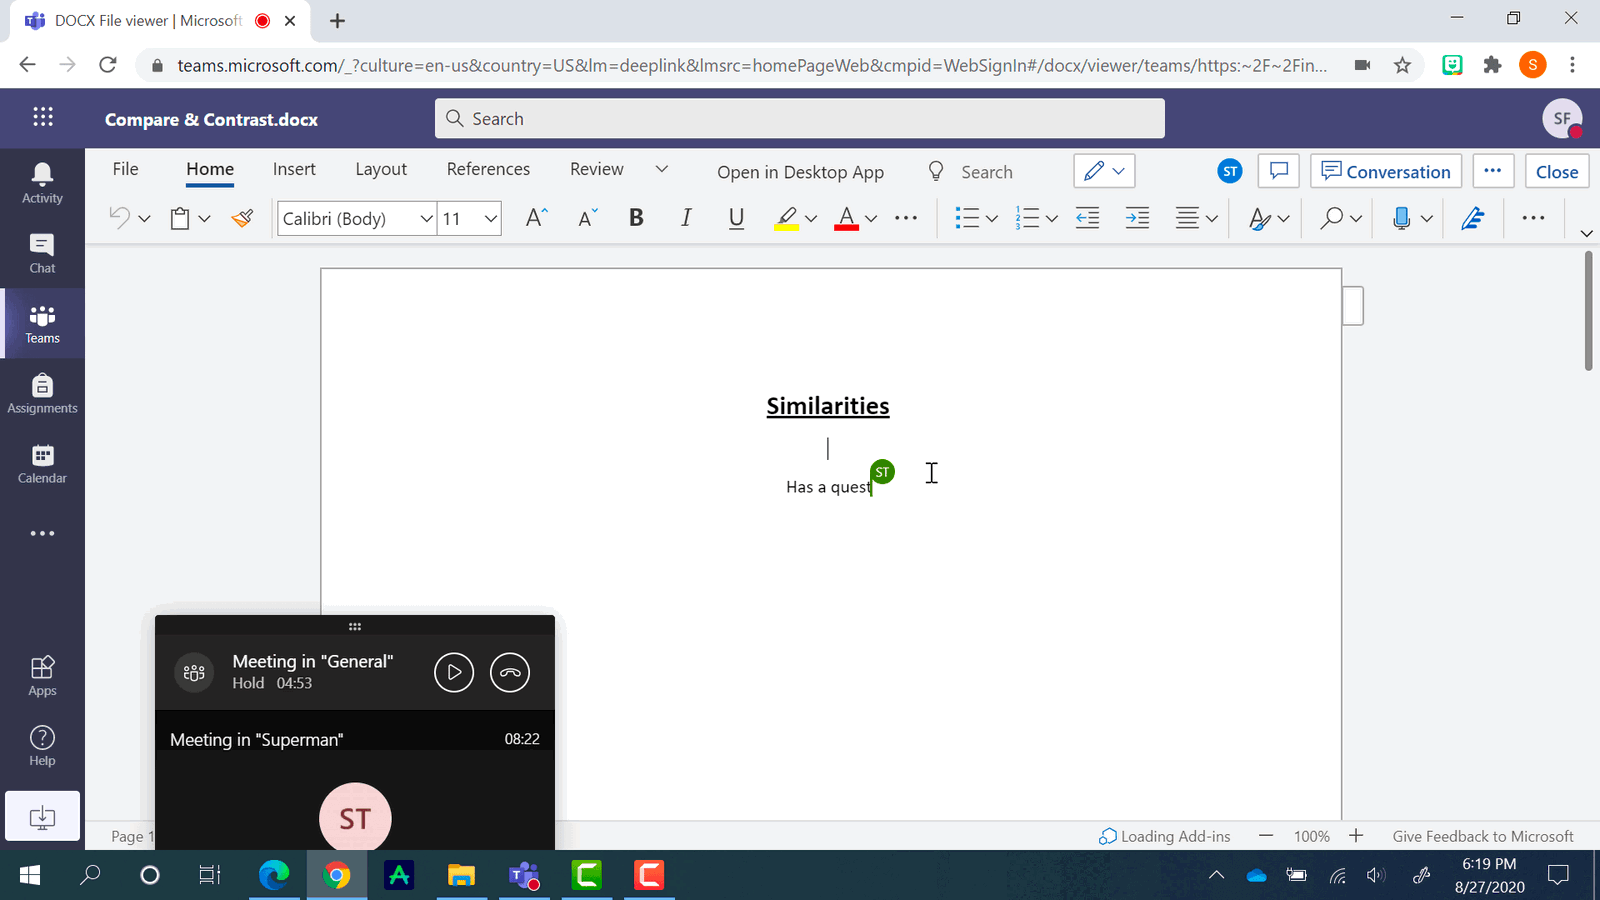
Once students are in the call together they can begin working collaboratively on the file you have uploaded. They just need to click on the Teams tab on the side to minimize the video call window and navigate to their breakout channel. In their breakout channel, they can open the file under the Files pivot at the top ribbon.
This file can be opened right in Teams so that they don’t have to switch between two applications. Students can continue discussing with their classmates while taking notes, or filling in a worksheet. All updates happen in real-time so no one will miss a thing.
When the breakout session is concluding, students just have to close the document, it has been saved automatically.
Review Files
After the Breakout Sessions are complete, you can invite your students back to the General channel to continue the lesson. If you wish, you can go over the files that each Breakout Channel has worked on in a full classroom discussion.
In the same way, students open up the files, you can head into a breakout channel and open up the file under the Files pivot. Go through the same steps for each channel to compare and contrast what the different groups came up with.
Short Summary
And that is it! While not as straightforward of a solution as we would like, Breakout Rooms in Microsoft Teams are still possible. Here is a quick summary of what was discussed above:
- Create as many private channels in your Class Team as you need
- Add the correct students to each Breakout Channel
- Upload Files to each Breakout Channel for students to use during the breakout session
- Begin a video call in the General Channel and each Breakout Channel
- Bounce between Breakout Channels by clicking the Resume button
- Review the files in the General Channel video call to go over what each group did
Hopefully, Microsoft will release an update that makes this easier soon, but for now, I hope this article and video helped you out or taught you something new. Let us know of any questions in the comments below!
Since this article has been published, Teams has released a feature to make Breakout Rooms more accessible. We have a tutorial guide for you to learn all about it.
Need more help with Teams? Check out our guides on assignments in Teams, Class Notebook, and a roundup of the best Teams tips and tricks.
