
Looking for a fun and engaging way to spice up your classroom activities? Look no further than drag and drop slides for teaching! This interactive and hands-on approach is perfect for capturing your students’ attention and helping them retain information in a fun and exciting way.
Drag & Drop activities are interactive and engaging exercises that typically require students to drag and drop objects, words, or phrases in response to prompts or instructions. It is usually used as an asynchronous activity that students complete on their own, but that’s not the only use! Drag & drop can also be done by the teacher as a method of teaching, not just a method of practicing.
Let’s discover how!
How to teach with drag and drop slides
Teachers can create drag & drop lesson material to use during teacher-led instruction. By interacting with the learning material themselves, they can draw attention, visually teach concepts, and create aha moments for visual learners. Compared to static material, drag and drop lesson material allows teachers to move any content around, images, text, shapes, etc. to build relationships, understand sequences, or convey the movement of complex concepts.
Interactive lesson material is beneficial for students in more ways too!
- increases student engagement
- improves retention of learnt material
- offers opportunities for collaborative efforts to sort & learn as a class
How to create drag and drop slides in PowerPoint
So, how can teachers create drag & drop lesson material? Actually, just with PowerPoint!
Using the add-in ClassPoint, there is a Draggable Object tool that allows teachers to freely move slide objects around during presentations! For teachers with lessons in PowerPoint, there is no learning curve for a new tool to be able to do this. Here’s how its done:
- Add ClassPoint add-in to PowerPoint for free
- Choose what skills or learning objectives need to be taught, and create your slide material and add elements that you want to make interactive
- Once you’ve designed your slide, select the objects you want to move, and toggle drag enable from the ClassPoint tab in the PowerPoint ribbon
- Now during your lesson, when it comes time to drag and drop objects on your slide, click the draggable object hand icon from the ClassPoint toolbar (added to the bottom of your presentation) and freely move around any drag enabled items!
To see the set up and Draggable Objects in action, check out this video! ▶️
Ways to use ClassPoint’s Draggable Objects in lessons
There are two main ways you can use drag and drop slides during a live teacher-led class: to teach new concepts with interactive material or by turning your slide into a drag & drop class activity.
1. Teach new concepts dynamically
Instead of only using drag & drop as an individual student activity for practicing and testing understanding, teachers can use it to present new material and elaborate on complex concepts with visual and dynamic slide material.
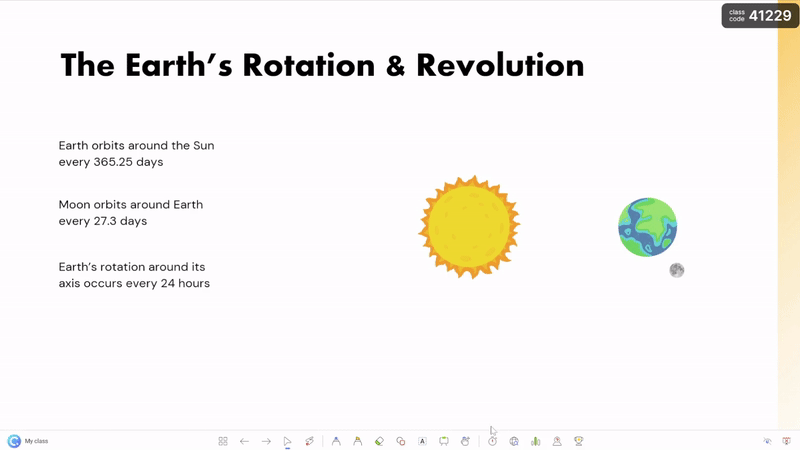
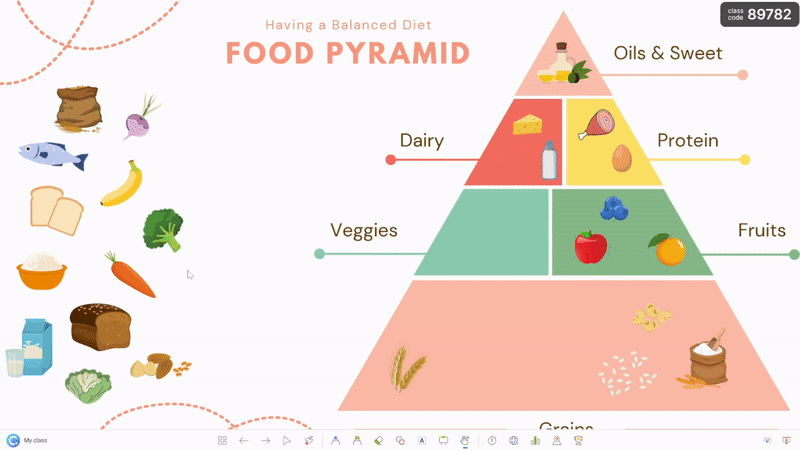
Drag & drop vocabulary words onto one large image or match to corresponding definition or create the motion of a scientific process such as kinetic energy in physics to explain the relationship of motion & gravity to the class. Using draggable objects, allows the teacher to interact with the material, flexibly illustrate their explanation, and help students make visual connections.
2. Turn slide into a drag & drop class activity
Help students retain newly learnt objectives with drag & drop activities as a class! Invite students to come up and drag an object and drop it in it’s correct place, or ask them all to write answers down on paper and then reveal the correct answers, order, categories, etc. by dragging & dropping! This way the class can practice together before going off onto their own, and the students have the chance to self-assess.
Check out these 8 ways to create drag & drop activities as a class including categorizing, problem solving, and reveal hidden information.
Additionally, you could turn drag & drop activities as a class into a game, where your students have fun while learning and you can check their understanding and help straighten out any confusion as a class! Create teams, give points, and invite your students to come up and drag your slide objects around!
Conclusion
Whether you’re teaching vocabulary, grammar, sequencing, or collaborative learning, drag and drop activities and ClassPoint’s draggable slide objects offer endless possibilities for creative and effective lesson plans. Don’t leave it for homework, use drag & drop slides in your lessons! And, check out ClassPoint’s other teaching tools added to PowerPoint, such as random name picker, whiteboarding, and student activities to improve lessons and increase student engagement!
