One question we get on almost each one of our YouTube videos, is “How do you create your videos like this?” We know that, especially during the pandemic, more and more teachers had to create lessons for online teaching. Creating them can be daunting and overwhelming, but we are here to tell you it doesn’t have to be that way! You can record your lessons simply, in a way that will really help your students all from the comfort of your own home – no studio necessary.
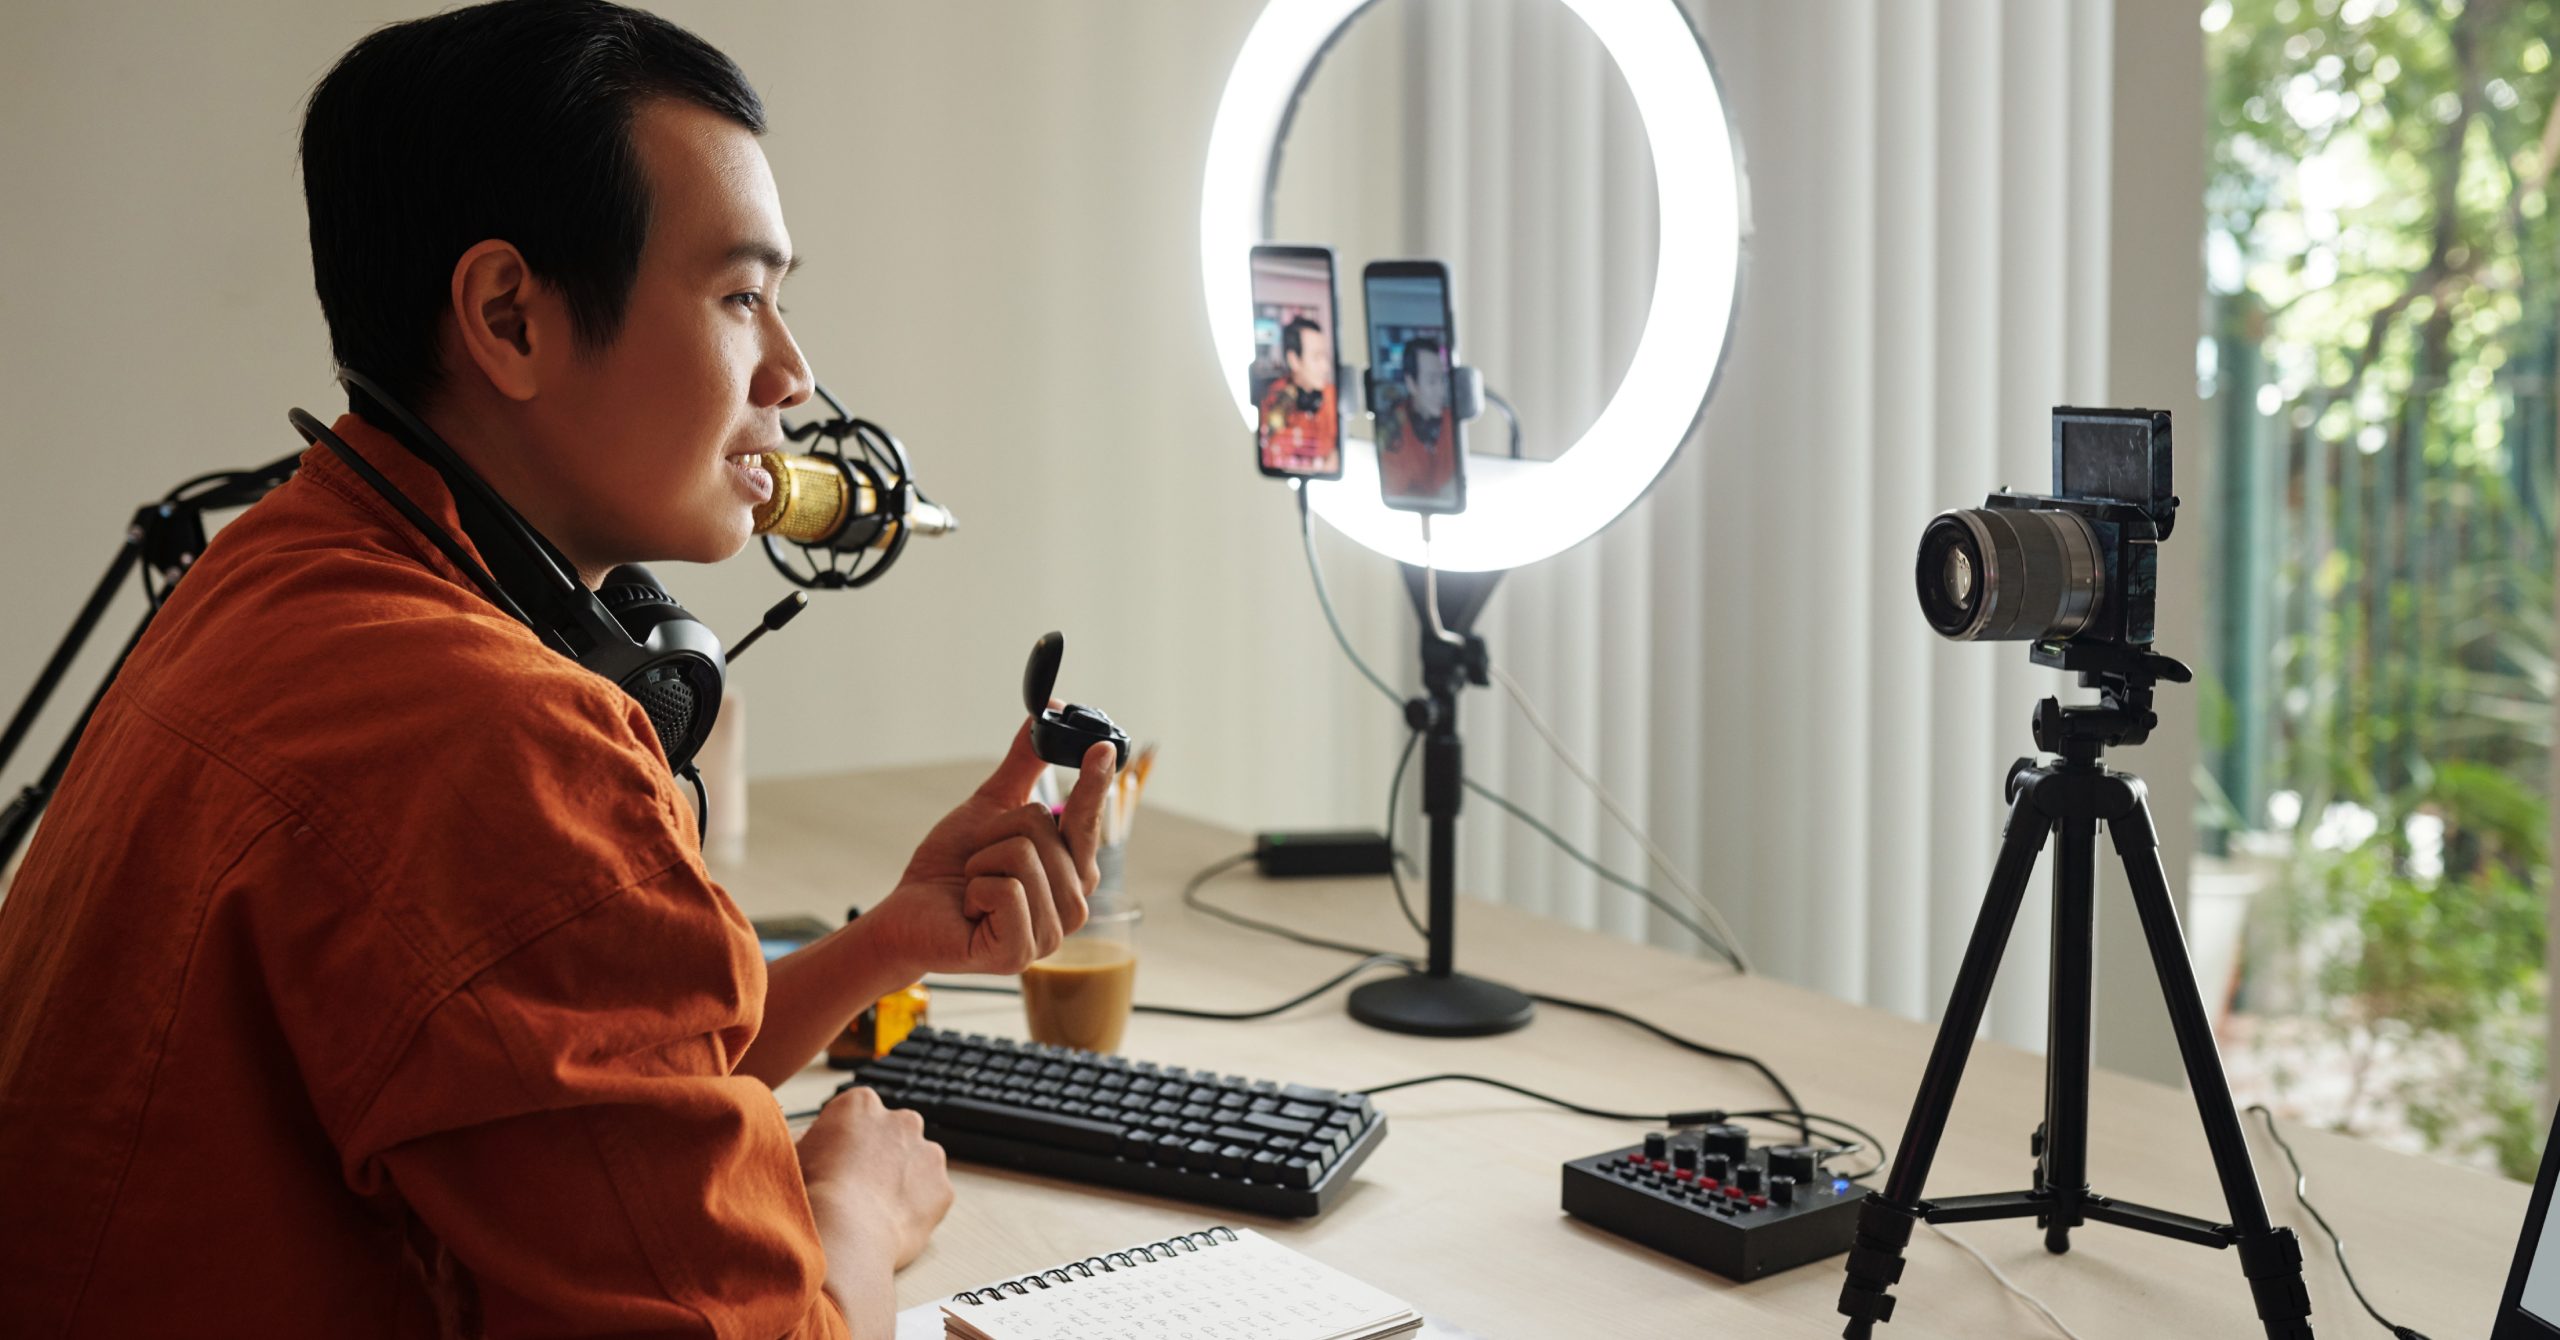
Here, we are going to give you a simple rundown on how we make our videos with our content full-screen behind us while keeping ourselves smaller on-screen. This helps students focus on what is being taught by engaging them more fully in the lesson.
Step 1: Gather What you Need
Before you begin let’s go through everything that you will need to create this specular video. There are 4 mandatory tools you need, the rest are optional!
1. Camera
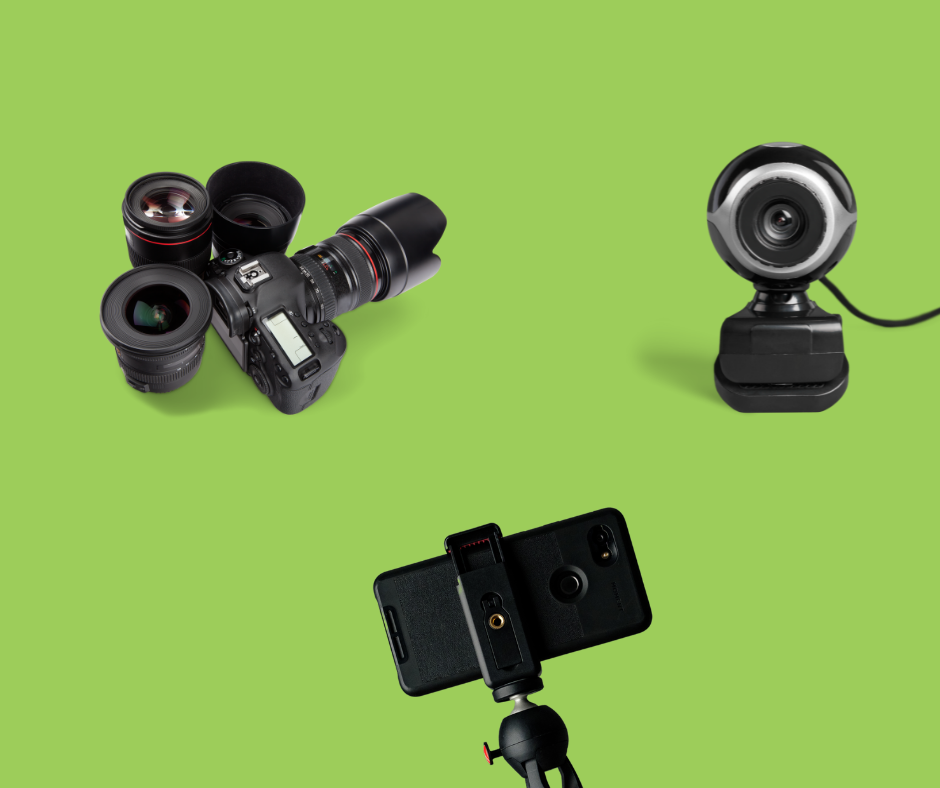
First things first, you will need something to record yourself. This can be anything from an iPhone to a webcam, to a professional camera. As long as you have something to record your face and voice, you will be set.
2. Screen Recording Software
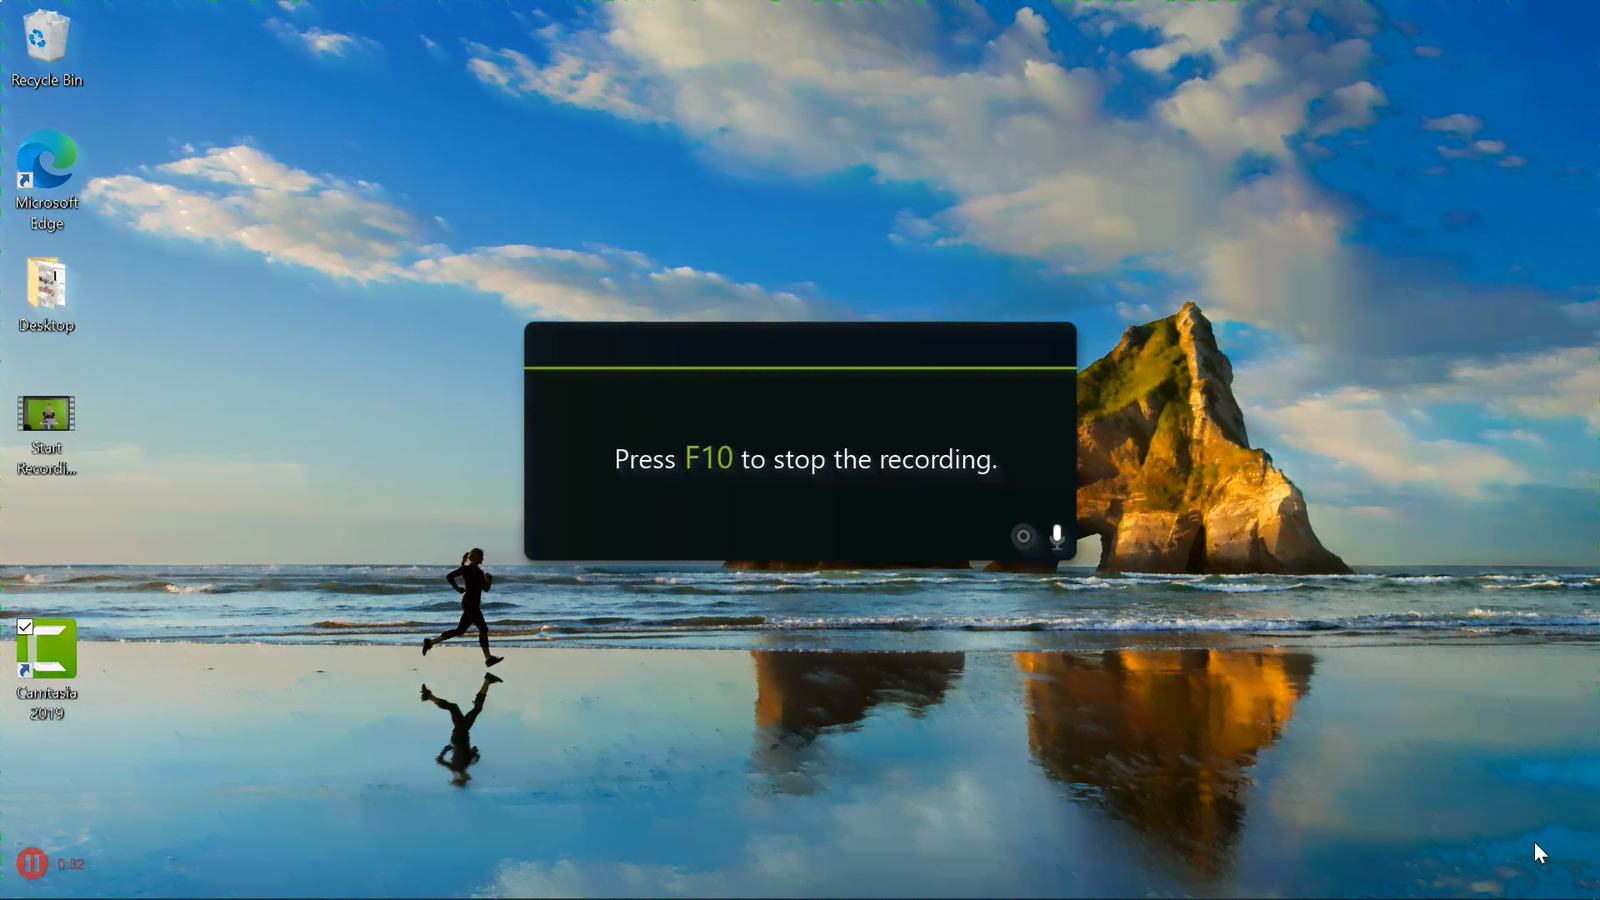
In addition, you will need to have screen-recording software. This is to record the content that will appear behind you in the video after editing. There are many different tools out there to use, so you can see what works best for you. We recommend using Camtasia (which can also be your #4 video editing software), FlexClip or Screencast-O-Matic.
3. Green Screen
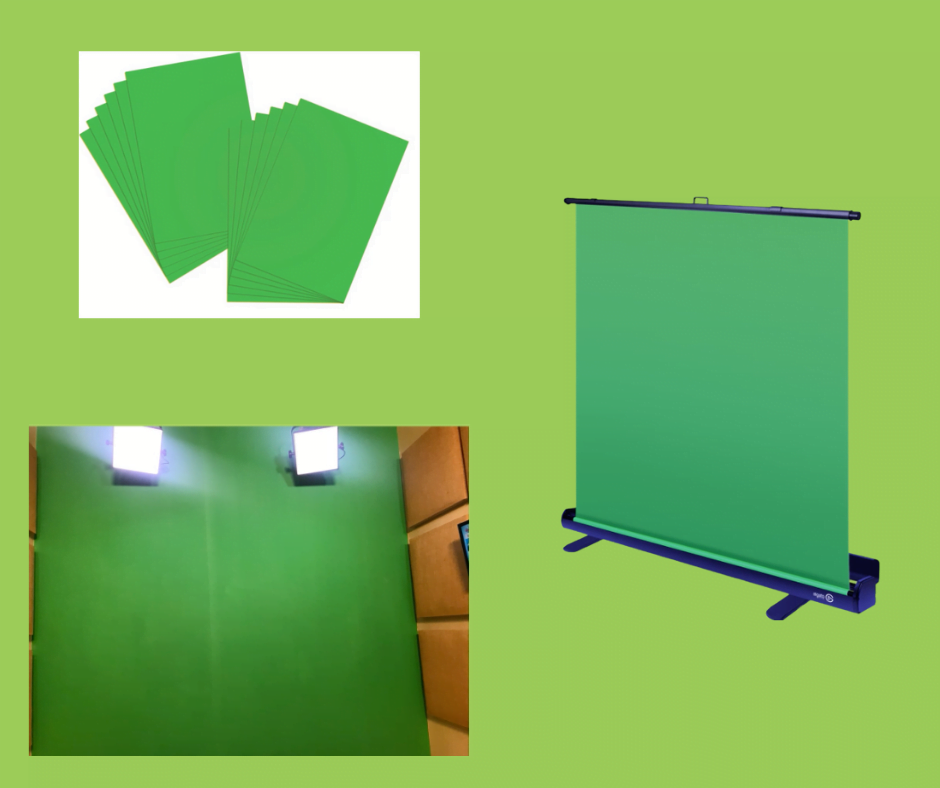
Most importantly, if you want to have that special pop in your videos, you need a green screen. A green screen is used to remove the background behind you so that your screen-recorded content can be there instead. There are many low-cost options for you to have your own green screen background. You can use a poster board, a sheet, or purchase a professional green screen.
The green screen just needs to be big enough to fit around your body or head so that you can remain on screen while what is around you gets removed. If you ever record on Zoom or Teams, you can always change your background to a solid green color as well.
4. Editing Software
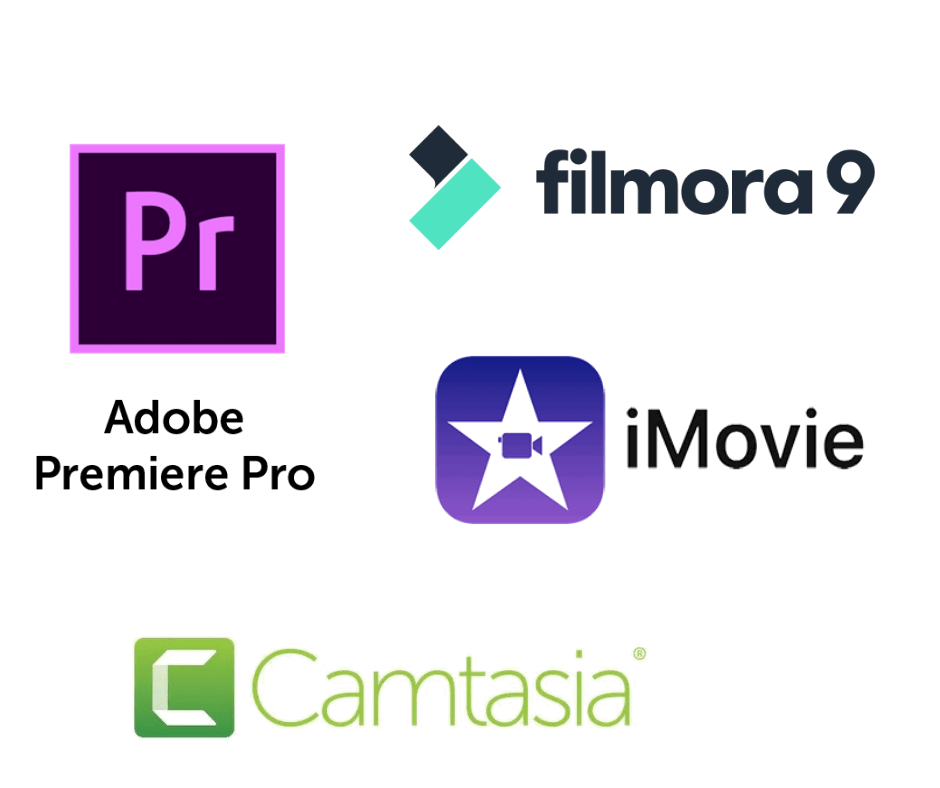
The last tool that you definitely need is video editing software. This is to remove your background and replace it with your content. We recommend using Camtasia because it is very easy to learn saving you lots of time, and it can double as your screen recording software. However, there are many other editors out there that you can use instead. As long as there is a feature to Remove a Color/Background you are set.
Lights
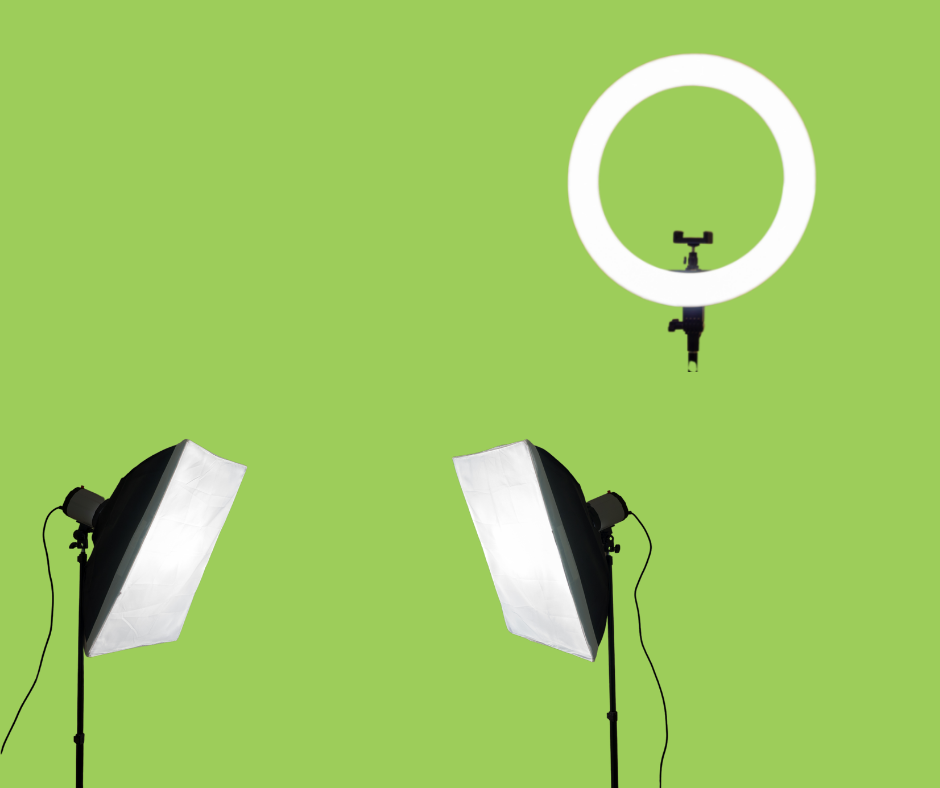
Lighting is not a mandatory item for you to create this video. However, it usually helps to produce a video with better quality. If your natural lighting is enough, there is no need to add more. However, if you are looking to brighten up your face, you can add a circle light, or softbox lights to your setup.
Microphone
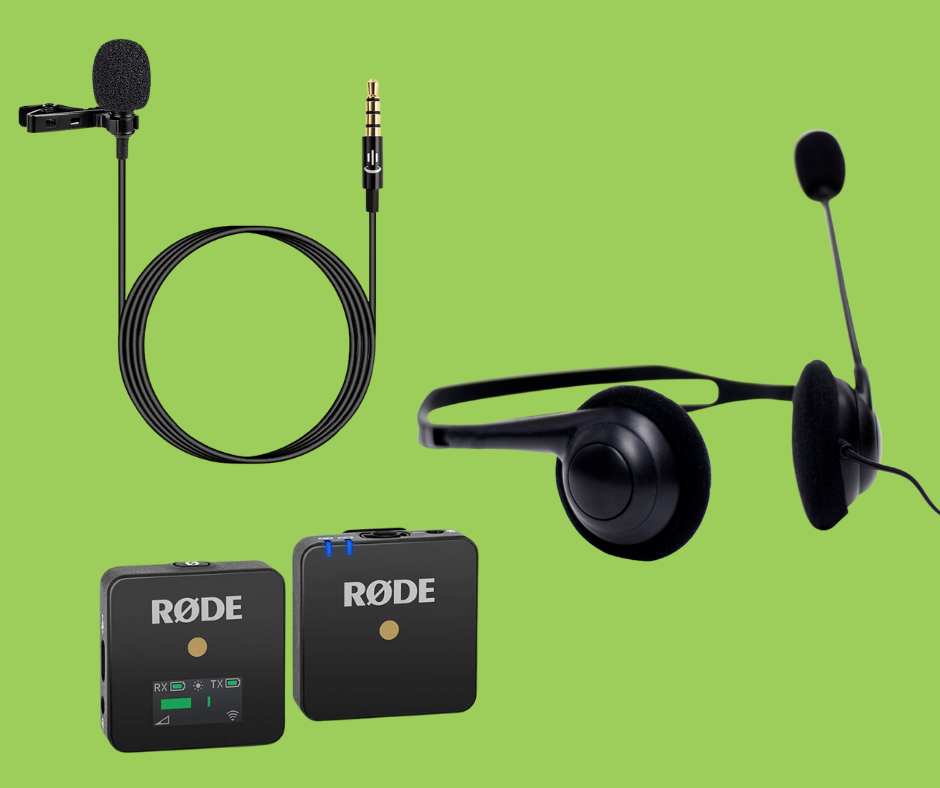
Like lighting, a microphone is not mandatory. You can use the mic that is on your computer, or the one on your camera. However, having an additional mic that is closer to you, helps for better audio in your video. We all know that your students will appreciate a video that sounds as good as it good looks!
You can purchase a mic online in whichever format suits your style. There are clip-on mics, bigger mics that attach directly to your camera, or even mics that are with your headphones!
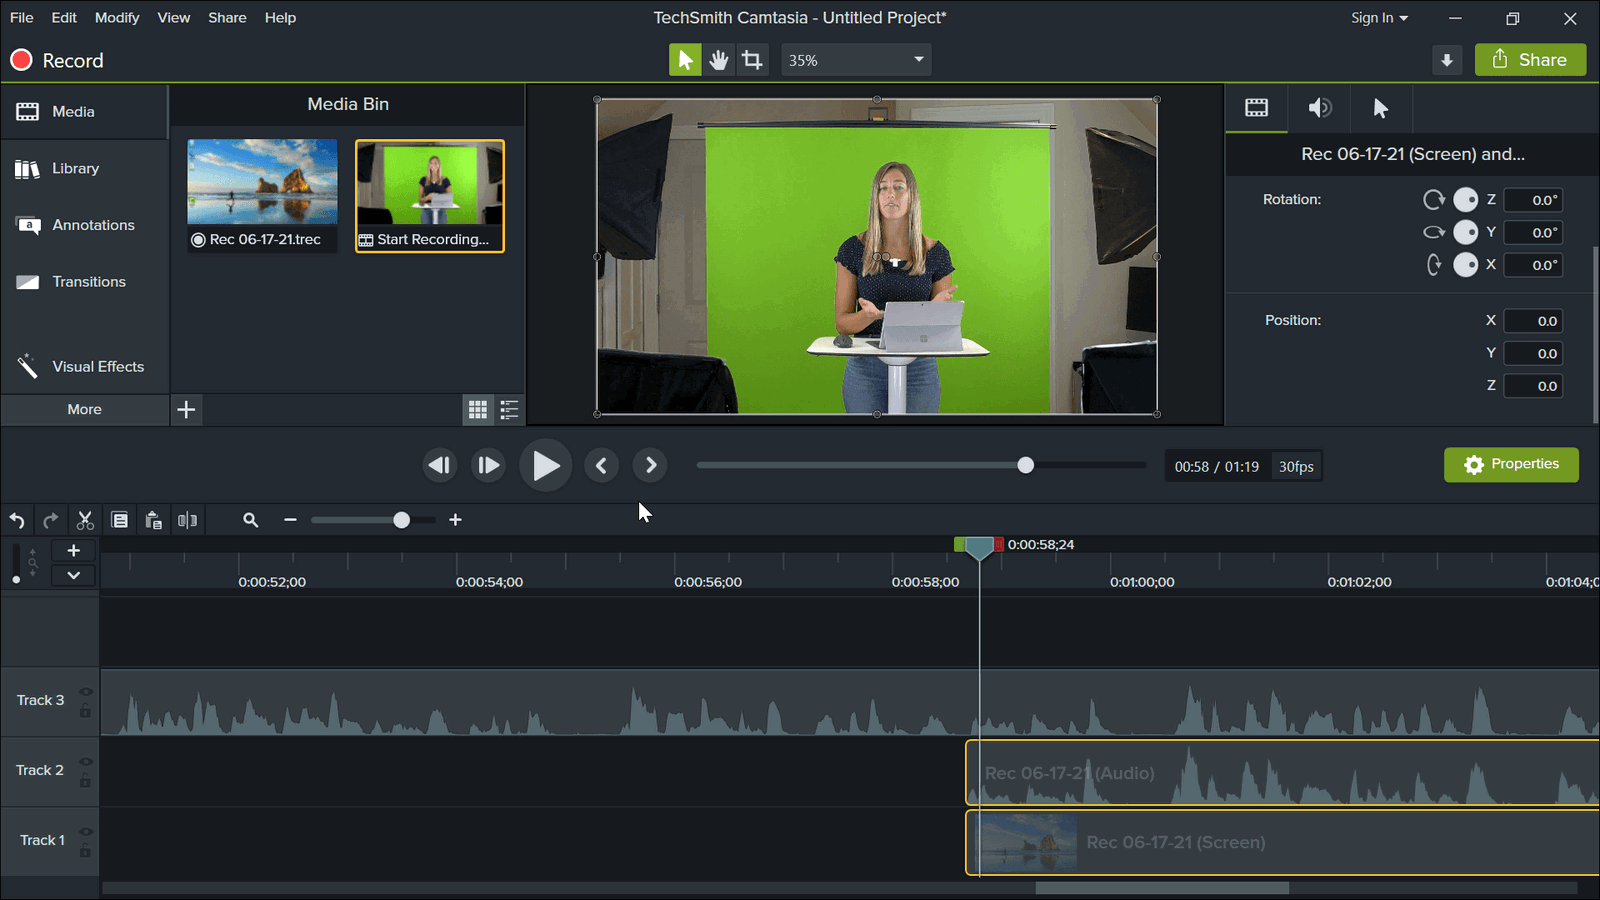
Step 2: Start Recording
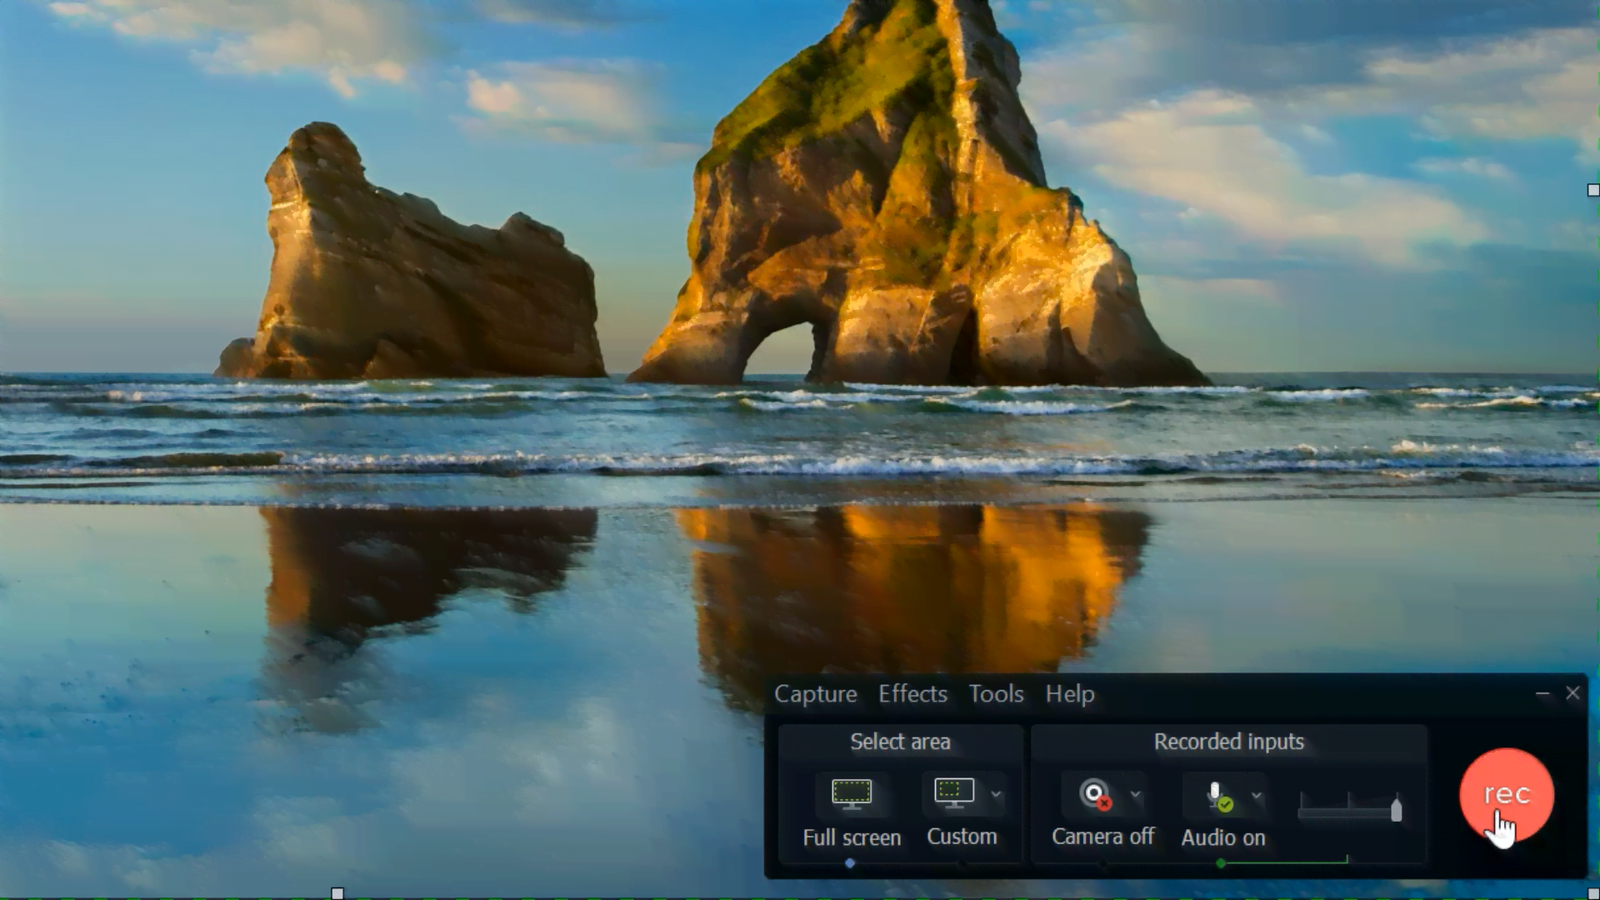
Once you have everything set up, you are ready to begin recording! Start your camera, start your screen recording, and begin! Once you have your lesson complete, end both recordings and put them on your computer.
A Pro Tip: Record the audio when starting your screen recording. This way, it is easier to match up the screen recording to the camera recording later in post-editing.
Step 3: Editing
When everything is complete, let’s begin the editing process. If you are using Camtasia for your screen recording and editing, the clip should be placed into your project automatically when it is stopped. If not, you will just need to upload your screen recording and the camera recording into your video editing platform. Then, it is time to match it up and remove the green screen.
To match up your camera recording to your screen recording, use the audio from the files to help you. You can line up the audio to match perfectly, then when everything is in place, you can delete the audio that is part of your screen recording, that way you only have the audio from your camera.
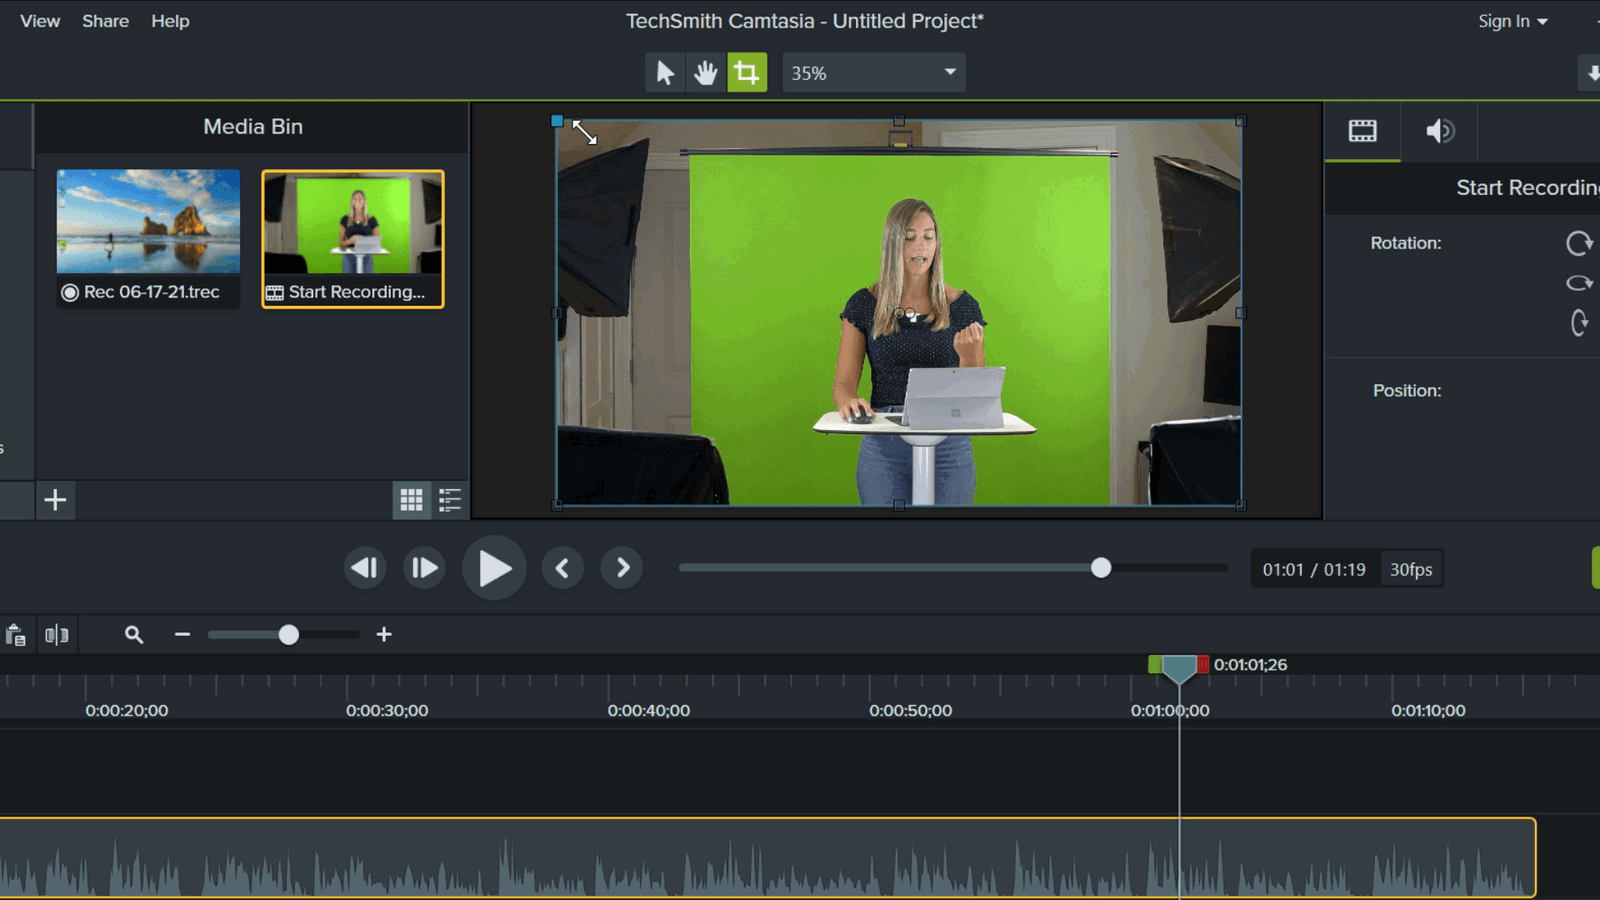
The next step is to crop your camera recording to remove everything that is not your green screen. To do this, just click on the clip you want to crop, then at the top of Camtasia, click on the crop mode button. Then, you just need to drag the sides lower so that everything is removed – besides you! Once the cropping is complete, you can resize and move your talking head to where you want it to go on screen.
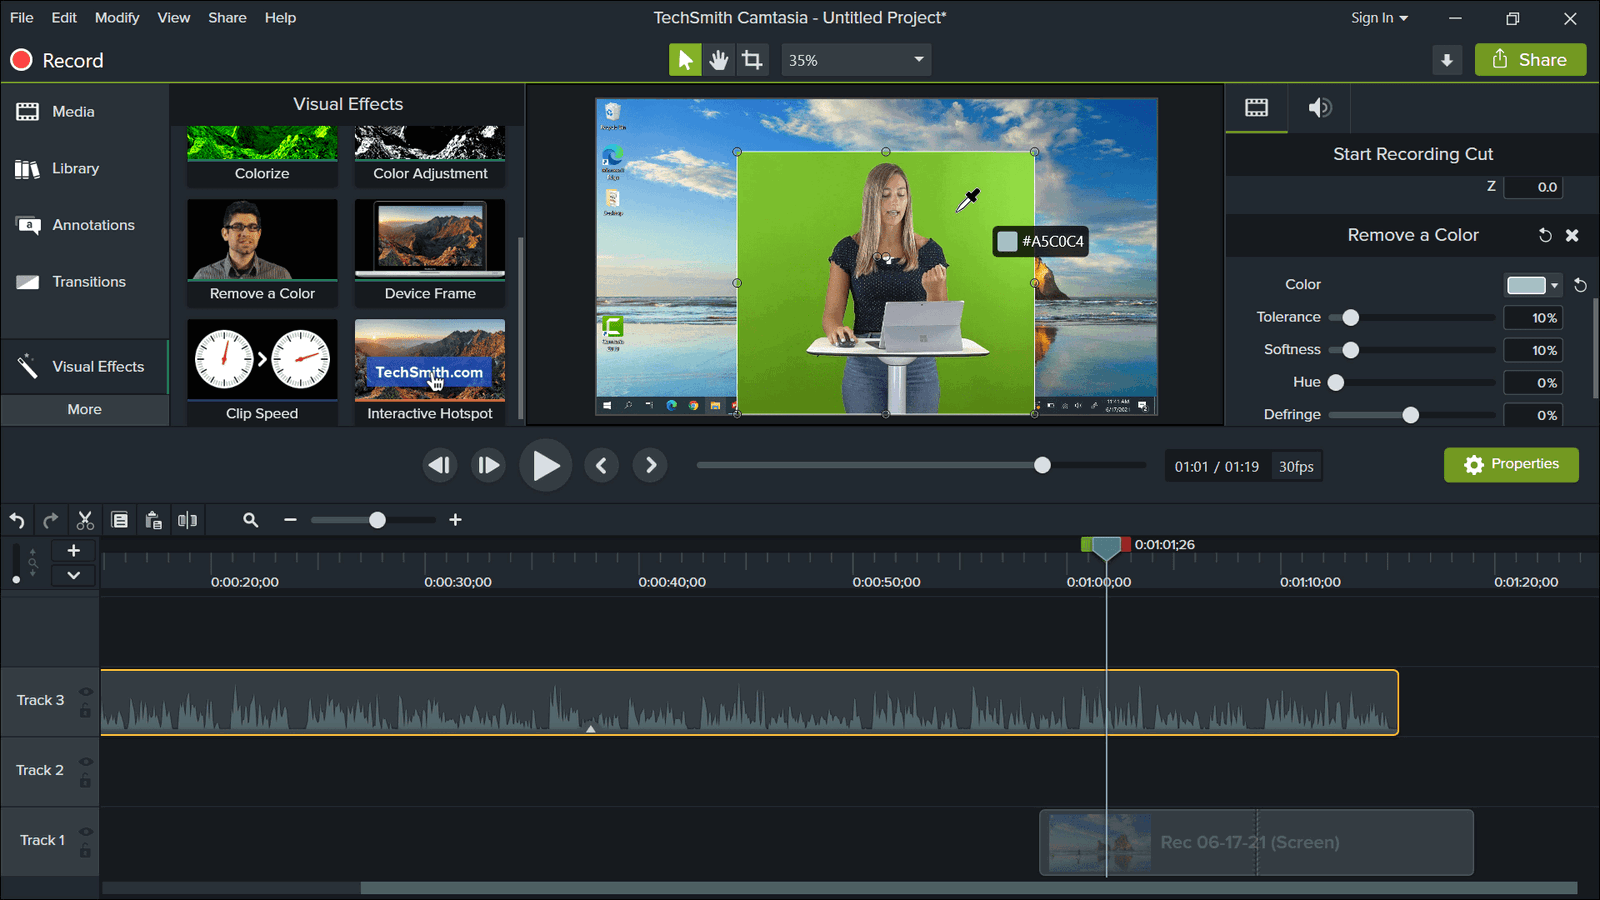
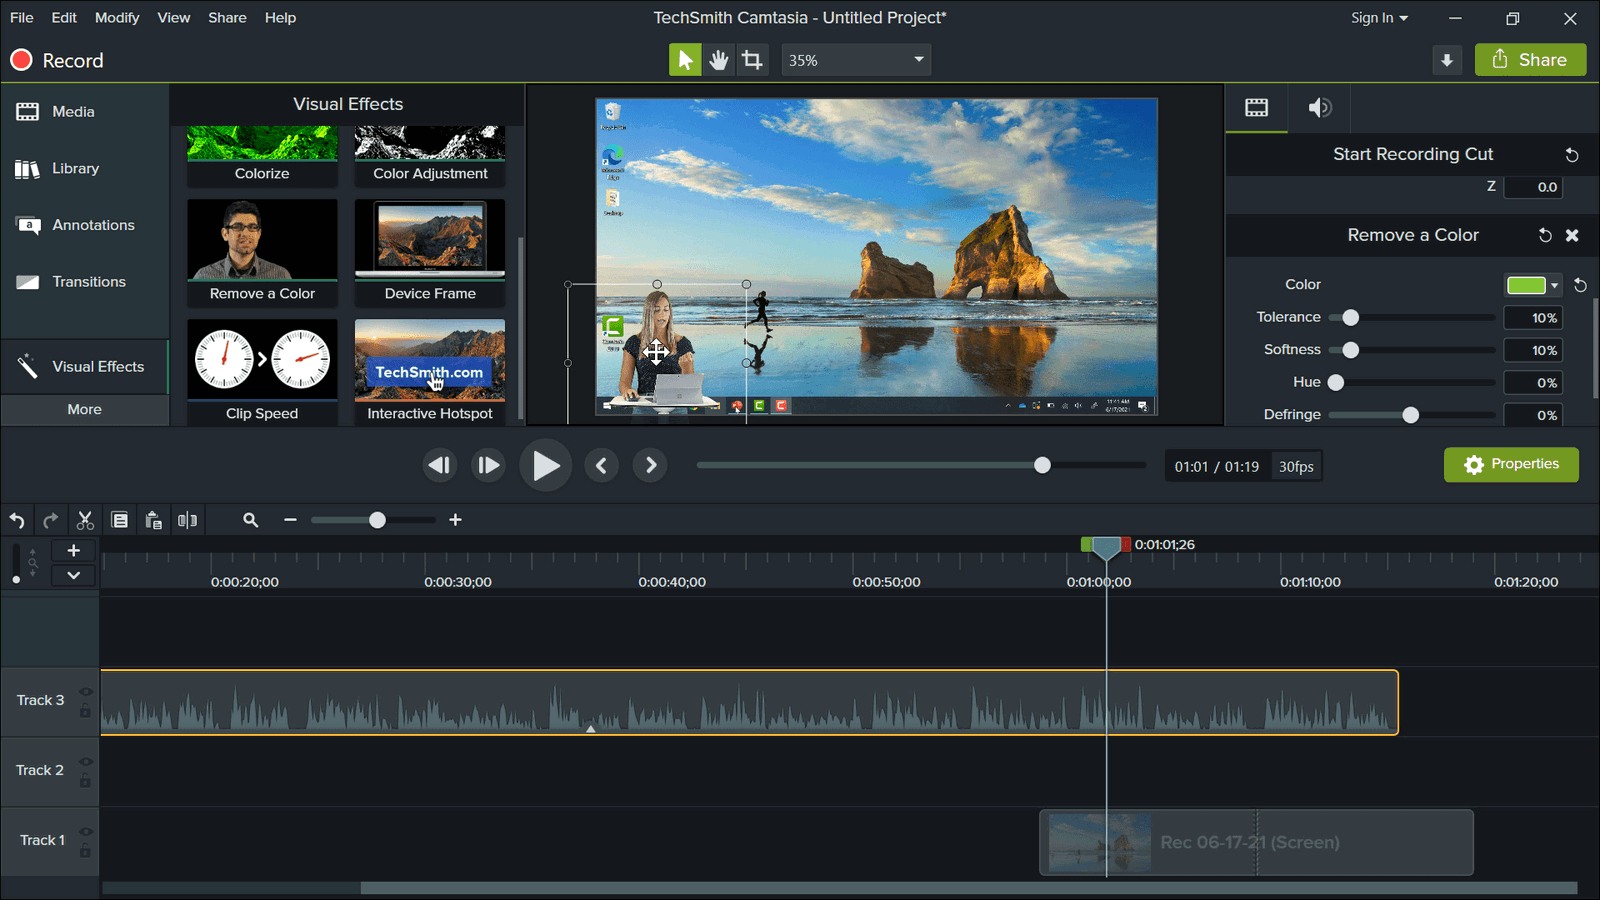
Lastly, the green screen needs to be removed. To remove the green screen with Camtasia, you just need to go into the Visual Effects menu on the left-side panel. Scroll down until you find “Remove a Color.” Then, just drag the effect on the track with your camera recording.
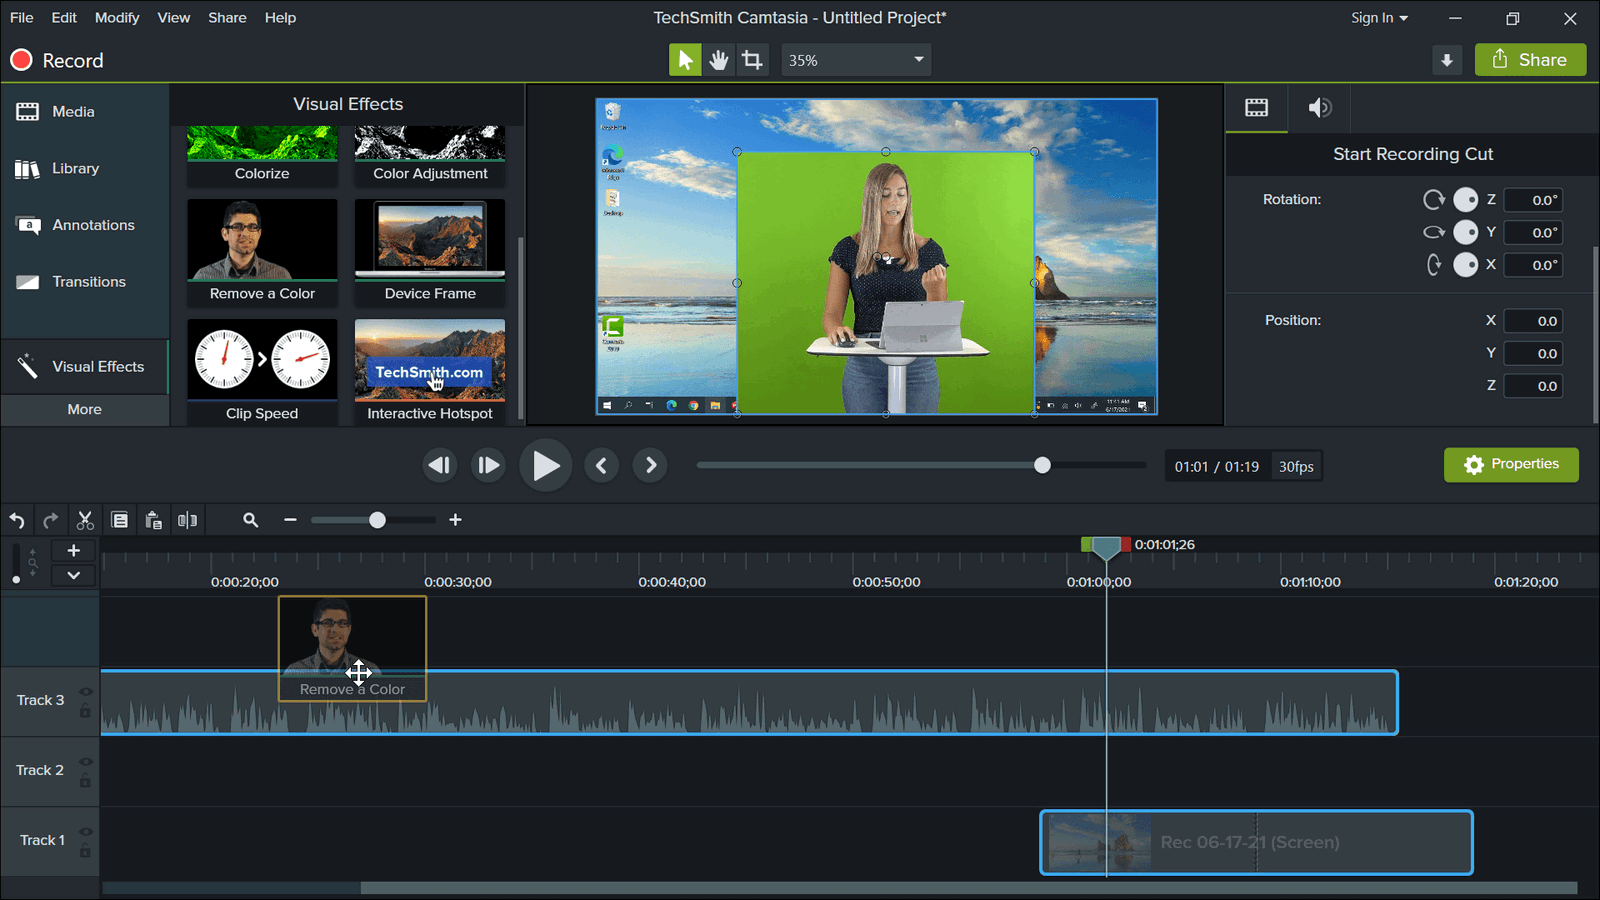
In the side Properties panel, we will want to choose a color to remove. The easiest way to do this is to click the color button, then the Eyedropper. Lastly, move your mouse over the green color that you want to remove. Once you click, everything that color should be removed.
After all those final edits, make sure that your clips are layered in the correct order so that your content is seen with you on top of it. You can add any other special effects like title screens, transitions, or callouts to spice up your video.
Step 4: Exporting
When all of your edits are complete, you are now ready to share them with your students! To export your project, you can just click the share button if you are using Camtasia. Then, share it with your students via email, YouTube, Teams, or however else you get in touch with them.
Let us know if you have any questions or need any help to get this started! With these tips, you can begin creating the best online lessons right in your own home – no fancy studio needed. We can’t wait to see what kinds of videos you all come up with!
For more information on using ClassPoint while online teaching, check our full tutorial guide.
