
With so many useful digital learning tools today, both students and teachers use a multitude of applications on their computers everyday, often running multiple at once. The ability to split-screen on any device when online learning is a great multitasking skill every student (and even teacher!) should know.
If you or your students are using multiple tools at once for example: ClassPoint and an online conferencing tool, it can become quite distracting to switching between windows. To solve this and increase focus & productivity, have your students split their screen. With split screen they can follow your online class on zoom next to their browser where they might be signed into your ClassPoint class, so they can interact and become involved with your presentation.
In this blog, we outline how to split your screen on a laptop, tablet, and phone. Jump to the device you are using, and follow the easy steps!
How to Split Screen on Windows and Macs
Splitting your screen can be done on any laptop or desktop computer. We walk you through how to do it on both Windows and iOS devices.
How to Split Screen on Windows
Step 1: Drag an open window to the left
For a Windows device, the easiest & fastest way to split your screen is to hold and drag an open window to the left side of the screen. This will auto-place and resize that window to fit on the left half of the screen.
Step 2: Select your second screen
Once the window you dragged to the left has filled the left half of your screen, you will see all your other running windows on the right. Just click the second window you want to view on the right-hand side of your screen and you’re all set!
Optional Step 3: Adjust the windows
Adjust the sizing and the ratio of the two windows by dragging the middle bar where your two windows meet to the left or right.
How to Split Screen on Mac (or any laptop)
Step 1: Open two windows
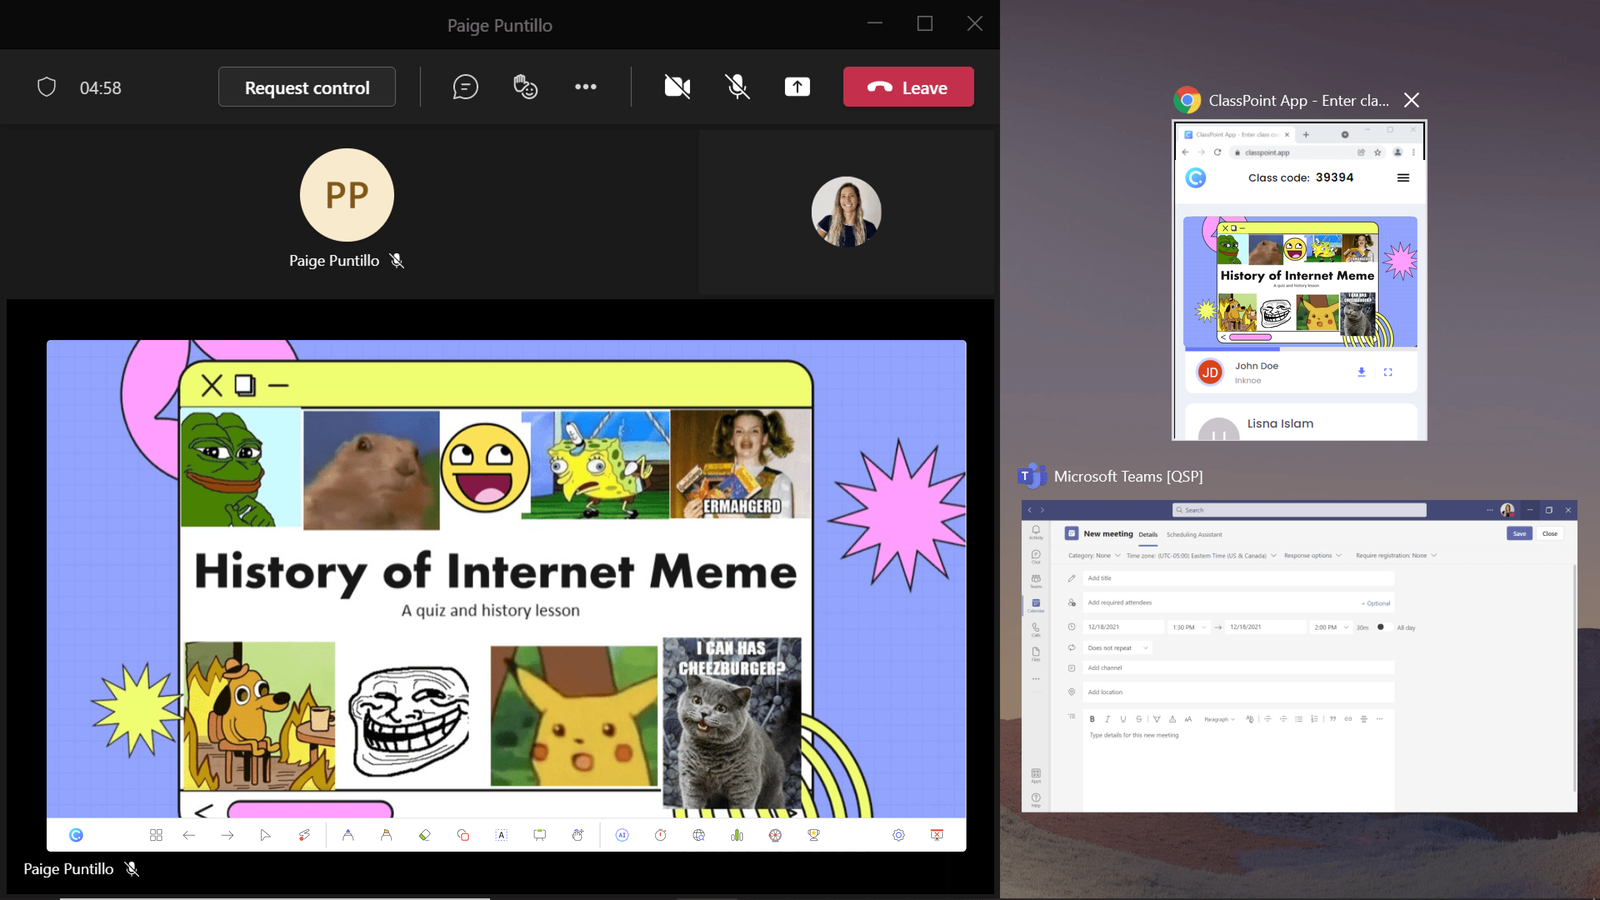
First, open and run two windows that you want to see at the same time. For example, you could have a video conferencing tool open so that you can pay attention to your teacher’s presentation and a window open to the EdTech tool that your teacher uses during class. Here we have a Chrome browser open to www.classpoint.app along with a Microsoft Teams meeting up and running.

Step 2: Click the Maximize / Restore button
Next, click the Restore button on the right top tab of both your windows to bring them away from full screen. If you are using a Mac, hover over the green circle on the top left of your window and select if you want to Tile the Window to the left or right.

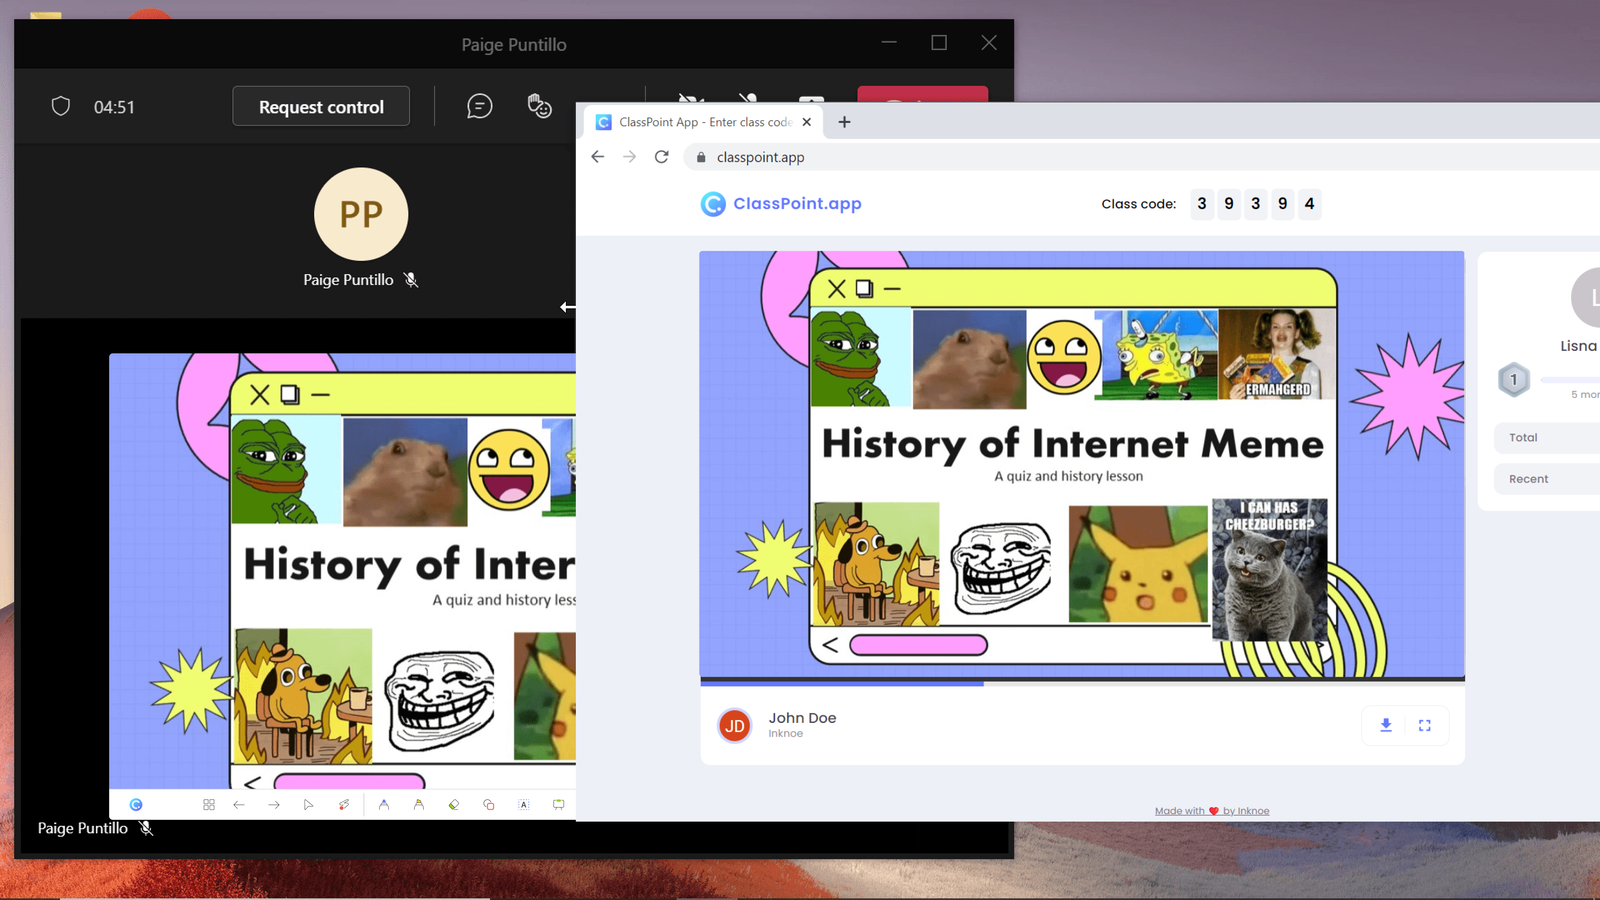
Step 3: Resize your windows
Now that both windows are smaller, you can resize and adjust the windows so that you see both side-by-side. To do this, drag the corners of the window to the size you need. For Mac, repeat Step 2 for another window and choose the opposite side.
Step 5: Continue with class!
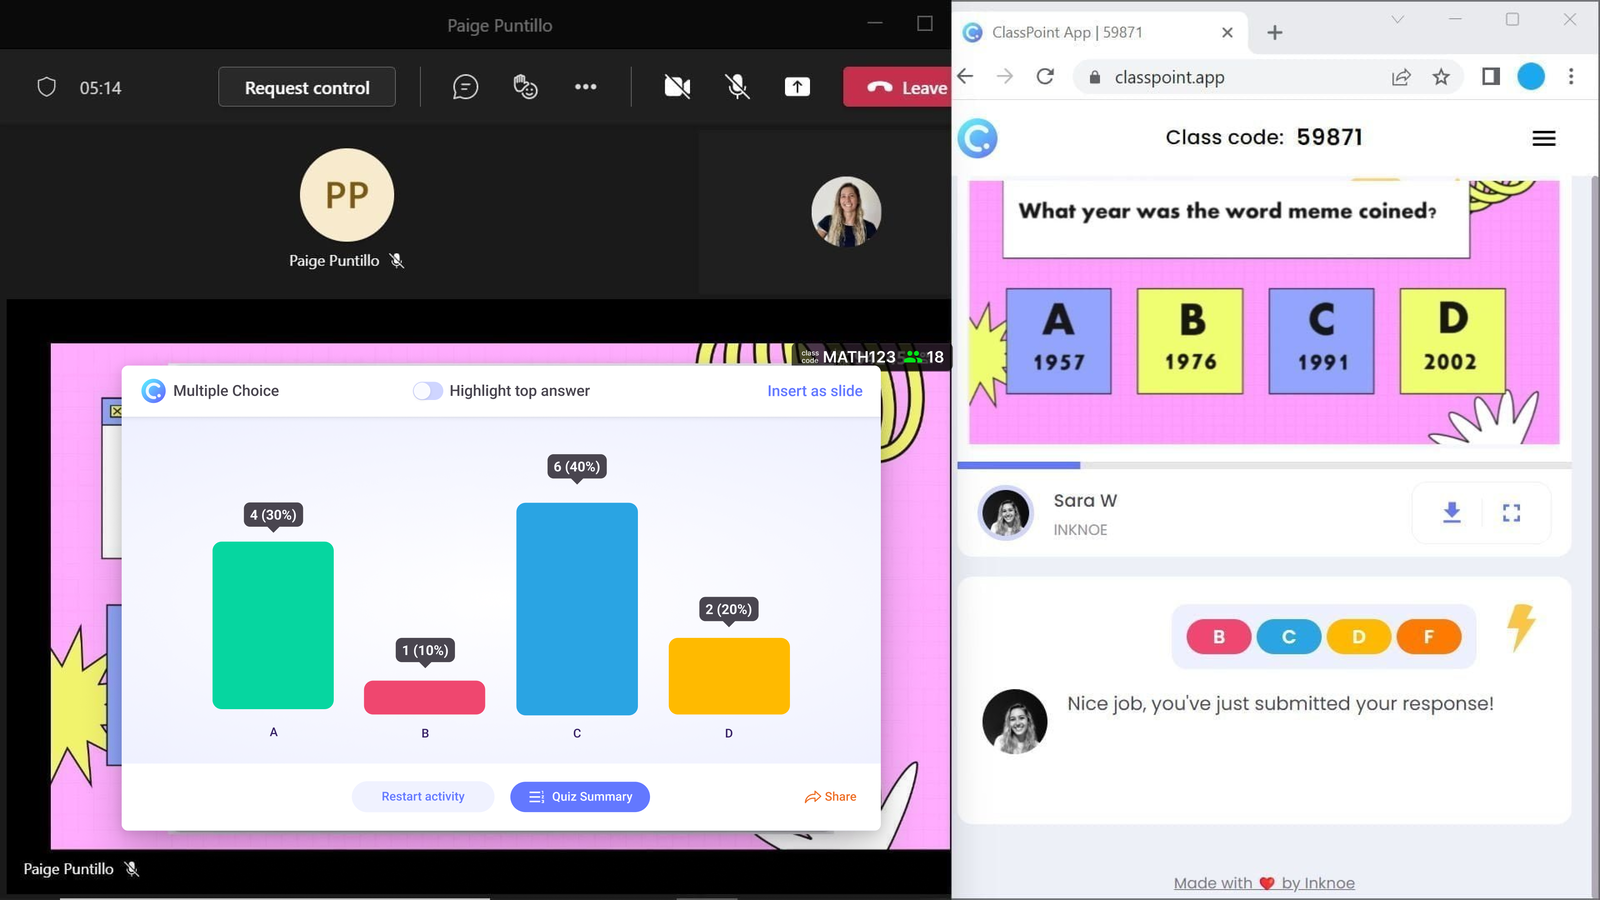
Now, you can view your two windows at once without switching back and forth between them. This eliminates time wasted from toggling between windows and will keep you focused on what is really important – participating and learning.
How to Split Screen on Tablets
If you are using a tablet for class, do not fret, you can also utilize a split-screen! For tablets, however, the steps to split your screen do vary by brand. The steps will look pretty similar for the most part, but double-check your settings. For this demonstration, we will cover the steps to split your screen using an iPad. If you have an Android tablet, the steps are similar to the Android Phone covered further below.
How to Split Screen on an iPad
Step 1: Have one application running
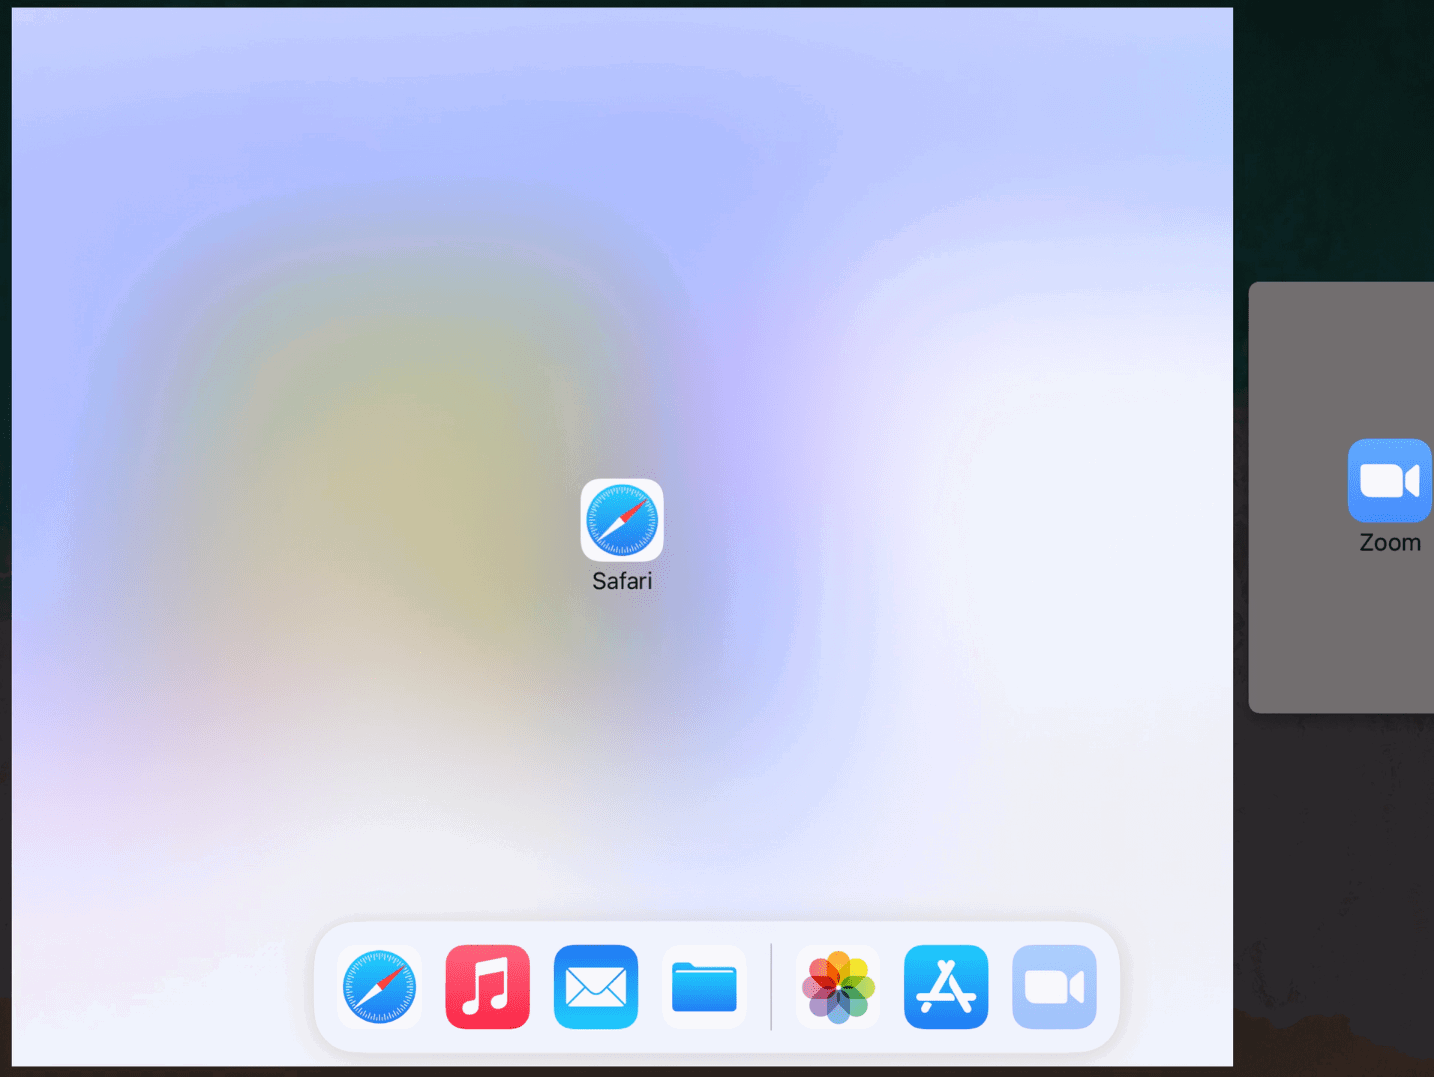
When splitting your screen on an iPad, ensure that the two applications you want to use are on the bottom toolbar. They can be saved on the toolbar, or they can be on the right side where the most recently used applications are located. Now, go ahead and open one of the applications that you want to split the screen with. For this example, we are using ClassPoint.app in a browser and Zoom.
Step 2: View the toolbar
To open the second window, swipe up from the bottom of the iPad to view the toolbar. You should see the second application that you will want to split with on this toolbar. For this case, we can see the Zoom application icon.
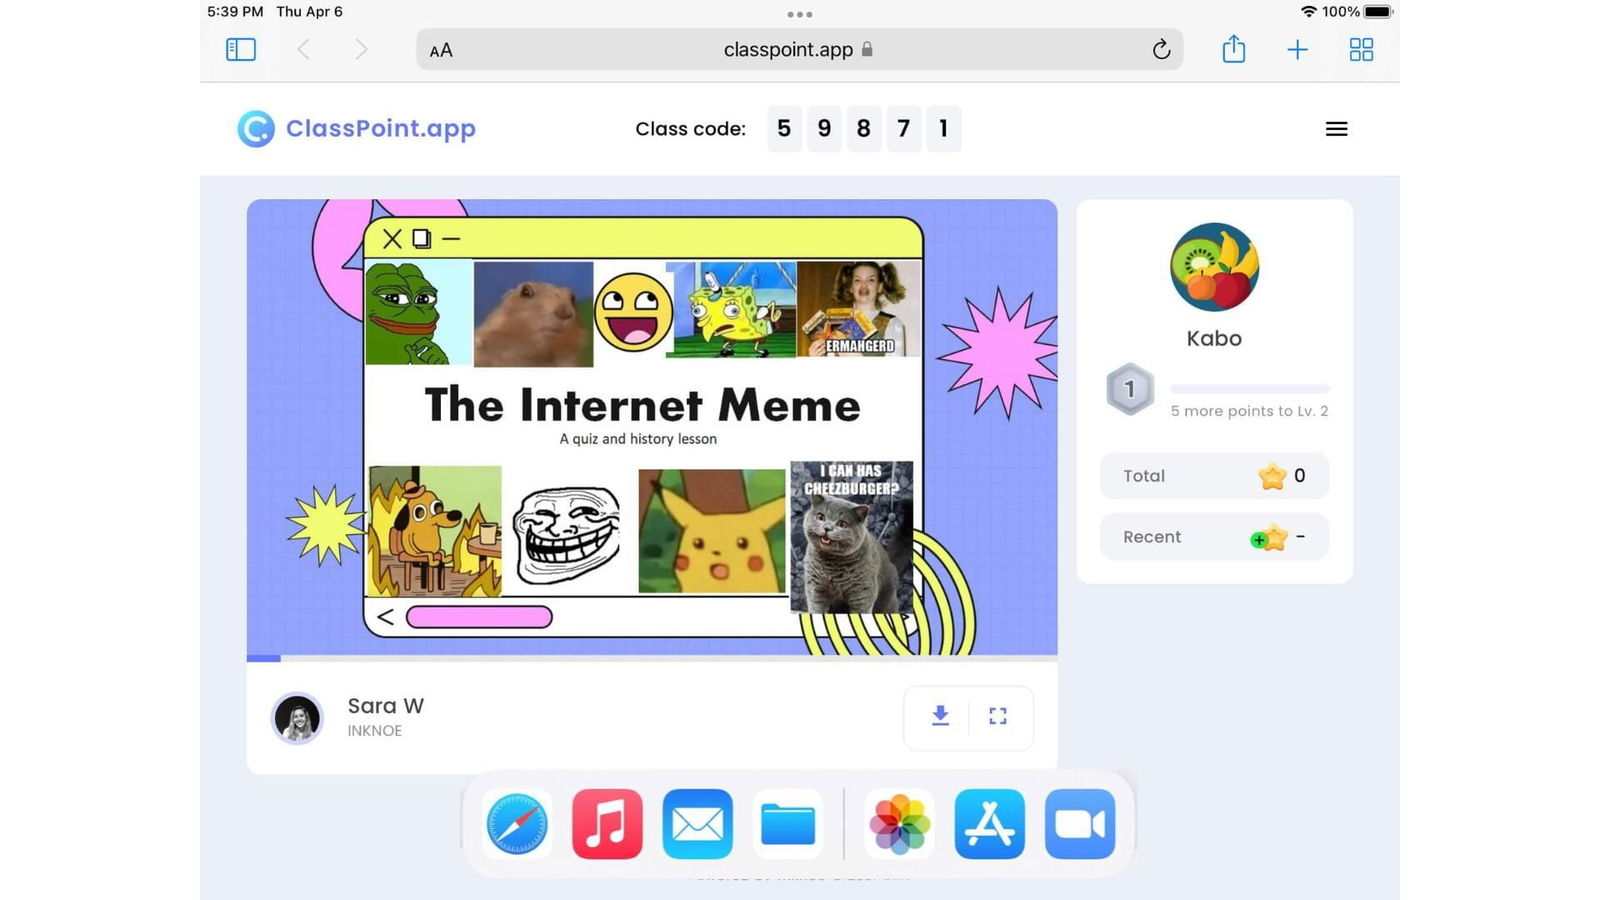
Step 3: Hold and drag your second application
Now, hold and drag your second application over to the right side of your screen. Once there, you can let go of the application. You will now see both application windows appear on your iPad simultaneously!
Optional Step 4: Adjust the windows
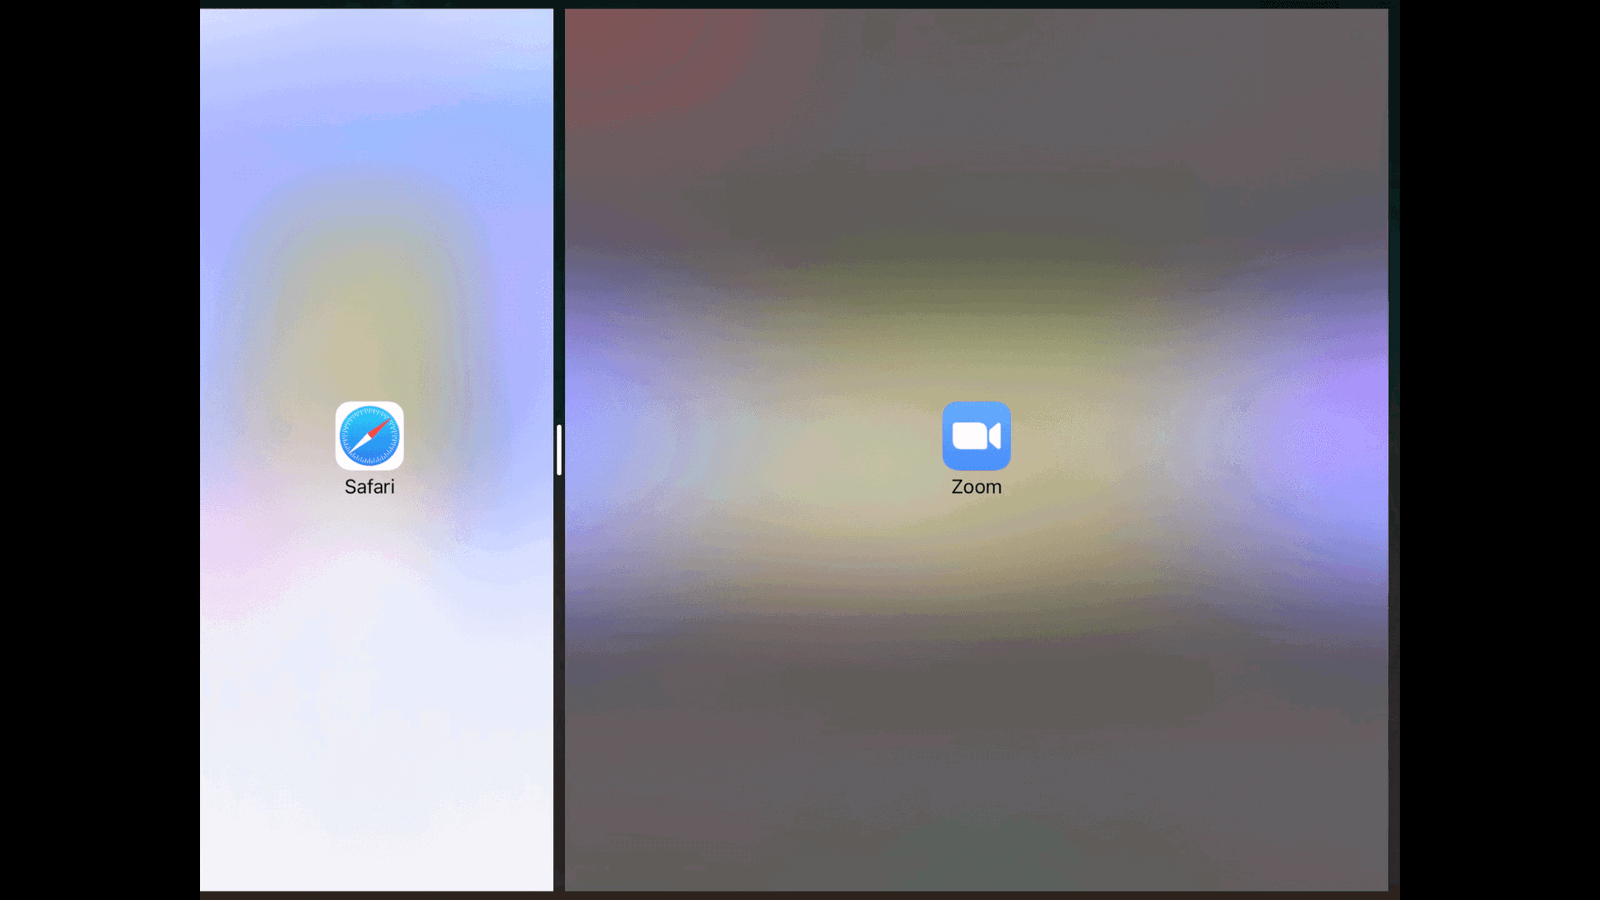
If desired, you can adjust the sizing of the two windows to your view preference. This can be done by dragging the middle bar to the left or right.
Step 5: Enjoy class!
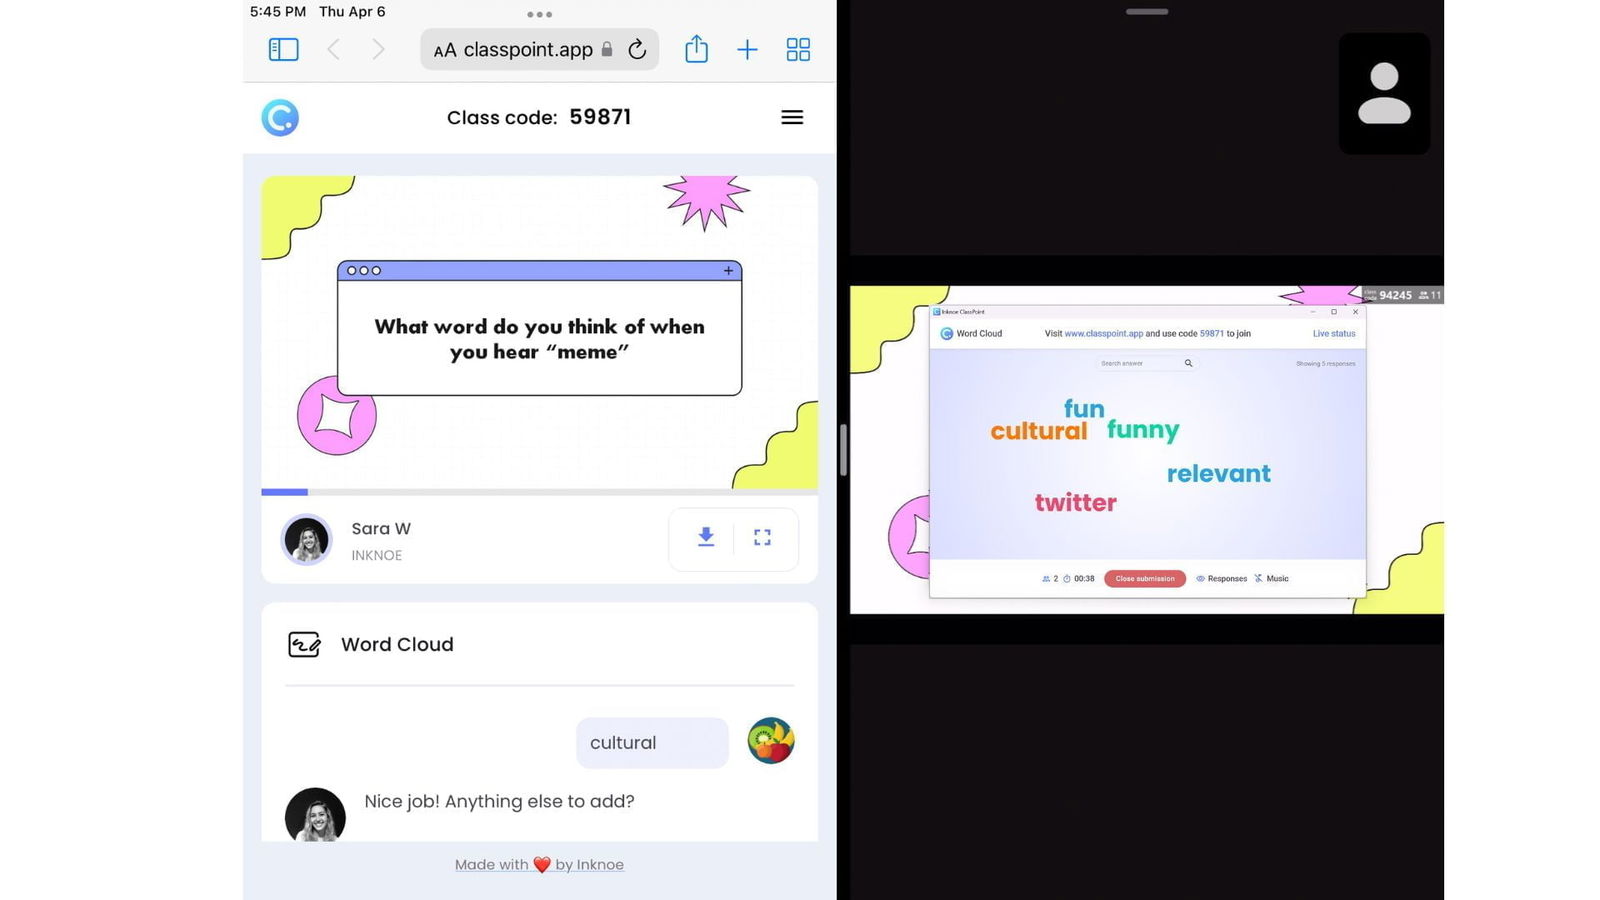
You can now continue to participate in activities while watching and listening to your teacher’s presentation. This is especially helpful for those using ClassPoint since you can watch the teacher’s presentation while answering any questions on a separate browser.
Split Screen on Mobile Devices
Did you know splitting your screen can even be done on a mobile device?! The steps will be different depending on which brand and model you have so pay close attention to the steps below for both Android and iPhone models.
How to Split Screen on Android
Most Android phones will follow the below steps; however, if you do not see the option to split-screen, check your settings to enable Split Screen View.
Step 1: Open your first application
Similar to the steps for computers and tablets, click the first application you will want to split your screen with. This could be a Video Conferencing tool like Teams, Zoom, or Google Meet. Once you are joined into your online class, you can move on to opening up the other window you want to see at the same time.
Step 2: Open in split screen view
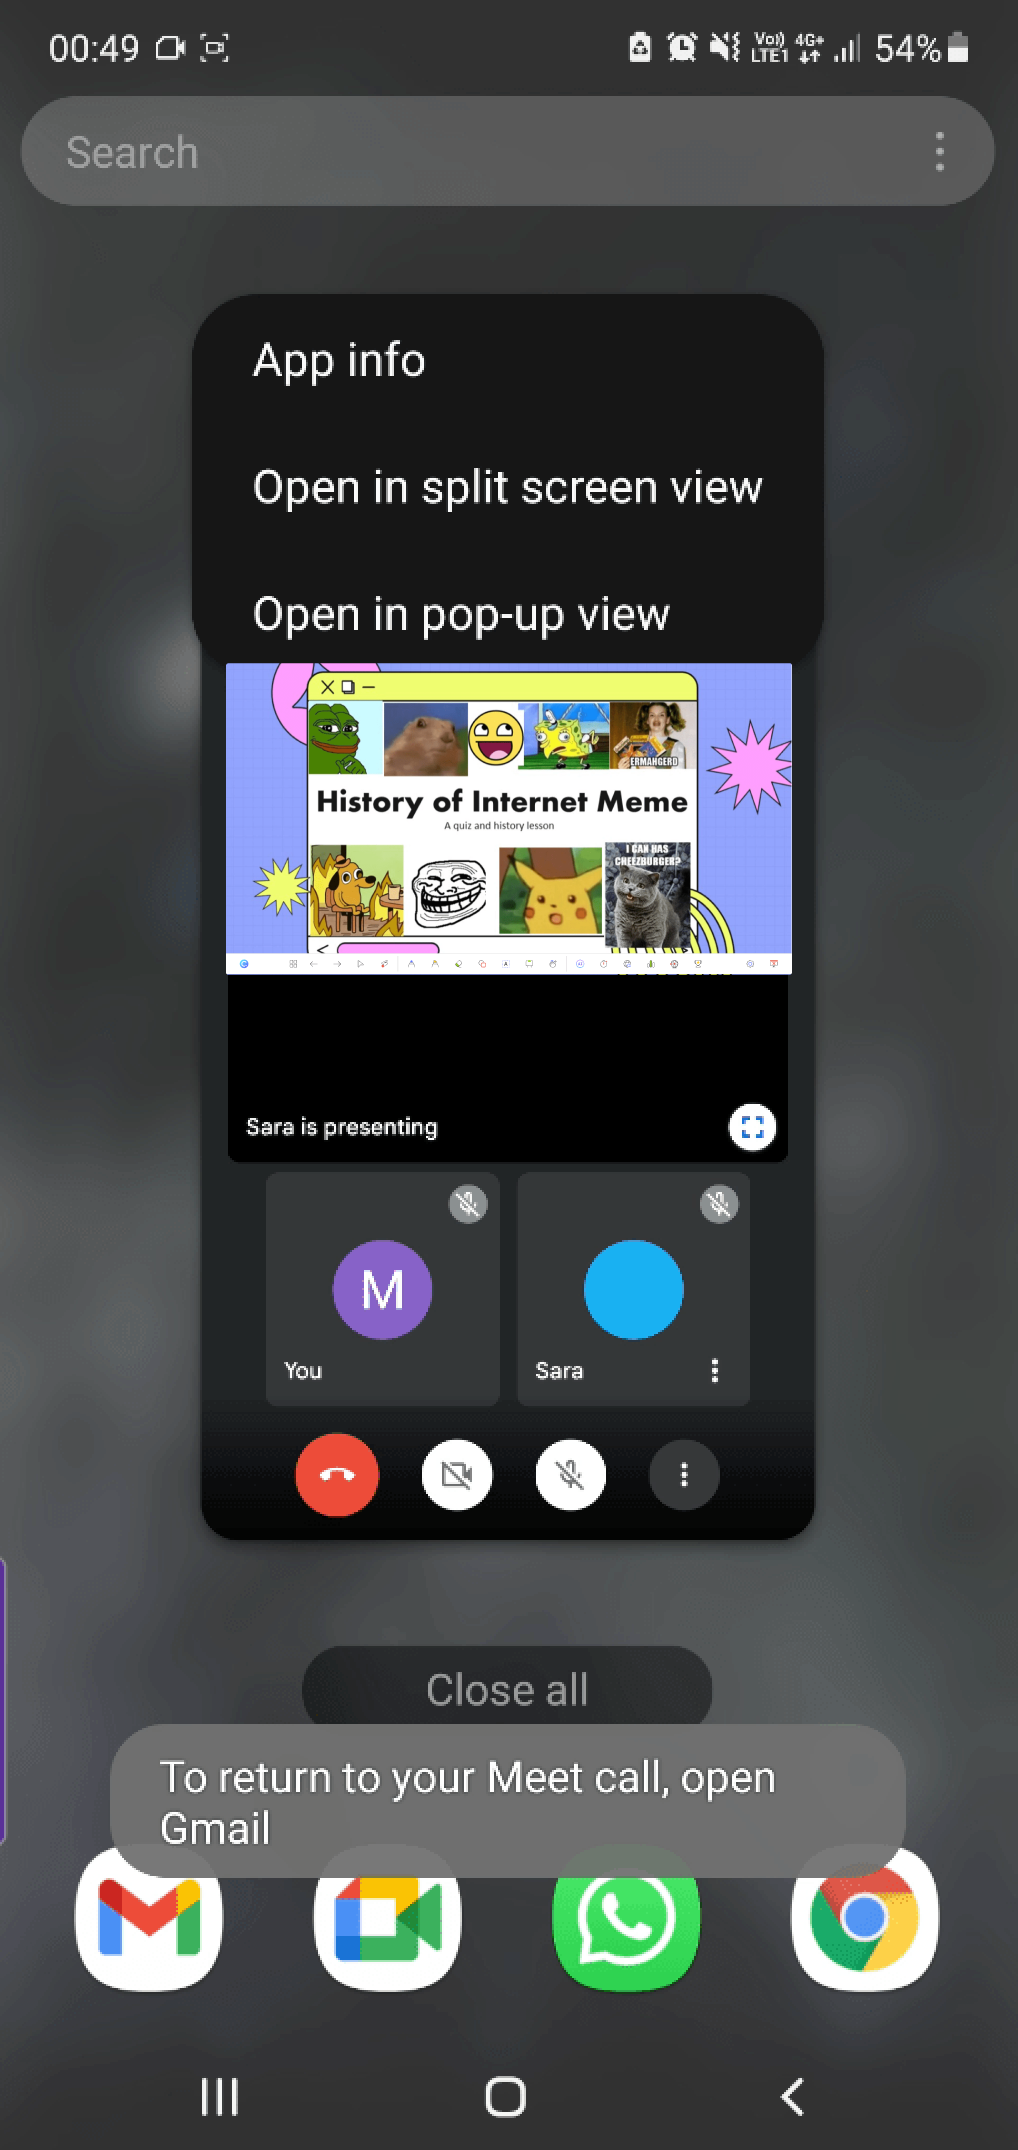
Next, to open another window for split-screen, swipe up to view your open windows. From there, hold down on the window you will want split. A menu will appear with the option to “Open in Split Screen View.” Choose that option & your first application will be moved to the top part of the screen.
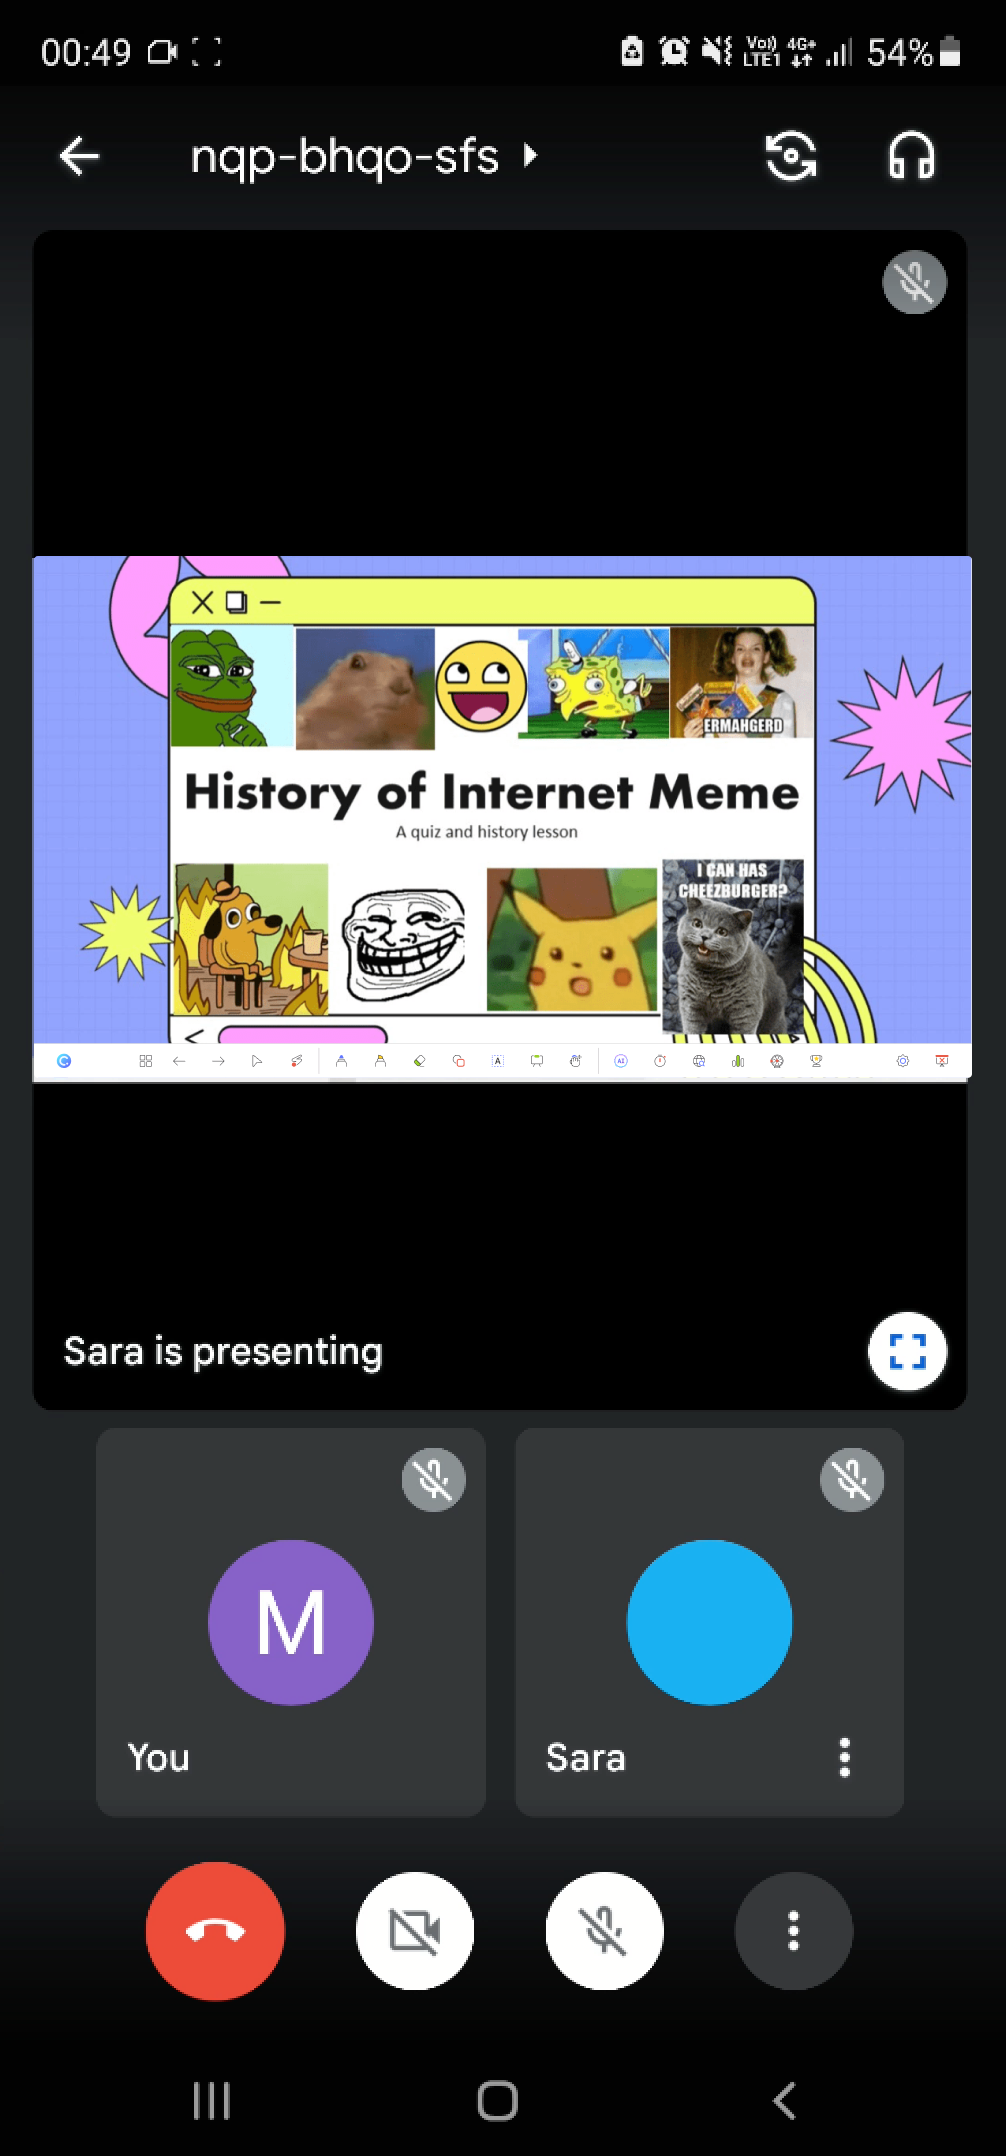
Step 3: Choose your second application
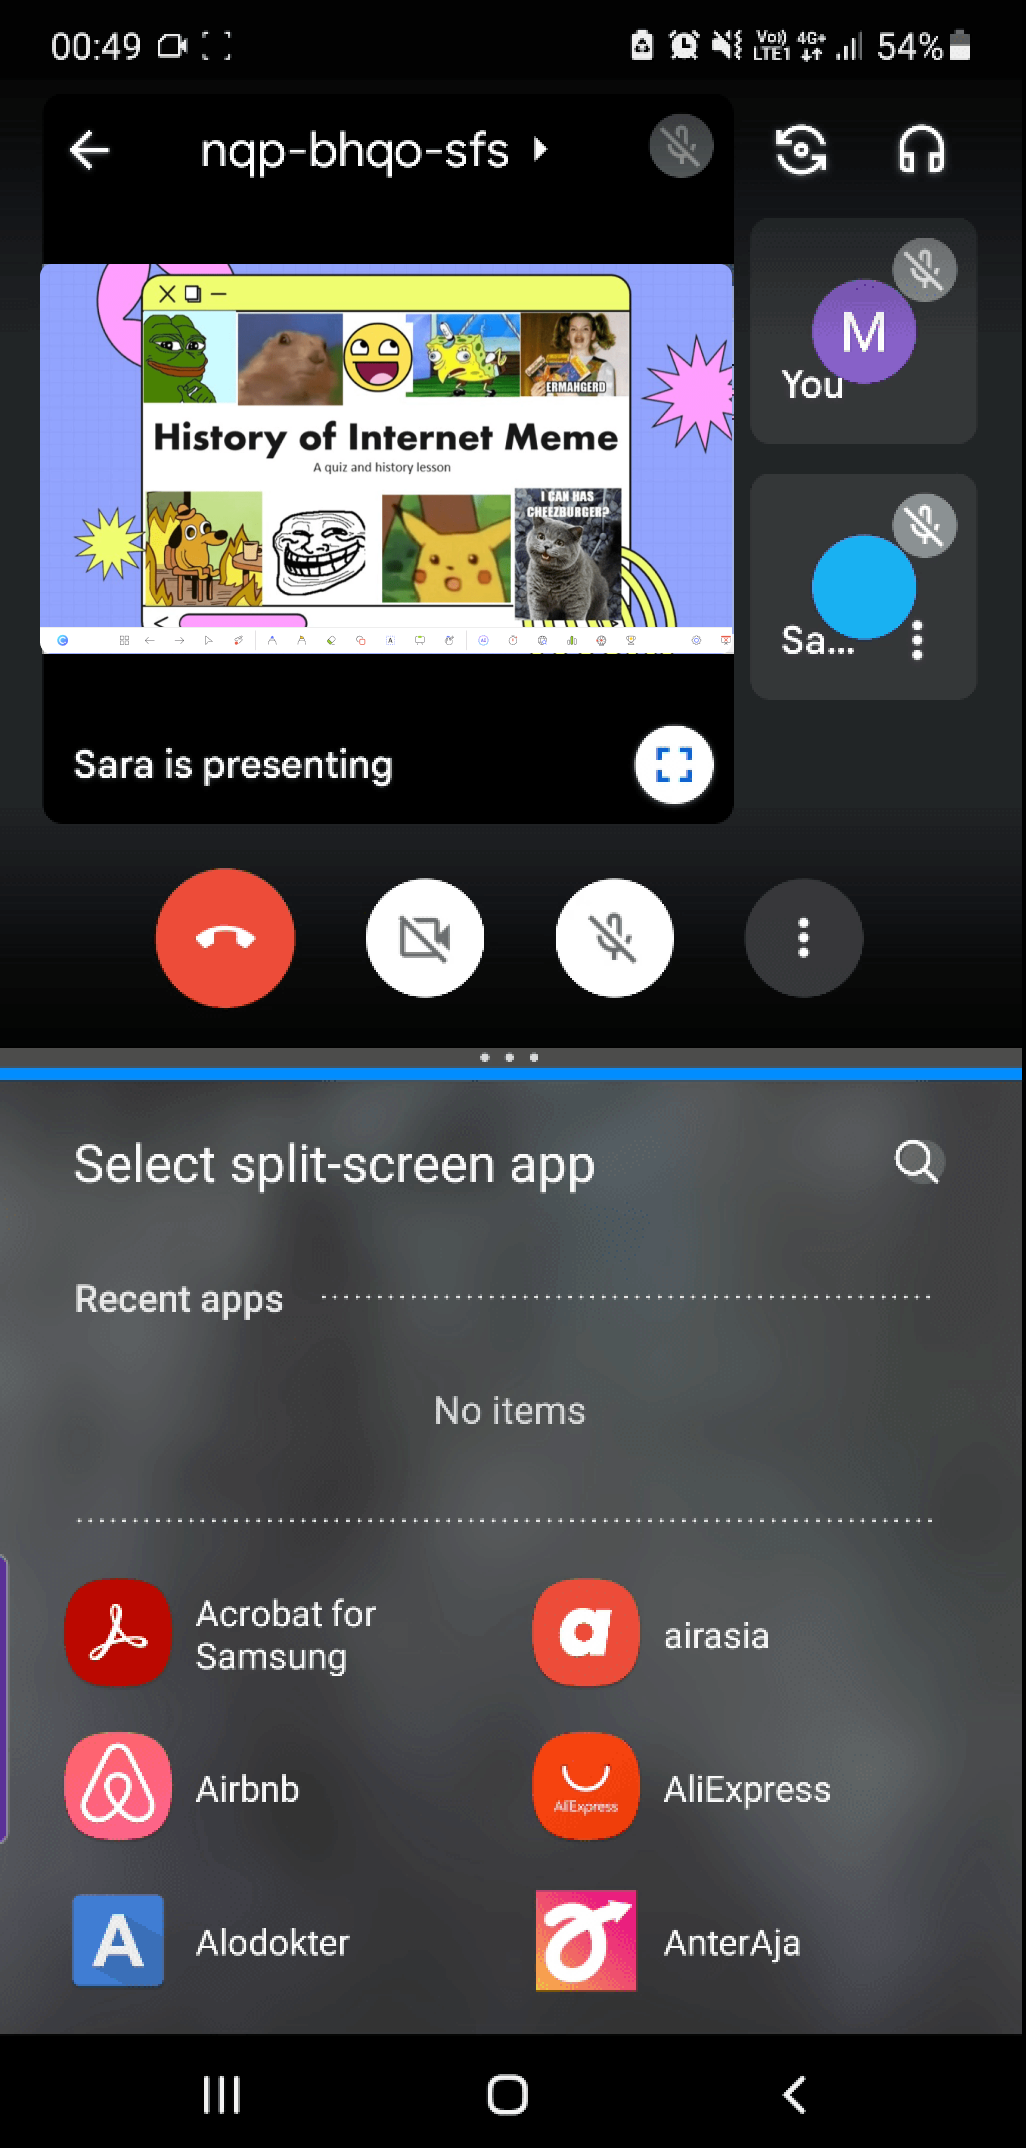
Lastly, you can choose the application you want to view on the bottom half of your screen. Choose a recent application, or search for one. Splitting your screen on a mobile device is a little crowded to view, but alas you can still see two windows at once!
How to Split Screen on an iPhone:
Unlike Android phones, iPhones do not have a built-in screen-splitting feature. However, with the help of an application, you can still view two windows at once.
Step 1: Download a split-screen app
To split the screen on an iPhone, you first must download an application to help. The app store has plenty of free options, we tried using Split Screen View and Split Screen, both of which are easy to use. For the remainder of the steps, we are using the Split Screen app.
Step 2: Choose the apps you want to split
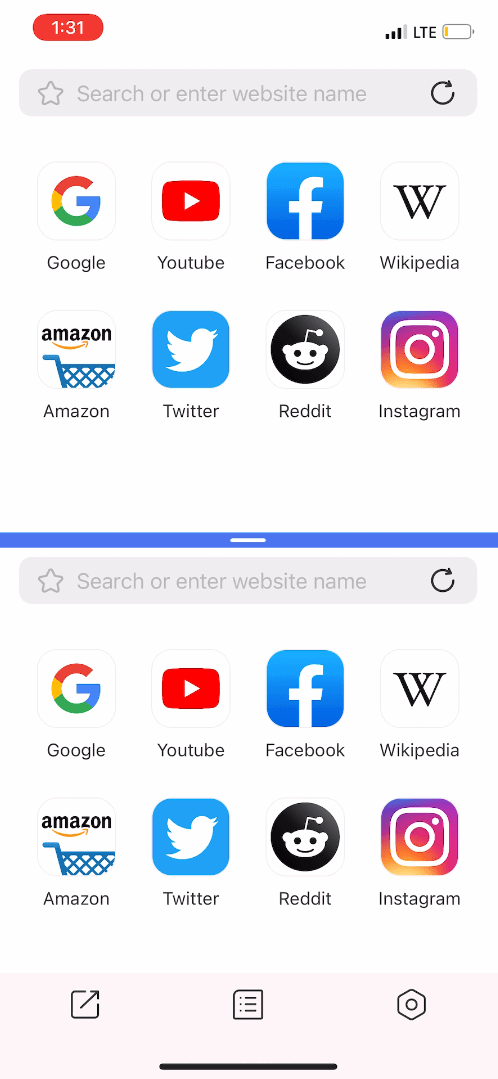
Once your app is downloaded, the rest is easy! Open the app and choose the applications you want to view on the top and bottom of your screen.
In addition, you can adjust the middle split line to make one half bigger or smaller. Unfortunately, these apps do not support screen splitting with every application you have on your phone. So you might have to search your tools on Google to open them on the iPhone.
Similar to the Android models, the view here is a bit small. Splitting your screen on a mobile device can be done, but it is not the recommended option.
The Ideal Split Screen for Online Teaching
Now you know how to split your screen using any device! But just because you can split-screen on a device, doesn’t mean you always should; *cough* mobile phone *cough* Splitting your screen on a laptop or tablet for online learning can really be a lifesaver. And, it’s even helpful beyond virtual classrooms while using any two applications for multitasking in class or after class. It is a great trick to help you focus and assist in getting work done.
We hope you were all able to learn something new and that it helps you in your next online class. Try out ClassPoint today or for more tips and tricks on using ClassPoint as a student, check out our full student guide. Happy interactive learning!
