
In this tutorial, I will show you step by step how to use Zoom for online teaching. Zoom is a video conferencing platform that you can use for your online teaching to have virtual face-to-face classes with your students. This platform helps you get your students engaged in many different ways. To get Zoom up and running in less than 5 mins (plus some useful student engagement tips), follow along below!
Register and Download
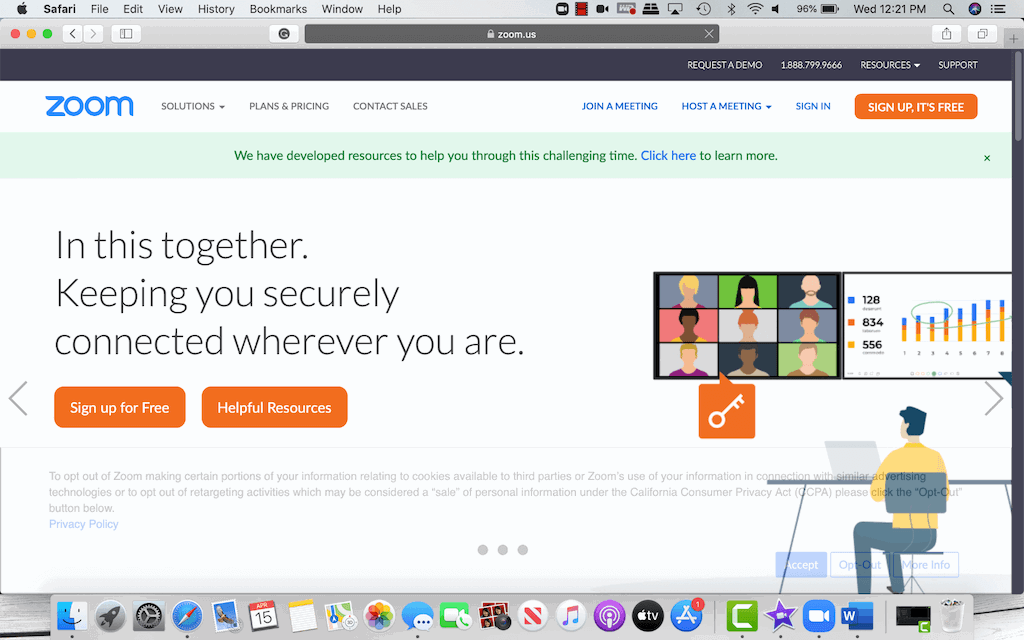
To begin using Zoom, head over to zoom.us to sign up for an account. Zoom has different pricing options – with the Basic account having a 40-minute time limit on all calls. However, as a teacher using your school email address, you can now use a Basic account with the 40-minute time limit waived.
Once you have registered, Zoom will prompt you to download the desktop application.
Schedule a Meeting
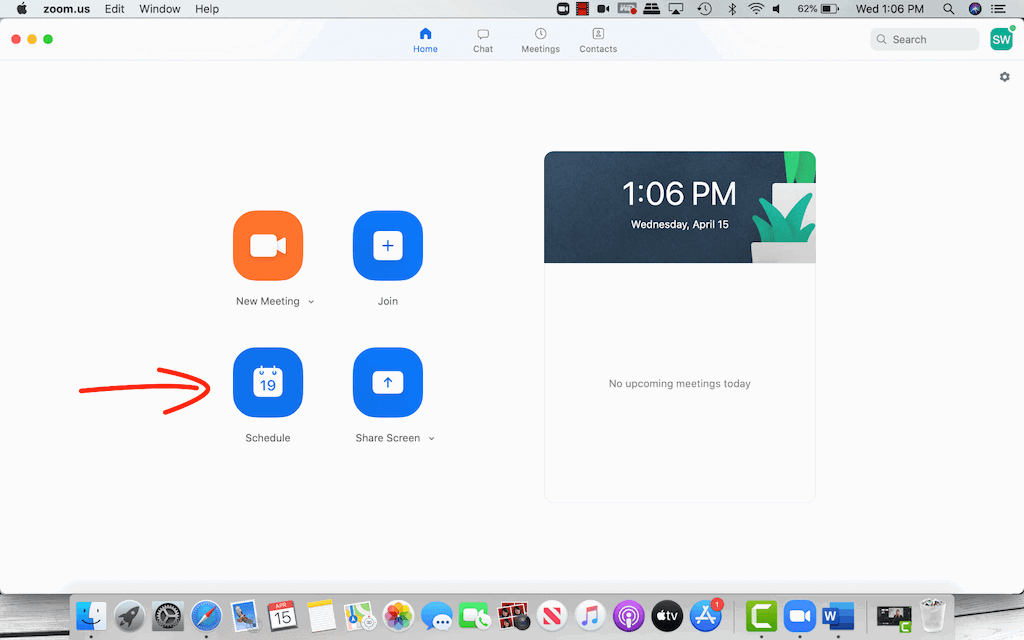
Zoom’s homepage has all of your main options right on the main screen, making it quite simple to use. You can choose to instantly start a meeting whenever you’d like, or you can schedule in advance.
We recommend scheduling a meeting so that all the set up will be complete beforehand. To do this, click on the Schedule button. From here, name your meeting, set a date and time, and fill out the remaining details you want to provide.
To keep your class as secure as possible, keep Meeting ID on Generate Automatically and keep a meeting password on. Now, only people with the link and password will be able to access this meeting.
When you have finished filling out your remaining details and setting the options for audio and video, hit the schedule button.
Invite Students

To give your students access to the call, on the Zoom homepage, navigate to the Meetings section on the top ribbon. Here, you will see your upcoming meetings and their information. From here, you will want to copy the Invitation Link, Meeting ID, and Password and paste this information into an email, a learning management system, or any other application that you use to communicate with your students.
When it is time for the meeting, your students can join by clicking the link you sent or at zoom.us. They’ll be prompted to download the application, but it is a one time download, so after the first time, there should be no problems.
Start the Call
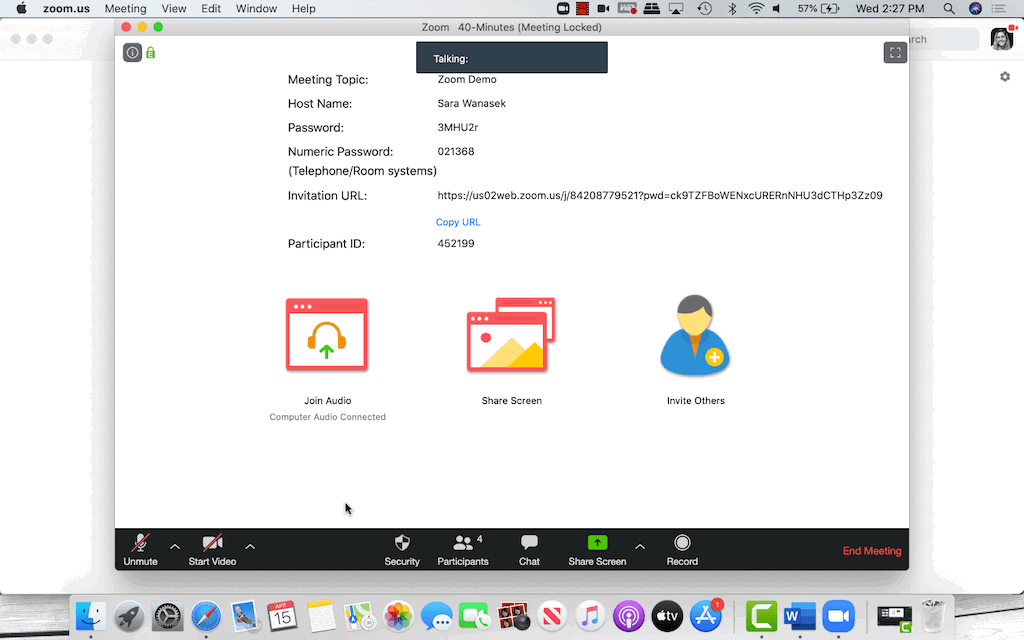
When you start your meeting, you will see a toolbar at the bottom of the screen. On the left, you have an audio and video button. These two buttons allow you to switch the source, or turn off/on your microphone and camera. You can also choose to have a virtual background to make the call more exciting and interesting for your students.
Zoom has been getting a lot of pressure to make their platform more secure. Recently, meetings were being interrupted by people who were not invited. So moving along the bottom you now have the Security tab with the option to “Lock” your meeting. No other participants will be able to join once it is locked.
The next tab, Participants, is where you can see a list of all your students on the call and can quickly mute or unmute all your students. There are a couple more customizable options in this tab you might be interested in. If you teach younger students, you might want to disallow the student’s ability to unmute themselves, so this way you don’t have to worry about them unmuting themselves and random noises interrupting your class.
If not every student can make a live lecture, turn on Zoom’s recording feature in the toolbar so that you can have a copy of the whole meeting to send out later or keep for your own records.
Screen Sharing

To share your screen with your students and even have your students share with you too, click the Screen Sharing button on the toolbar. You are able to share any window that you have open on your desktop. In addition, also you can also share other pages, like a Whiteboard or a second camera.
For more security, set Screen Sharing to host only.
Whenever you are sharing your screen in Zoom, you have the option to annotate on-screen with the toolbar on the top screen. You have the option to allow your students to also annotate along with you up in the More tab.
When you are done sharing your screen, clicking Stop Share will bring the meeting back to your video.
Student Engagement
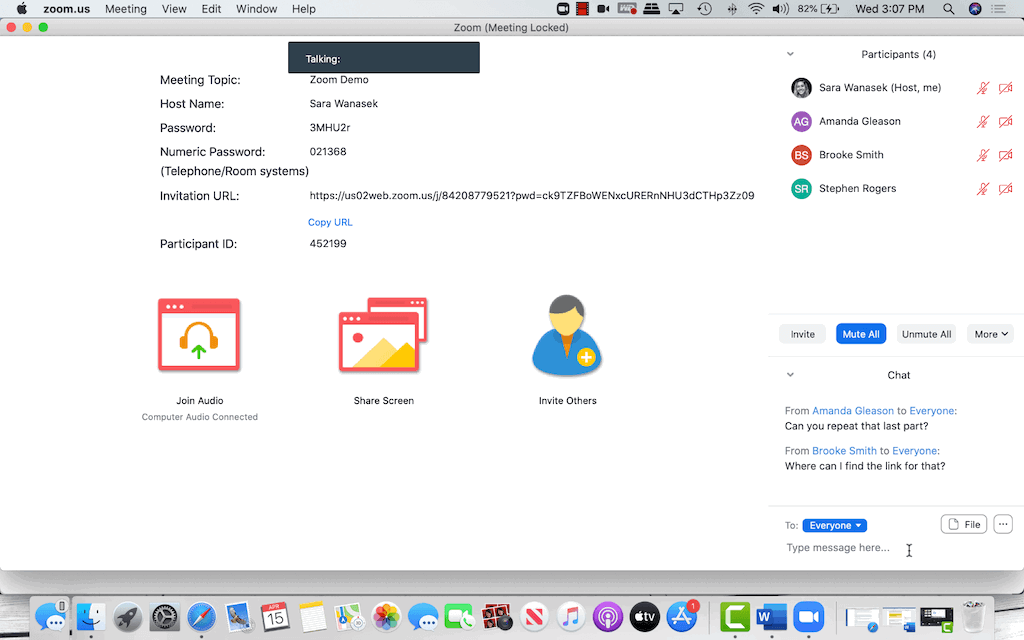
Engaging your students is more important than ever in these new virtual classrooms. To help with this, Zoom has some good built-in features for you to receive feedback and communicate with your students.
Firstly, Zoom has a Chat feature so that students have a place to discuss with each other and with you. To allow your students a place to discuss amongst themselves, you can create a Breakout Room. Turn this feature on through the settings on your zoom profile.
Secondly, your students will also have a Reactions button on their toolbar. With this, they can send a quick emoji to let you know how they are understanding the lesson.
Thirdly, you can set MCQ, TF questions, or create a vote so that you can get feedback from your students instantly. This Polling Feature does require a paid account because it is a Pro feature. To find out more about this feature, you can check out the Zoom website.
Related Topics
Zoom is just one of the tools that you can use for online teaching so if you are using a different platform like Microsoft or GSuite for classroom management, you can check out their own video conferencing platforms to use. For a beginners guide to using Microsft Teams and Google Meet, check out our tutorials.
BONUS: We have specifically made a tutorial for you on how ClassPoint can be used in online teaching with Zoom, Teams, or Meet. Don’t forget to check it out!
