In today’s digital world, there are a surplus of technology tools to help nearly every person with their daily lives, especially teachers. EdTech tools have proven to help facilitate and enhance teaching, a new challenge for educators is choosing among the hundreds of tools that can assist in a variety of ways. You might decide you want to utilize a digital whiteboard tool, but even then, which one?
Digital Whiteboards for Teachers
Digital whiteboards are super useful for both in-person and online teaching to better engage your students and individualize your teaching. Similar to traditional whiteboards, interactive digital whiteboards allow you to collaborate, brainstorming, communicating and recording ideas, illustrate key points, but with added flexibility, participation, customization, editing, sharing & exporting, and more.
Unlike physical whiteboards, digital whiteboards allow you to embed all kinds of media -different objects, shapes, even pictures, files, videos, or voice chats into your whiteboard. You can select layouts, layer & manipulate objects, and share access so you and your students can even collaborate on the same board.
So which digital whiteboard should I choose?
It can be difficult to choose which tool to use in your classroom, but to start, think about your needs: what you are currently missing or what you features you need to achieve a goal? From there, find the tool that best fits those needs. To help you break it down, we’ve dissected five popular digital whiteboards for teachers. We’ve outlined their main differences and highlighted where each tool shines the brightest.
Microsoft Whiteboard: Best for Collaboration
If you are looking to collaborate on a whiteboard with your students, than Microsoft Whiteboard is the best tool to use. Its endless canvas, integration with other Microsoft applications, and ability to identify names & photos of students makes Microsoft Whiteboard the perfect collaboration candidate.
How to Use
You must have a Microsoft account to have access to Microsoft Whiteboard. There is an online web version or an app you can download for your devices. The online version has limited features compared to the application version. In addition, you can use Microsoft Whiteboard inside Teams with limited features.
Best Features

Our favorite features are the galaxy pen, active stylus compatibility, and ink to shape or table. Ink to shape or table recognizes the shape you drew and creates a cleaner-looking shape in its place. The latency of Microsoft Whiteboard is exceptional, so it feels more real-time when collaborating with students. Check out this video to watch an example of Microsoft Whiteboard’s collaboration capabilities.
Using it for Collaboration
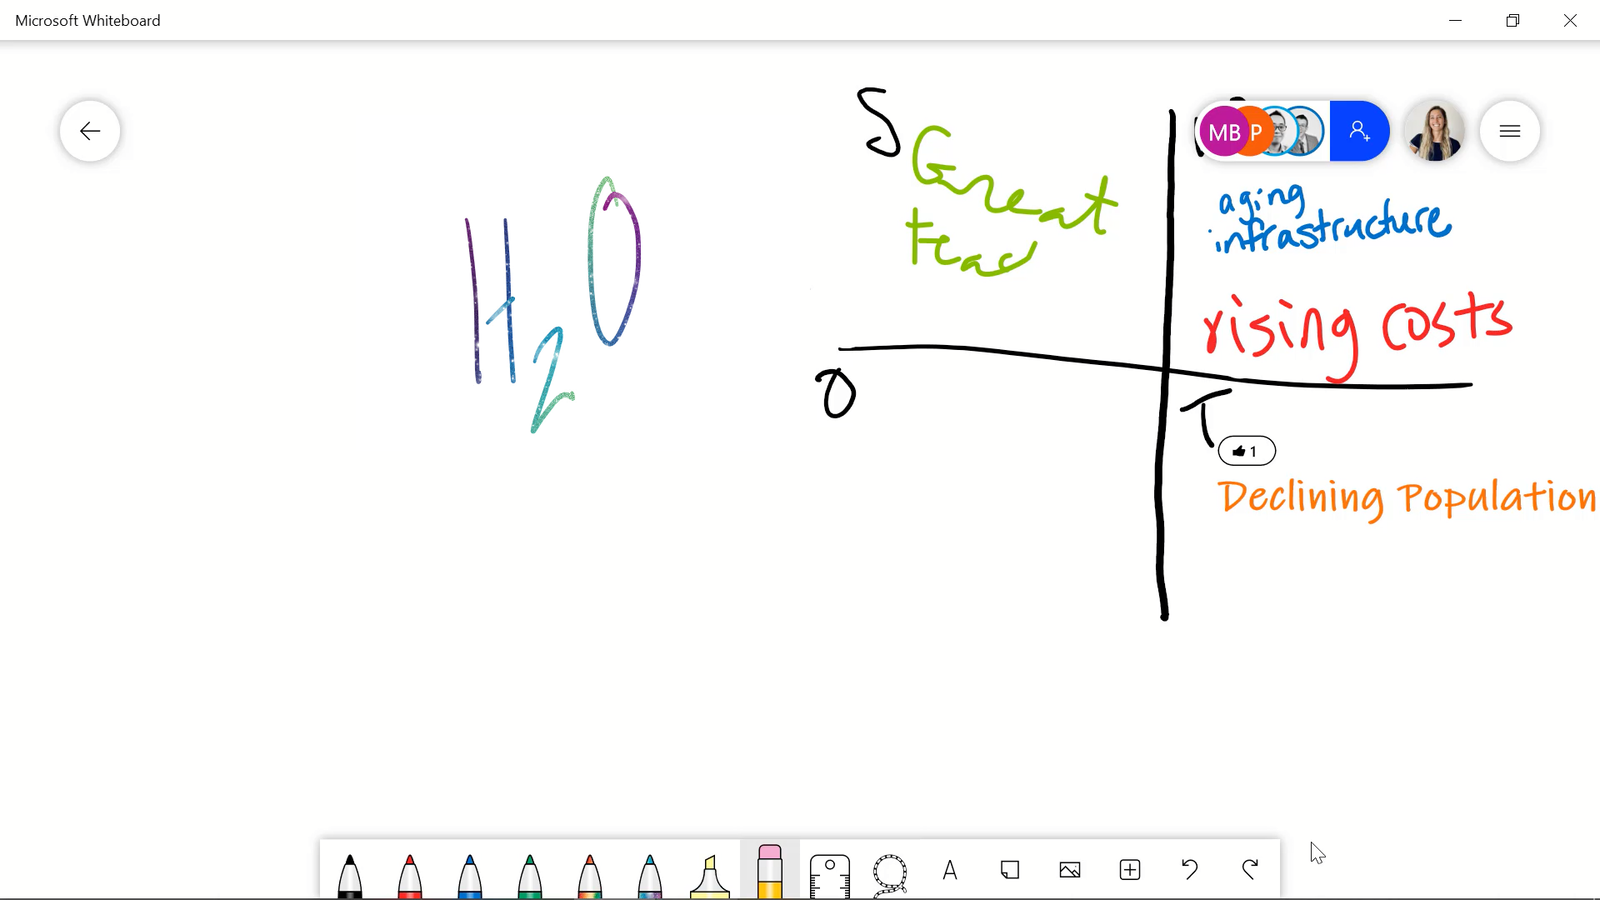
First, invite your students to join your board. If you are using your school account, you can easily invite your whole class right from the side menu. If not, just copy the invite link to your students. Once your students have joined, and begin adding to the board, you can see their photos appear as they are writing. There is no choice to disable students from writing or deleting, so keep these brainstorming sessions casual!
Cost
Free! More features if subscribed to Microsoft Office 365.
Miro: Best for Brainstorming
If you are looking to use a whiteboard to record brainstorming sessions as a class, Miro may be best for you. Miro is great for brainstorming because they have a myriad of templates pre-made already right inside their application.
How to Use
Create an account at miro.com and use the whiteboards from that page, or download the app on your device and sign in to begin using.
Best Features
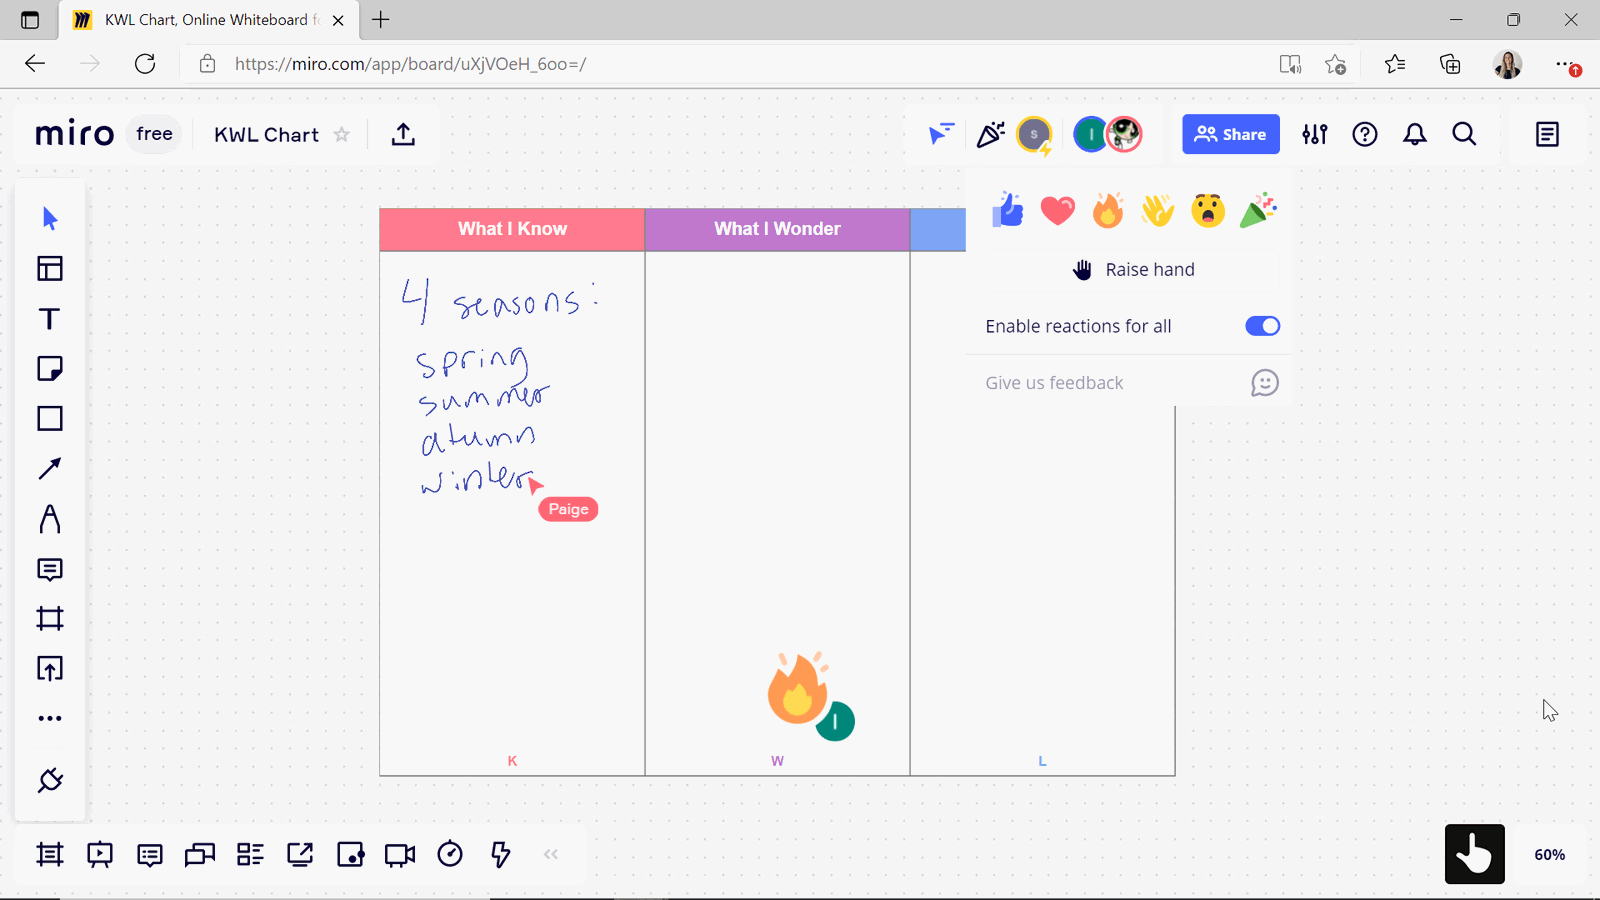
Some of Miro’s best features are those for better interacting with your students. Once you have invited your students to the board, they can send reactions, like a fire, thumbs down, or heart to appear on the whiteboard. Students can also “follow” you around the board. Since it is an endless whiteboard, ensure students are in the right area with this feature. As a teacher, you can also follow a student around to ensure they are not off writing in their own part of the canvas.
Using it for Brainstorming
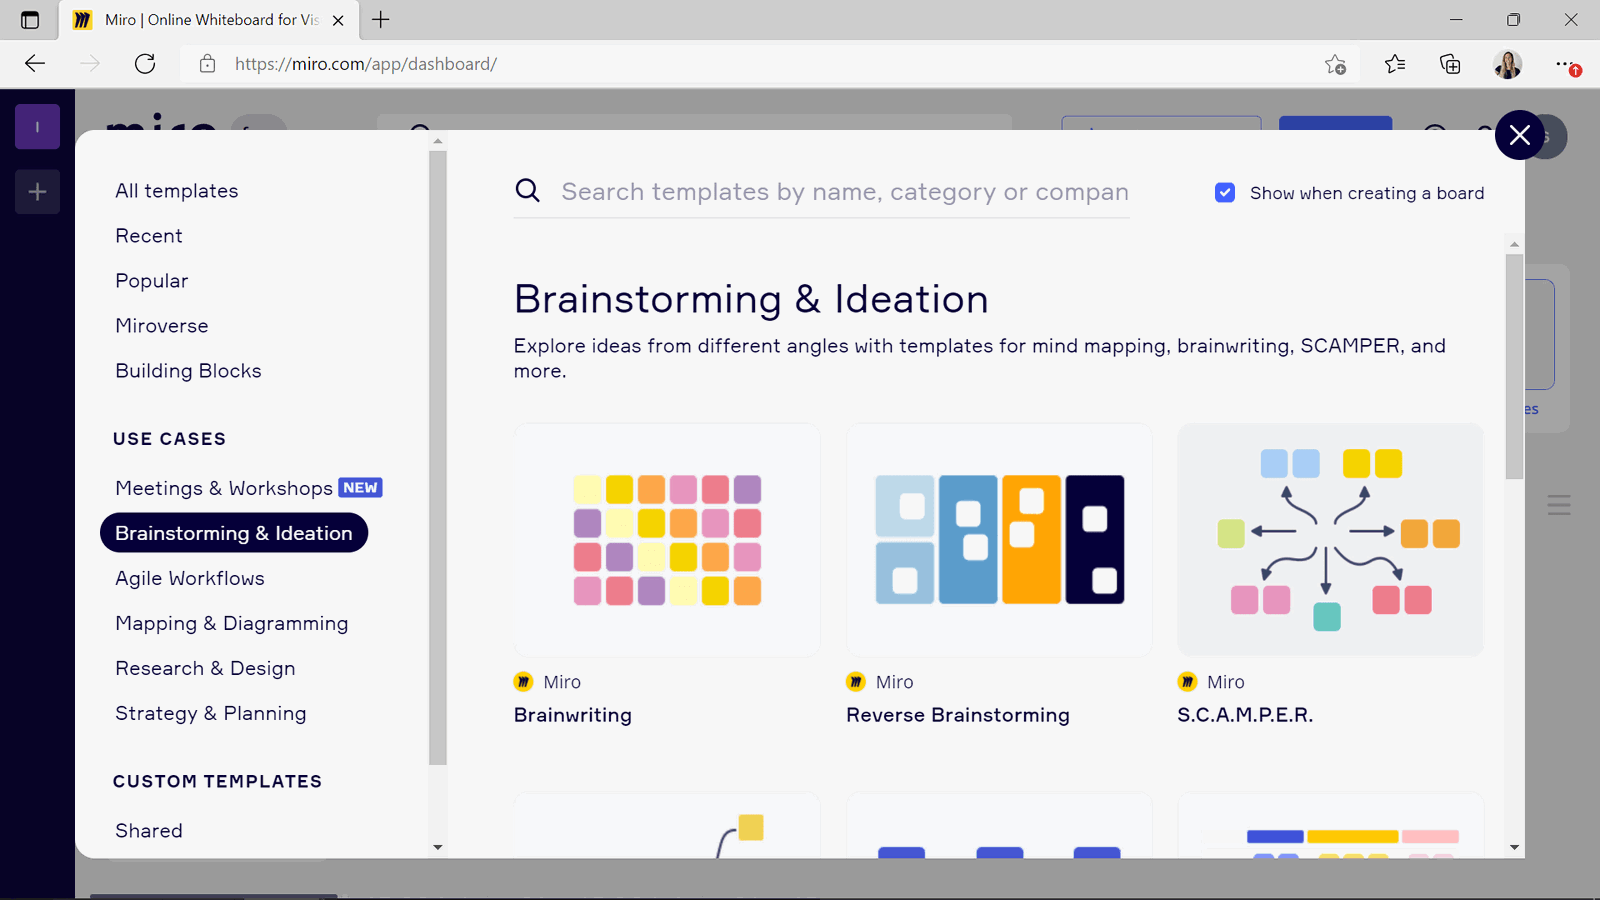
Miro has a whole library of templates that can be inserted into your whiteboard. Look through Brainstorming templates, their other lists of templates, or create your own! Once inserted into your board, it is fully customizable. You and your students can begin adding more right away. There is no limit to the number of templates in one board, so go ahead and add more if needed.

Add comments on any part of the board, to provide students with feedback. you can even mention a student to ensure they see your note.
Cost
Miro has a Free version and Pro version. Pro includes extra features to interact with your students along with more privacy. The free version only provides access to 3 Miro whiteboards and if students are invited to one, they can view all three of them.
Explain Everything: Best for Recording
To easily record your voice and screen for a lesson or quick explanation, Explain Everything is the digital whiteboard pick for you. With recording and editing tools right inside the app, it is a one-stop shop digital whiteboard for teachers.
How to Use
With both online and web versions, you can use Explain Everything without even having an account. However, to save your work or invite students, you will need to create your own account.
Best Features
The ability to erase parts of images, objects, or videos that have been embedded into your board is a unique feature of Explain Everything. This allows you or your students to really create something original. Objects can be moved around on your page, but there are also locking and editing features if you prefer to keep those objects in one place and add more annotations or objects on top.
Using it for Recording
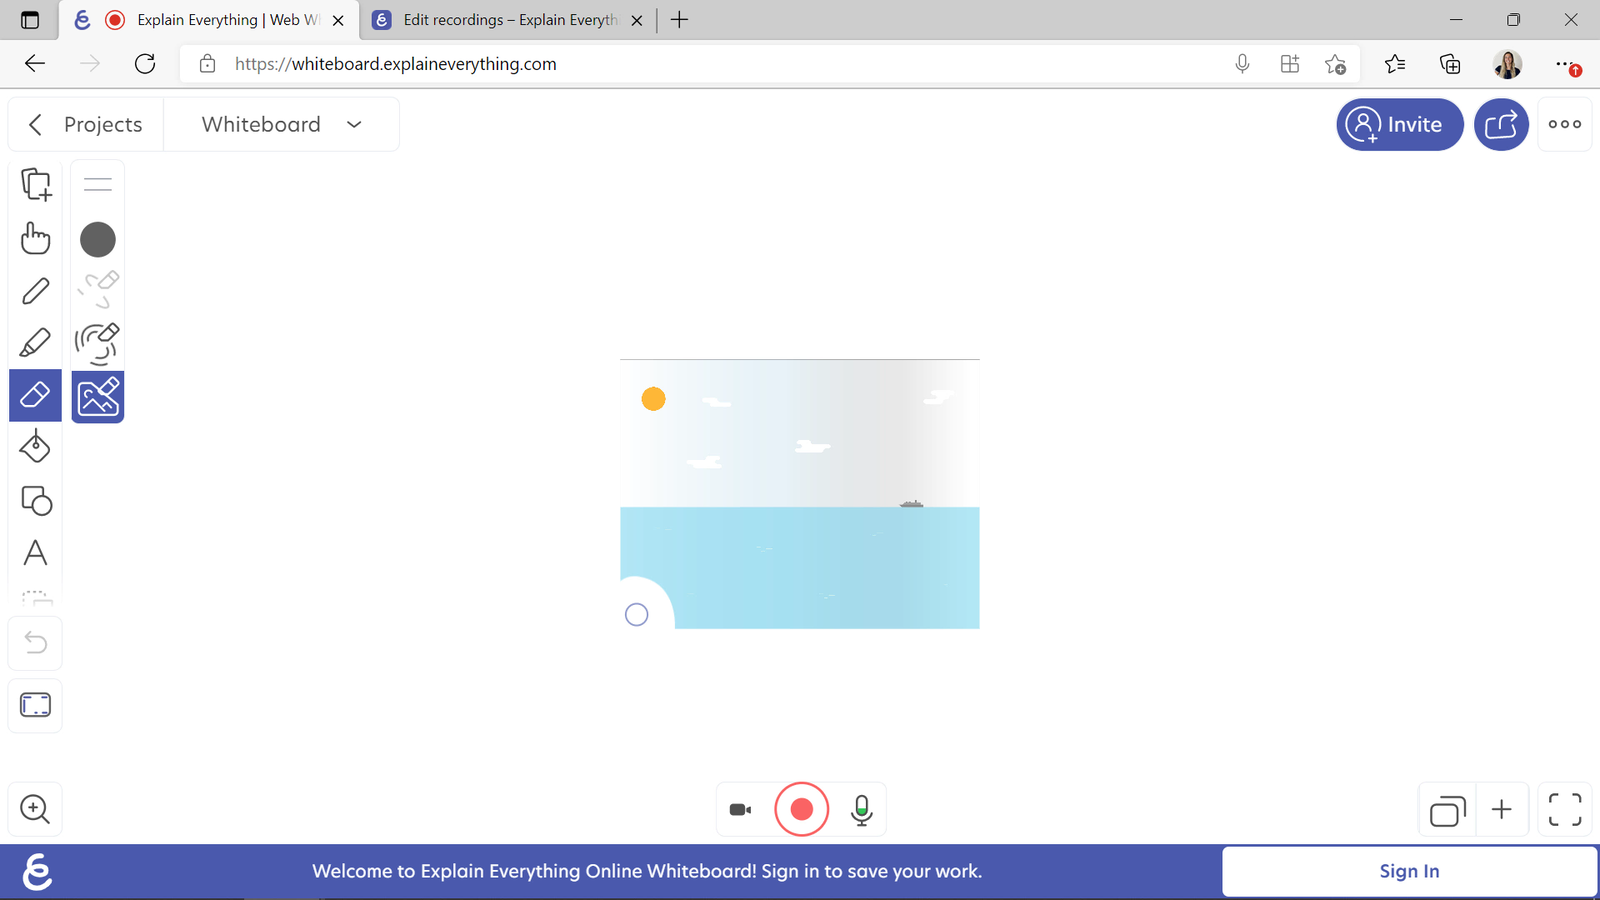
At the bottom in the middle of the screen, is the record button with a microphone option. With one click on the record button, the recording will start. Begin your annotations and explanation right away. If needed, there is also a laser feature on Explain Everything that allows you to point out parts of your board you are referencing. Explain Everything does have a limited page size, so if you need more space, you will have to add another page.
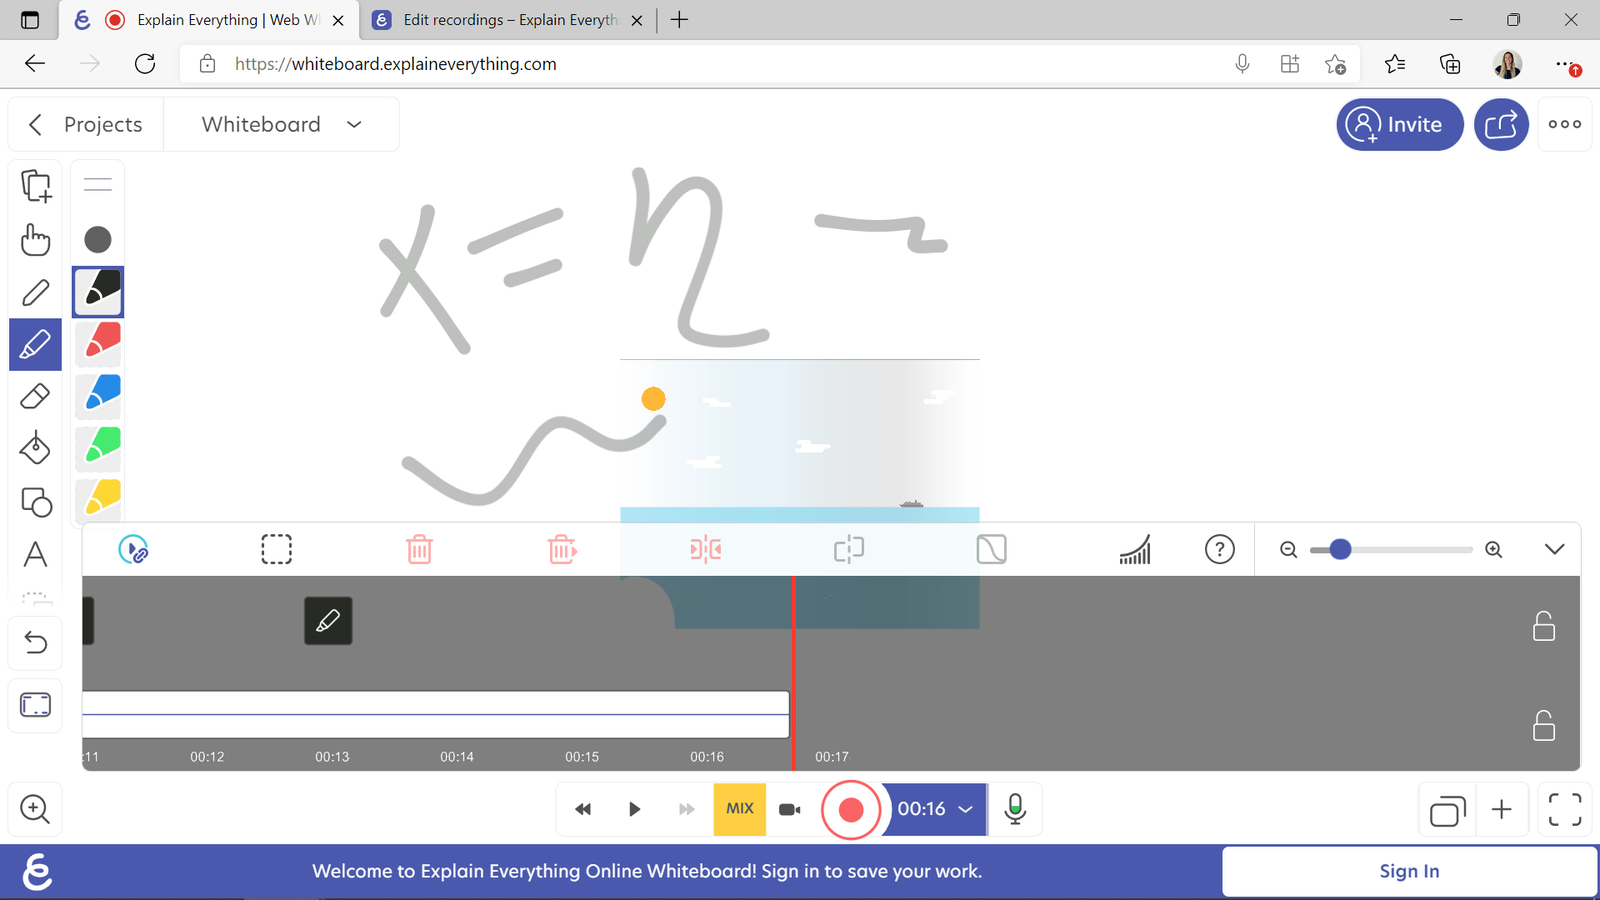
Once you have completed your explanation, click the record button to stop. Now, you can begin the reviewing and editing process. You may find the editor confusing at first, but Explain Everything has a great help page. All the basic features of cutting and cropping parts of the video are there for your use.
Cost
Explain Everything has a limited Free version. With access to one whiteboard page and the ability to share only a one-minute recording, there is not much wiggle room. The Pro version provides you access to more pages, recording minutes, and storage.
Whiteboard.chat: Best for All-in-One Usage

If you are looking for a digital whiteboard tool with every imaginable feature, you might find it in Whiteboard.chat. Made by teachers for teachers, this is a tool you can trust to do it all. No other tools needed.
How to Use
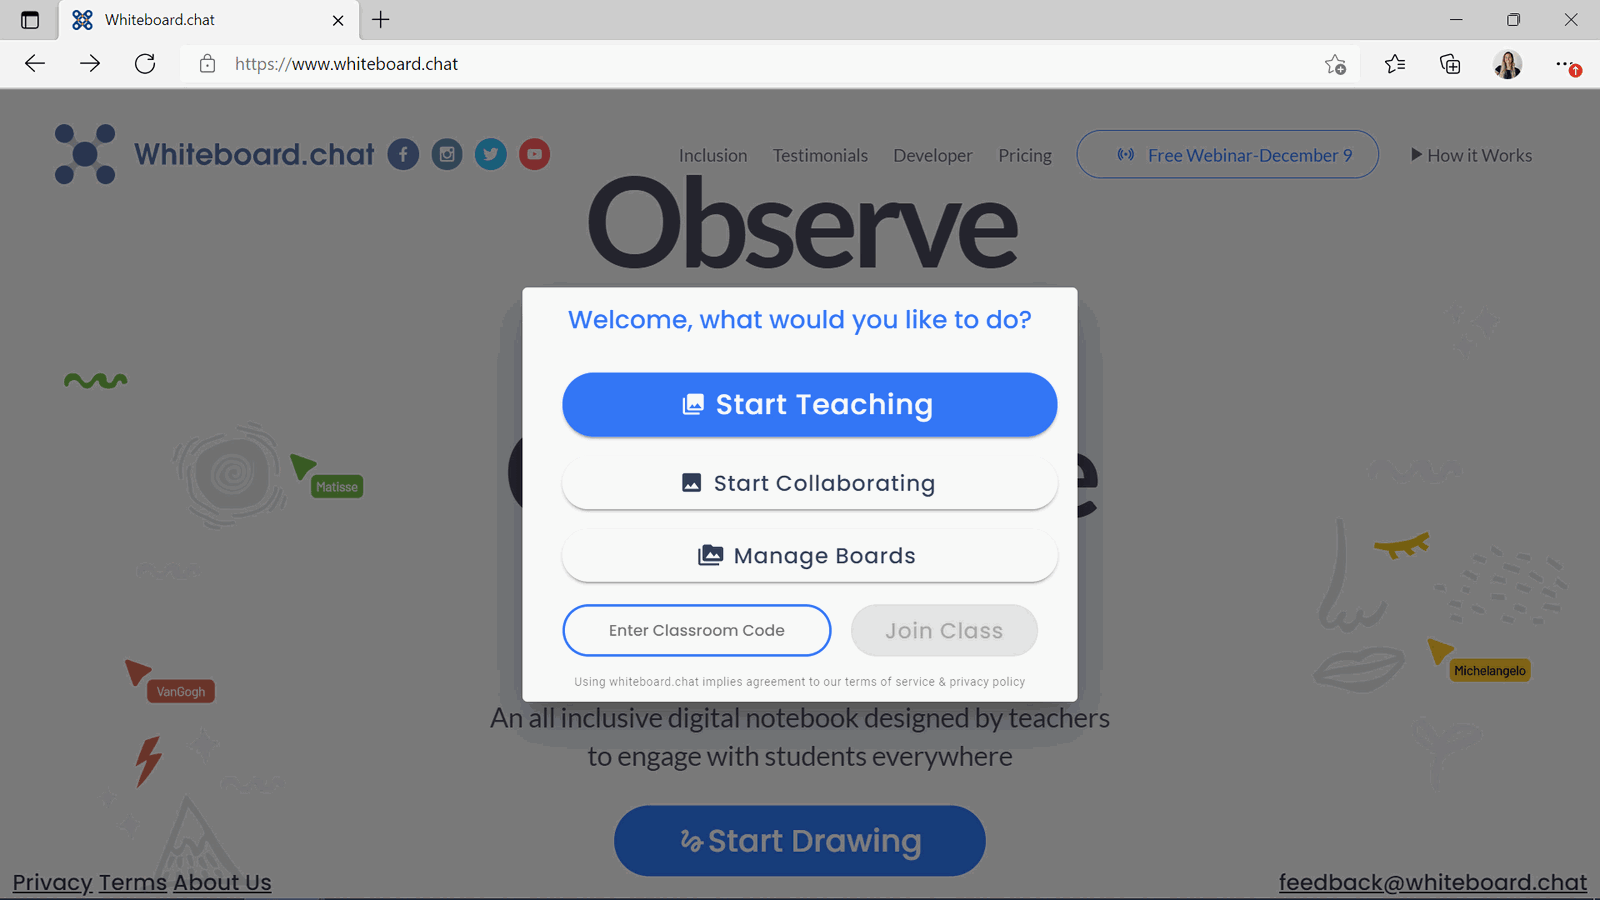
Head over to www.whiteboard.chat to start drawing, no account necessary. You can choose to Start Collaborating or Start Teaching.
The Collaborating option is similar to all the other whiteboard tools mentioned above. You can open up a board, invite your students and all collaborate under the same whiteboard.
When you choose to Start Teaching, each student will write on their own board. The teacher can view all the boards, but students can only see the teacher’s whiteboard, not their classmates. Below we focus on the Start Teaching option.
Best Features
With so many things you can do, we decided the best feature of Whiteboard.chat is its abundance of features, especially if advanced tools & a whiteboard that you can live in is what you are looking for. But nonetheless, here are a few worth highlighting.
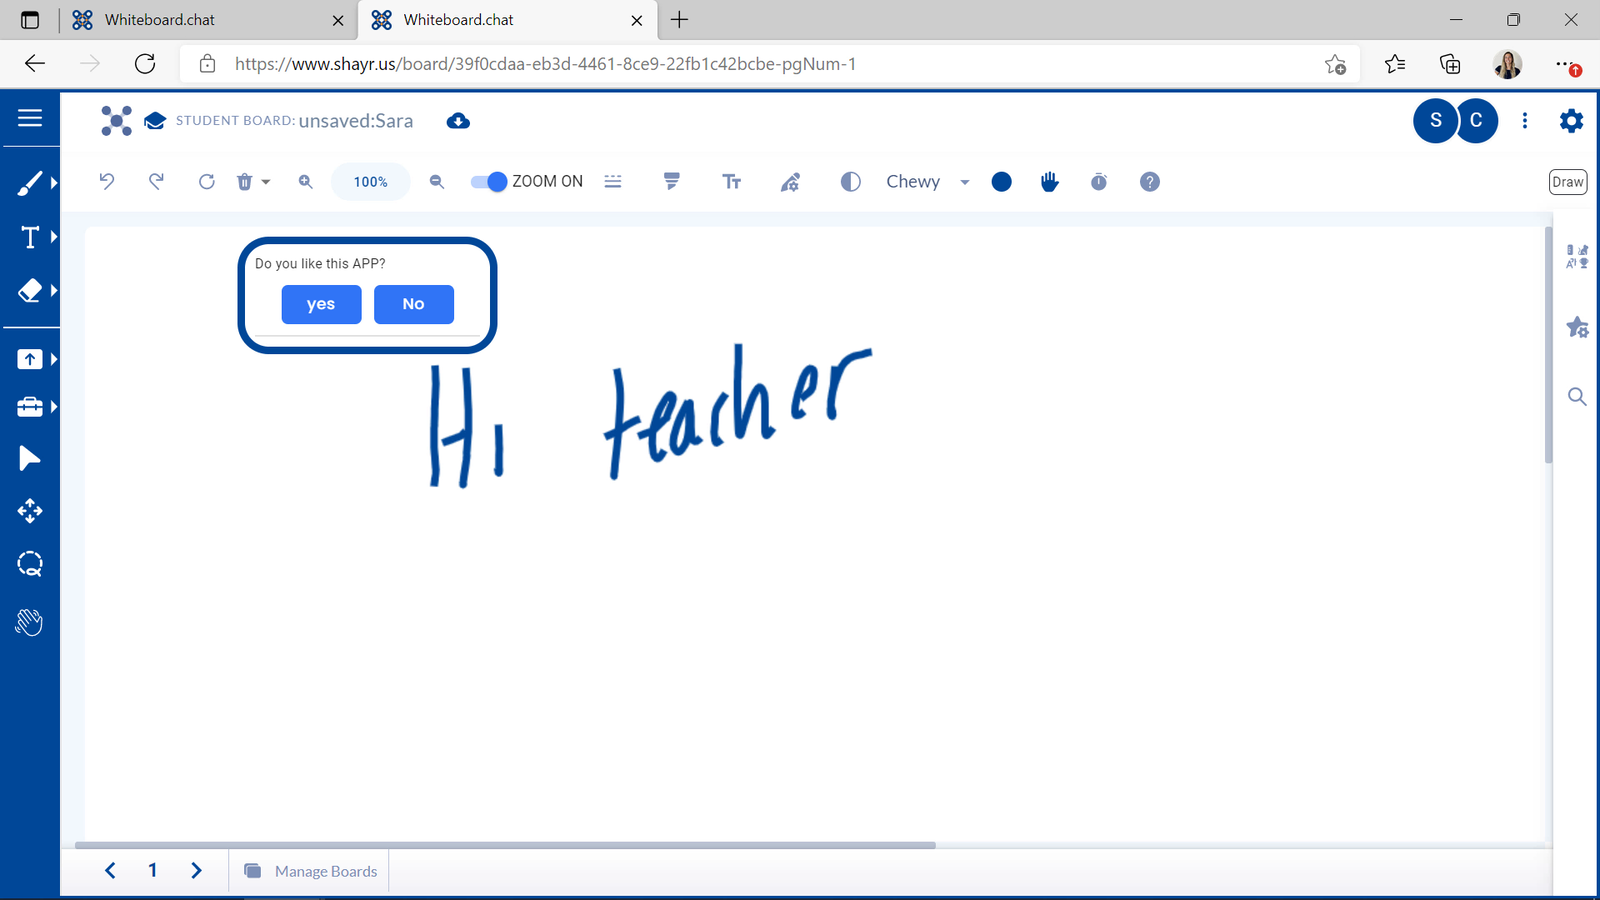
In Whiteboard.chat’s action menu, you have the option to open a demo student page. You can check out how a student views their board so you can really understand and help answer any questions they might have. In addition to being able to view your student’s boards, you can instantly send them a quick poll question to answer. This is a great way to keep them engaged and paying attention throughout the lesson.
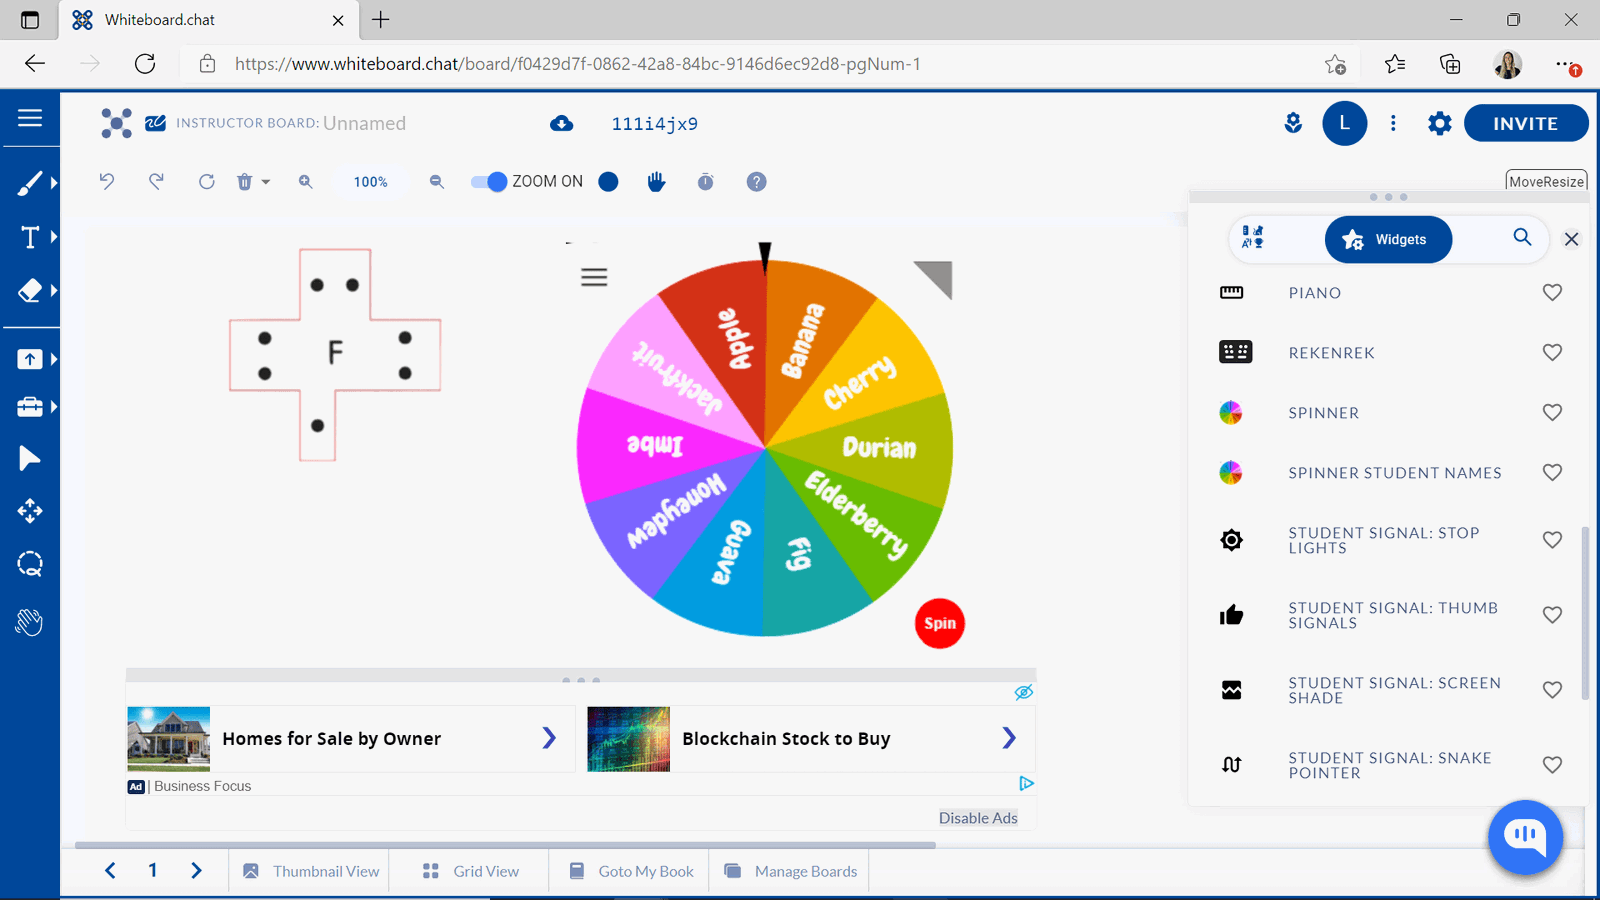
Whiteboard.chat also has gizmos and widgets that you can insert into your whiteboard. These are interactive and animated objects for a wide range of subjects and activities. You can insert tools for math, science, art, and so much more to help provide examples to your students.
It is important to note that with a tool like this, the learning curve is high. If you want a digital whiteboard that can do everything, then you will benefit greatly by getting to know this tool. But if you aren’t looking for all the bells and whistles, then this may not be the best tool for you.
Cost
Free! However, creating an account will give you the option to save your work. For more storage availability and no ads, upgrade to the Pro version.
ClassPoint: Best for Using During Presentations
ClassPoint is the digital whiteboard tool to use if you like to annotate freely during your presentations. Integrated with PowerPoint, ClassPoint gives you the ability to open a whiteboard without ever having to leave your presentation.
How to Use
ClassPoint is an interactive teaching add-in for PowerPoint. You can download, install, and sign up from classpoint.io. Once installed, you will find a toolbar on the bottom of your presentation with all the annotation tools you need. Plus, where you can add a whiteboard to your presentation at any time. This is a great digital whiteboard for teachers who use PowerPoint!
Best Features
ClassPoint is an all-in-one teaching tool for PowerPoint so that you can better interact and engage with your audience. With a handy teacher toolkit, interactive questions, and gamification features, there are many ways to implement these tools throughout your presentation. However, below, we just focus on the annotation and whiteboard features.
Using it When Presenting
With ClassPoint, you can open a customized digital whiteboard anytime during your presentation with a click on the whiteboard icon on the toolbar and begin annotating with shapes, pens, highlighters, and text boxes. ClassPoint has a variety of pre-set templates, or before you begin presenting, you can add any templates that are best for your presentations. In the PowerPoint ribbon, click on the ClassPoint tab. Then find the Whiteboard Backgrounds button. Here, you can add any images to be used as a whiteboard background. These are then inserted as slides into your presentation when you want more room to explain a topic or answer a student’s question.
There are many ways you can use these whiteboards during your presentations. We have some example ideas here from teachers themselves you can check out!
To begin using the whiteboards during your presentation, click on the whiteboard icon from the toolbar whenever you need to add another slide to your presentation to begin annotating. ClassPoint offers pens, highlighters, shapes, and text boxes for you to use to add your notes. Colors, pen thickness, and shape placements can all be adjusted as needed. These annotations will be saved so that you can have a record or share it with your students.
With ClassPoint, whiteboarding on the fly during a presentation couldn’t be easier. No need to abandon your presentation and switch back and forth to a physical or digital whiteboard elsewhere. You can present and pause to elaborate on a concept with a whiteboard in one place.
Cost
ClassPoint is free! You can upgrade to Pro for more access to ClassPoint’s other features such as unlimited interactive questions and up to 200 participants per PowerPoint, but the whiteboard feature is available at no cost.
Summary
So back to you; what are your needs? Are you looking for students to collaborate together, to brainstorm as a class, or for quick whiteboard access during your lesson?
- Collaborate with Microsoft Whiteboard.
- Brainstorm with Miro.
- Record clips with Explain Everything.
- Shop at one stop with Whiteboard.chat.
- Whiteboard while presenting with ClassPoint.
A digital whiteboard for teachers can be a very versatile and handy tool, so we hope you find the right digital whiteboard tool for your classroom, and seize the opportunity to make your lessons more interactive, creative, efficient, and custom to you and your students. Digital Whiteboards for teachers can be a very versatile tool! Please let us know your favorite whiteboard tool in the comments or ways digital whiteboards have addressed your needs!
