
With Microsoft PowerPoint’s range of presentation options, they also house some powerful photo editing tools. One of those basic image editing tools provides you with the ability to remove the background of an image. This can be helpful during your presentations so that you can direct your audience’s focus to what is important. You can also use this to take certain pieces of an image, layer images, or just to get a simple transparent background.
There is no need for you to go out and subscribe to a photo editing tool that has this feature. Usually, the remove background tool is in the paid versions of these programs. Instead, you can use PowerPoint to edit images for your presentation, or edit a photo and copy and paste it into your current project!
Watch the video to learn how to remove the background of an image in PowerPoint or follow along the steps for 2 Techniques:
- Remove Background with the Set Transparent Color feature
- Remove the Background with the Remove Background feature
Technique 1: Remove Background with ‘Set Transparent Color’
For images with a simple background, like a solid color, we will be using this first technique, which is the fastest and easiest way to remove the background. To use these features, you should be using a version of PowerPoint or Microsoft Office 2007 or newer.
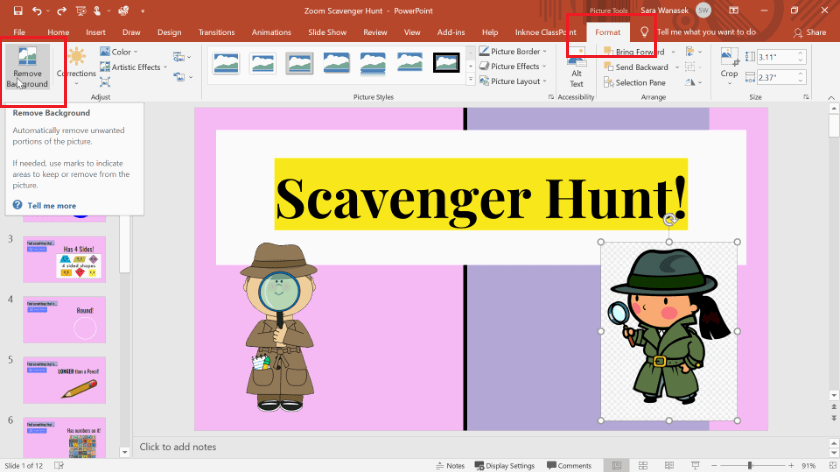
1. Select image
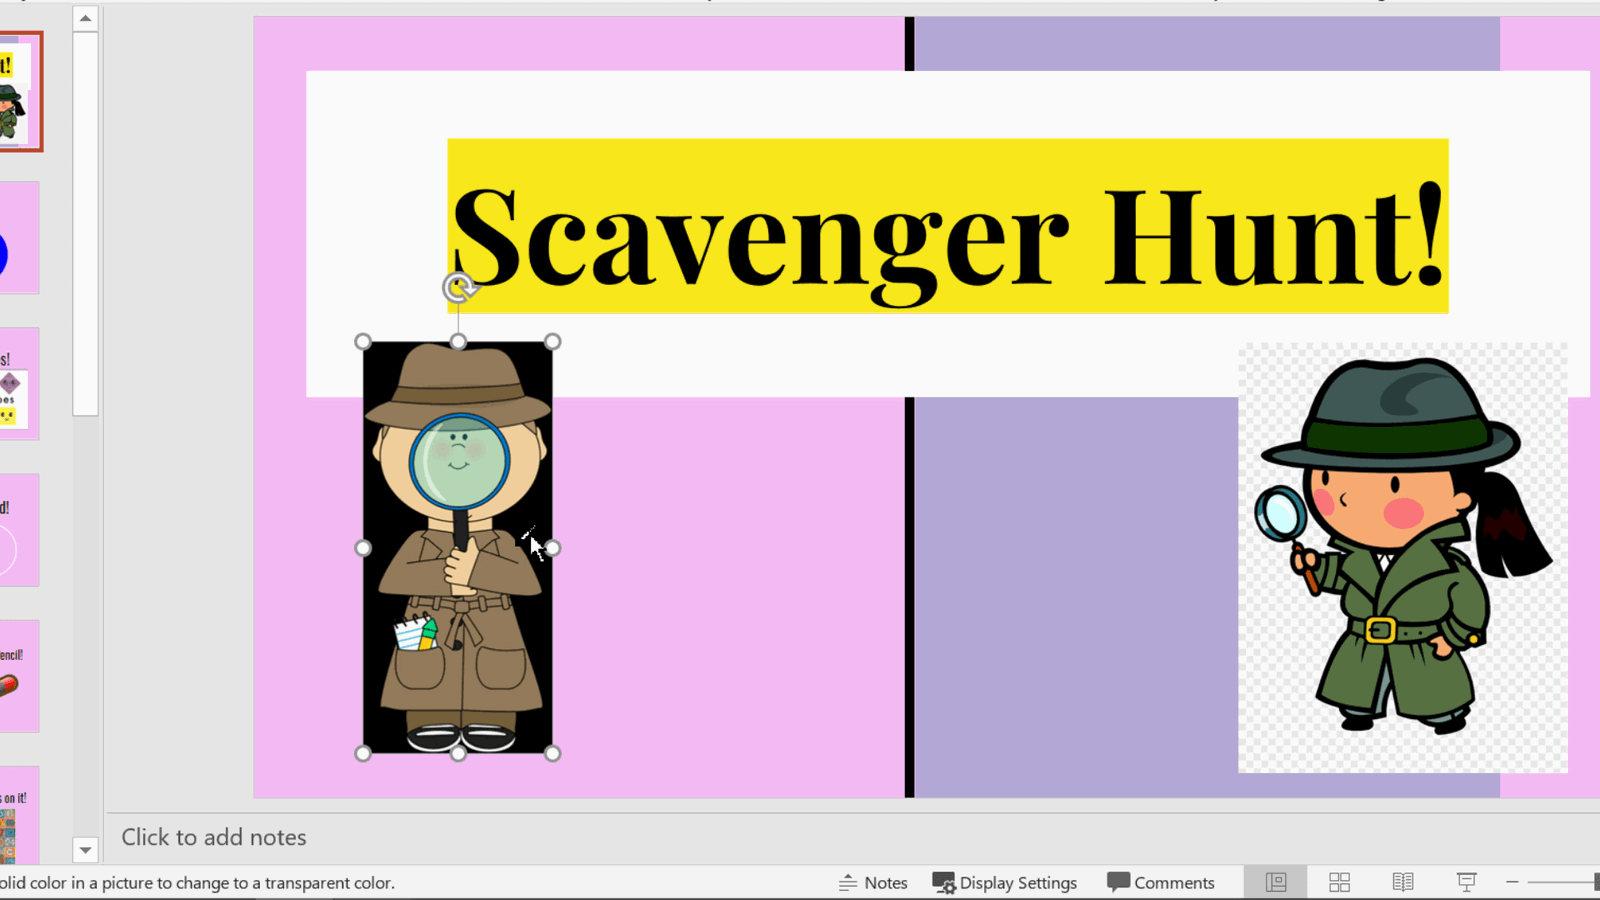
First, click on the image that you want to remove the background on. For this example, I am removing the black background behind the boy detective on the left.
2. Open Picture Format tab in ribbon
After you have clicked on the image, the Picture Tools Format tab will appear on the top PowerPoint ribbon; click on it.

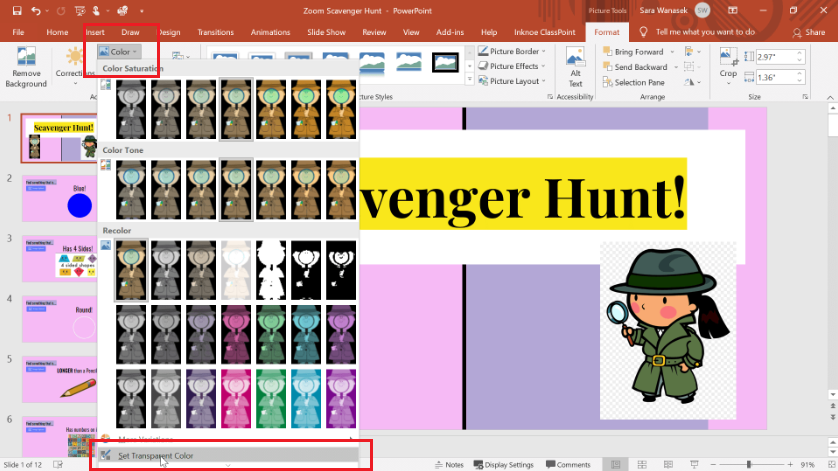
3. Click on Color > Set Transparent Color
Next, click on the Color icon, then the Set Transparent Color option at the bottom of the drop-down menu. Then, your mouse will turn into an eyedropper.
4. Select the background to make transparent
Use the eye dropper to select the color that you want to remove or, in this case set as a transparent color. So for this example, I selected the black background color.
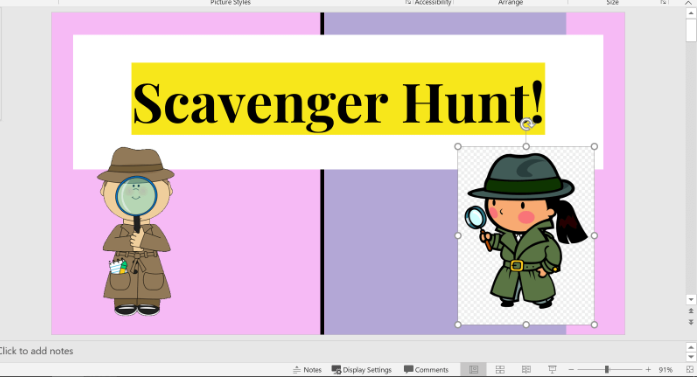
Once the background is selected, the color will be made 100% transparent and disappear leaving the foreground photo without a visible background. How easy!
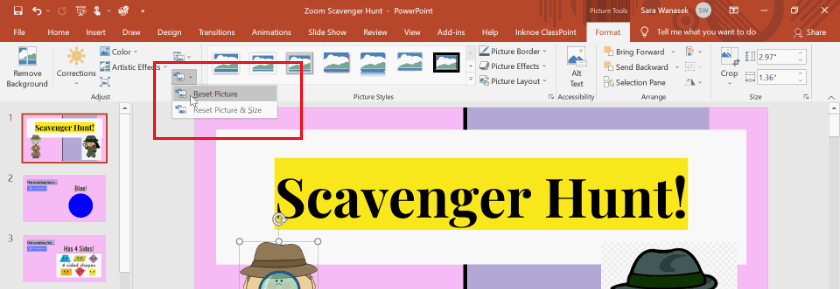
Note: If you need to reset your image, you can click the Reset Picture icon in the Format tab.
Technique 2: Remove Background with the ‘Remove Background’ feature
For images with a more complex background, with different colors or patterns, use the Remove Background feature instead.
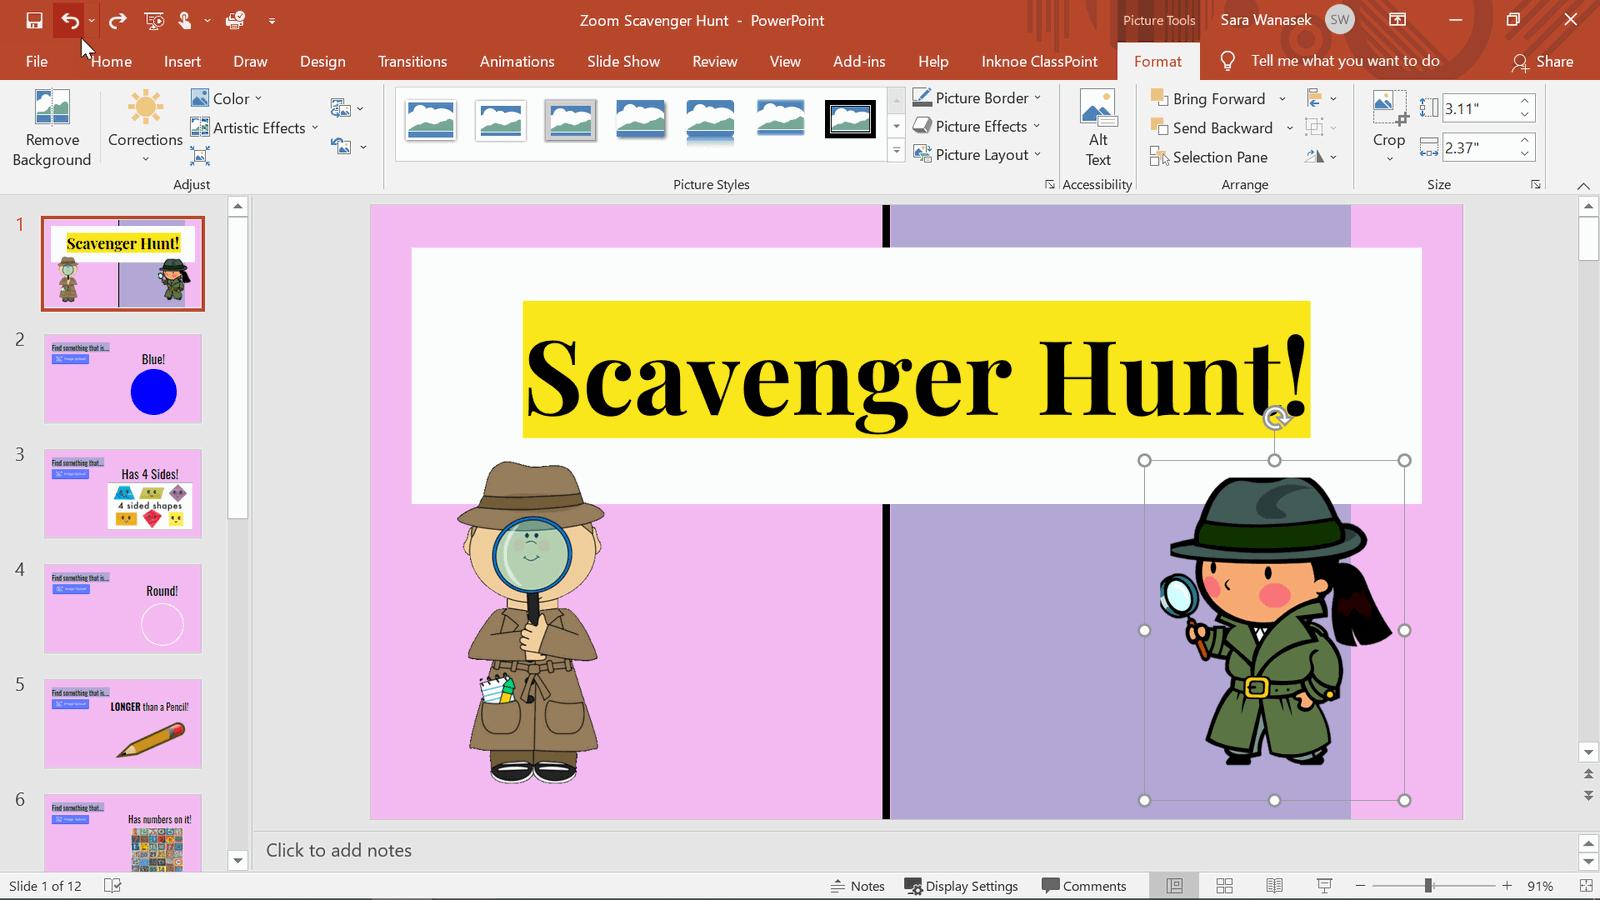
1. Select image
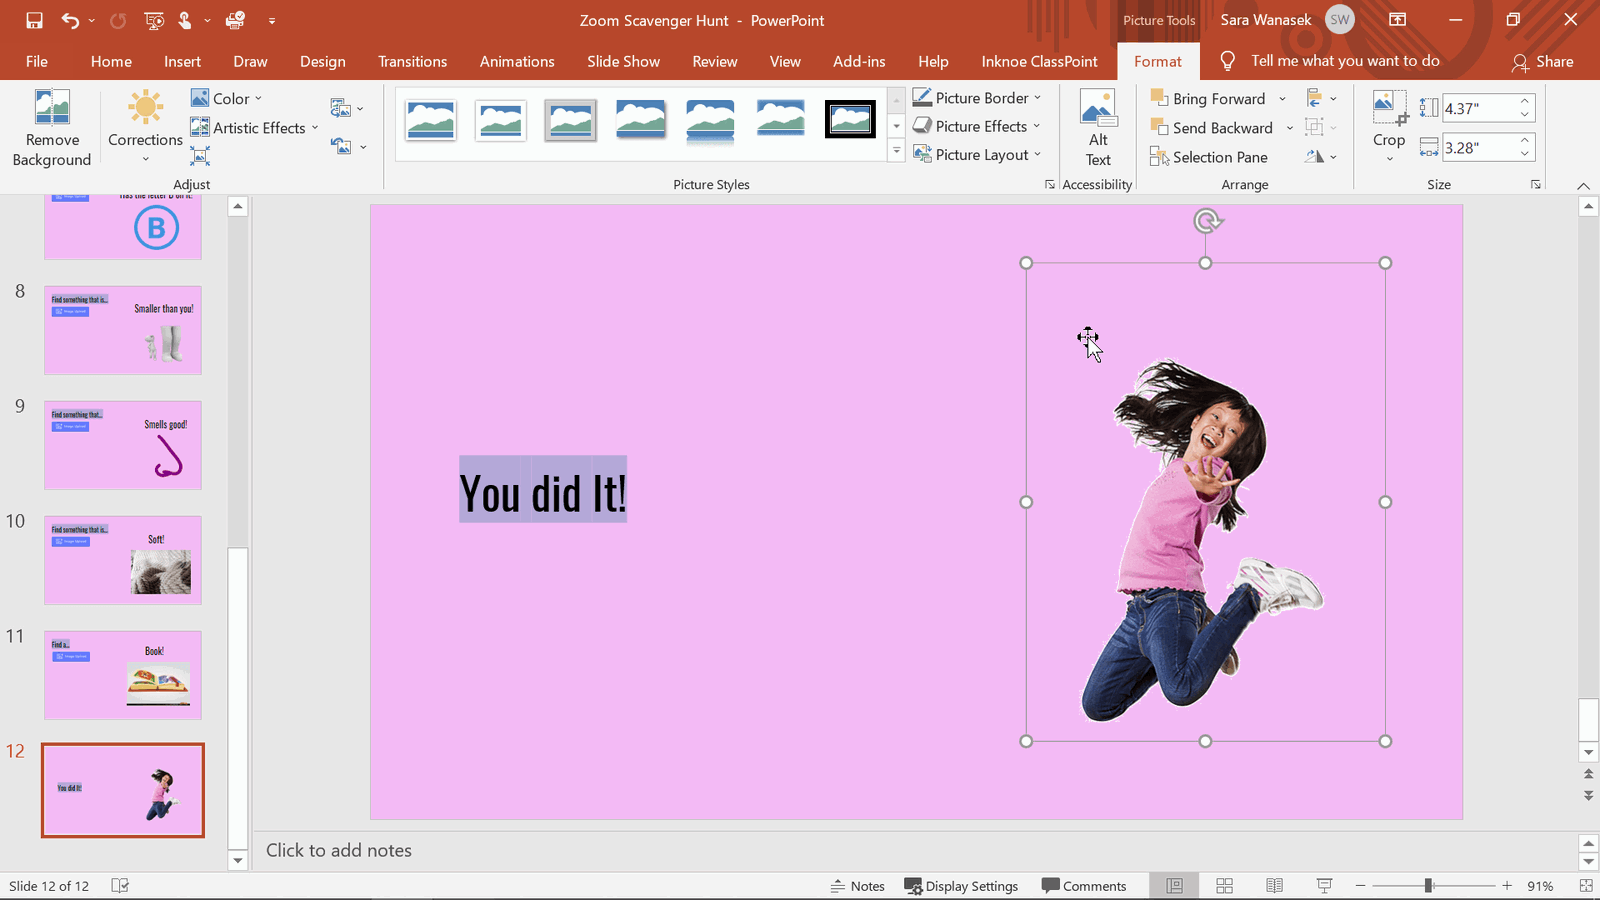
Similar to the first technique, you begin by clicking on the image you’d like to remove the background of. For this example, I am removing the background of the girl detective on the right.
2. Open Picture Format tab in ribbon
Then, open the Picture Tools Format tab that will appear on the top PowerPoint ribbon after you select an image.
3. Click Remove Background
Next, click on the Remove Background icon that is all the way on the left of the ribbon.
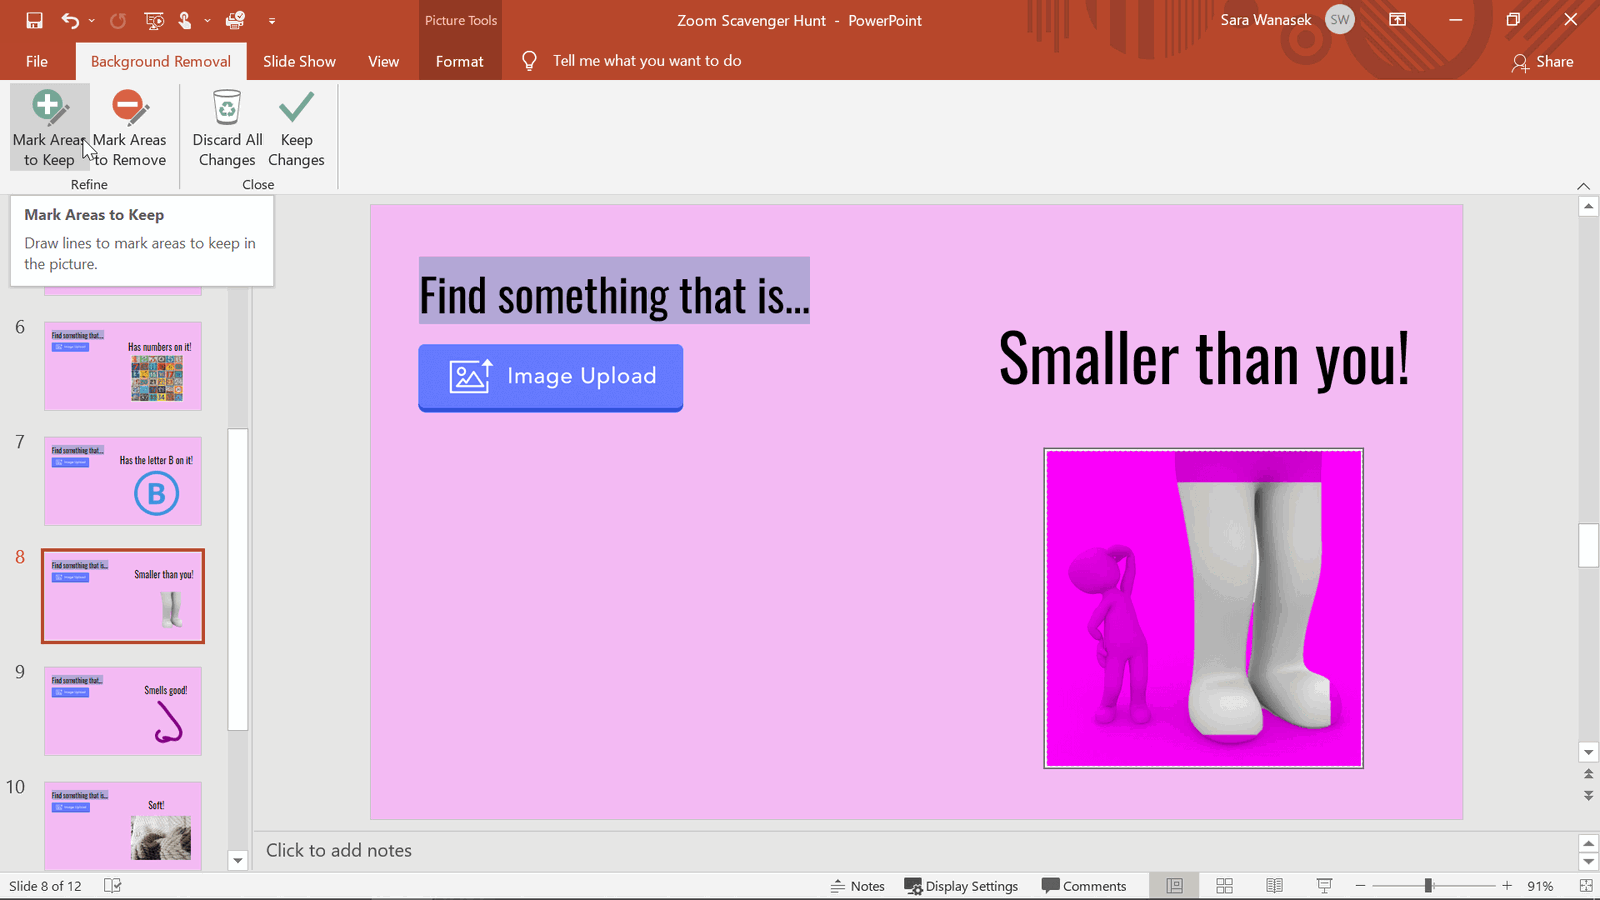
3. Adjust the Mark Areas to Keep
Once you open PowerPoint’s Remove Background tool, you will notice that it auto selects part of your background or image and turns it pink. This is how PowerPoint differentiates which parts of the image to remove and which parts to keep. PowerPoint may not get it right automatically, but no fret! You can use the tools to mark the areas to keep or delete.
Click the Mark Areas to Keep icon, and use the pen to outline the parts of the image you want to keep. Please know that once you make a line, PowerPoint can actually determine the entire portion of the object based on the color and mark the entire part of the object that you want to keep.
If you need to remove any areas of the background that were selected to keep, adjust it with the Mark Areas to Remove.
Continue this process of manually adjusting what parts of your image you’d like keep and which parts you’d like to remove. Remember pink is going to be removed!

4. Keep Changes to remove background
Once your image is looking the way you want, click on Keep Changes.
If you notice some mistakes after, you can always go back into that menu by clicking on Remove Background again. To reset the image here, you can Discard All Changes as well.
Now, you are free to resize, move, and layer your images as you see fit!
If you are interested in making objects draggable during your slide show presentation (yes draggable!) Check out PowerPoint add-in ClassPoint’s draggable slide objects for an interactive presentation!
PowerPoint Limitations
PowerPoint is not a photo editing tool, so there are a few limitations of PowerPoint’s background removal features. Be aware when using these features, for not all images will be as easy as the ones above.
Gradient Images
Neither option works well with gradient images. Because of the different shades of colors, PowerPoint is not exactly sure what parts to remove.
Similar Color Tones
With the shading and similar colors on screen, it makes it difficult for PowerPoint to determine which pieces of the image should be kept or gotten rid of.
Fine Lines
PowerPoint struggles with removing color around fine lines. Not all parts of the image around the edges will be removed.
A Summary of When to Use Which Technique
Technique 1 is fast and effective for simple photos.
Use Technique 1 for the simplest of photos and when you are in a pinch for time.
Technique 2 is best for more complex images.
It also works for a wider variety of images, so if you are unsure which technique to use, this would be the safer option to not waste time in doing them both!
For more PowerPoint Tips and Tricks, check out these articles below!
