
Easily schedule a post in Microsoft Teams in any of the channels in your account. This way, you can stay on top of your to-do list and worry less about getting all the documents out on time. With a few quick steps, you can put posting out of your mind and spend your time on other important tasks! Follow the steps below to get started.
Scheduling a post in Microsoft Teams has been a requested feature for quite a while. While it hasn’t been implemented yet, you can utilize Outlook to still make this happen. To schedule a post in Microsoft Teams you can either use the Outlook desktop application or use the web version of Outlook. They are very similar, but we highlighted the steps for each below.
Schedule with the Outlook Desktop Application
Use this option if your computer will be active until the time you have chosen to schedule the post has passed.
Step 1: Copy Email Address

To begin, in your Microsoft Teams account, decide which channel you will be scheduling a post in. In the side panel, click on the three dots next to the channel name and click “Get Email Address.” Then, copy this address.
Step 2: Create a New Email Message
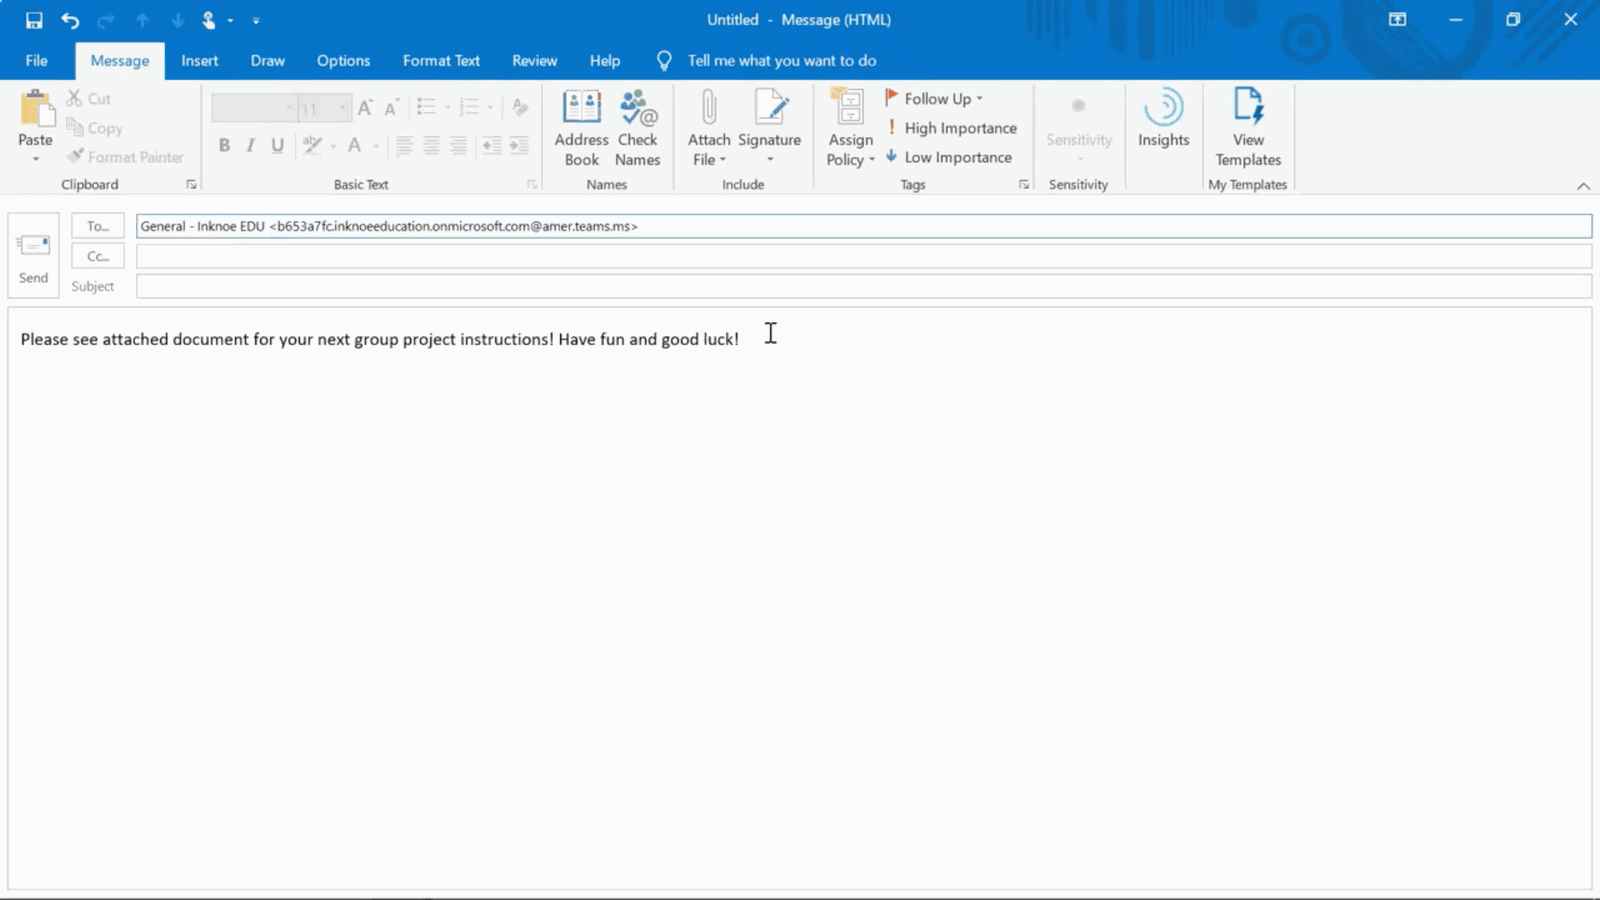
Open up your Outlook desktop application. Create a new message, and in the body of the email, you can type out what you want your post to say. You can even include any files you want to attach to your post for your students to see. Once the message has been completed, paste the channel’s email address from Step 1 in the “To:” field.
Step 3: Delay the Delivery
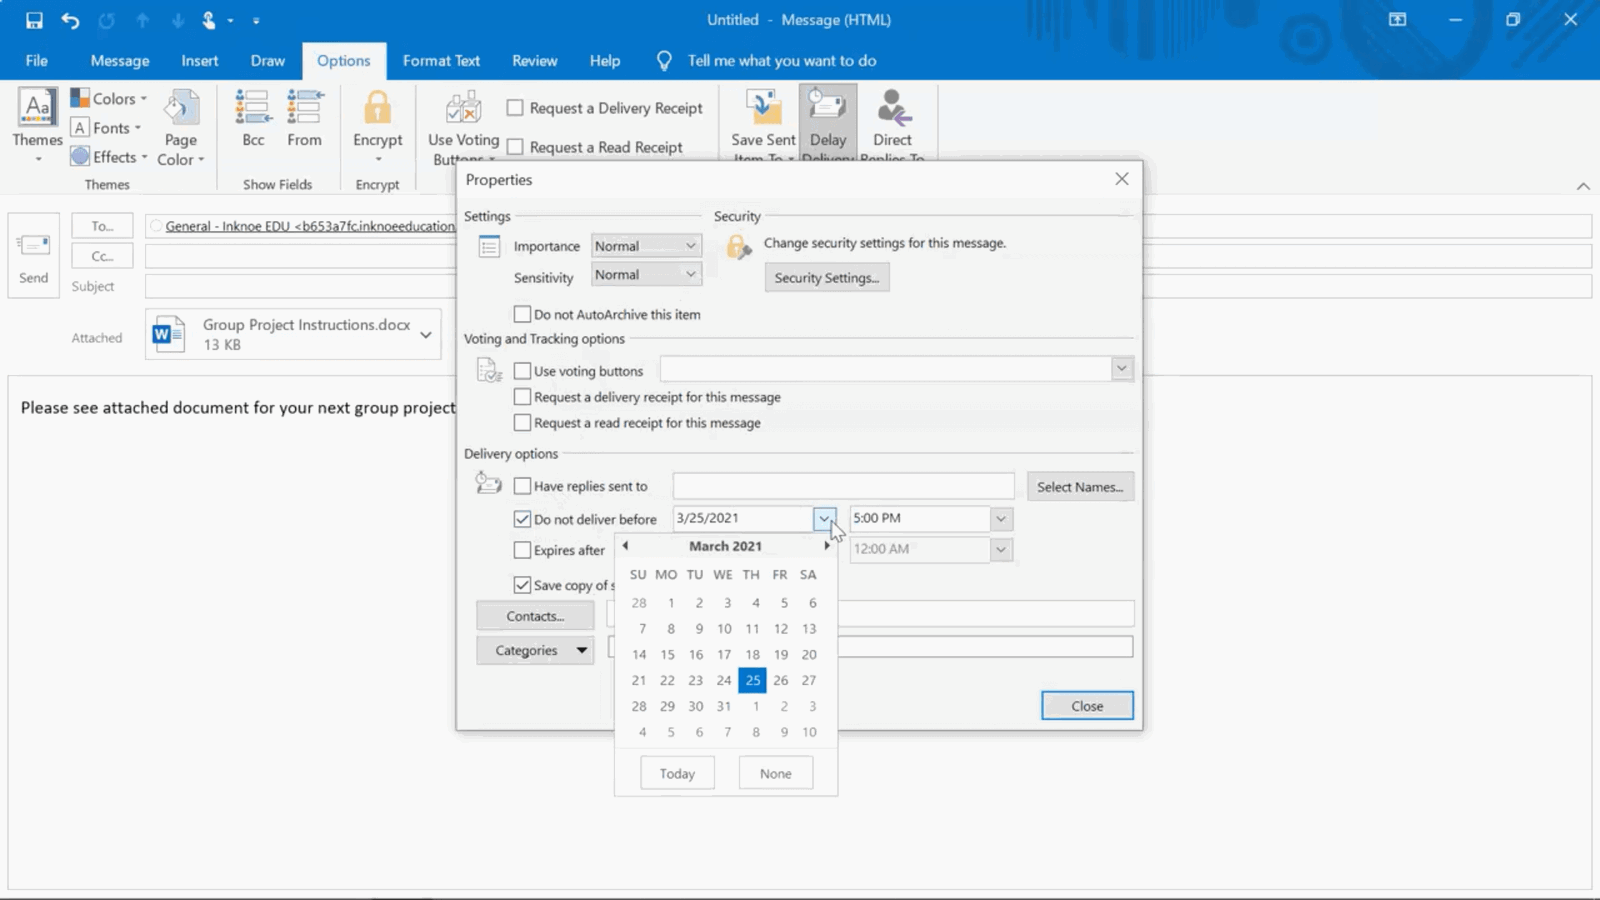
When your message is completed, we can now send it off for the specific time we want it to be posted. To do this, before you hit send, go to the Options tab, and click “Delay delivery.“
Now, edit the section that says “Do not deliver before.” Make the date and time when you want your message to be posted in Teams.
Step 4: Send it off!
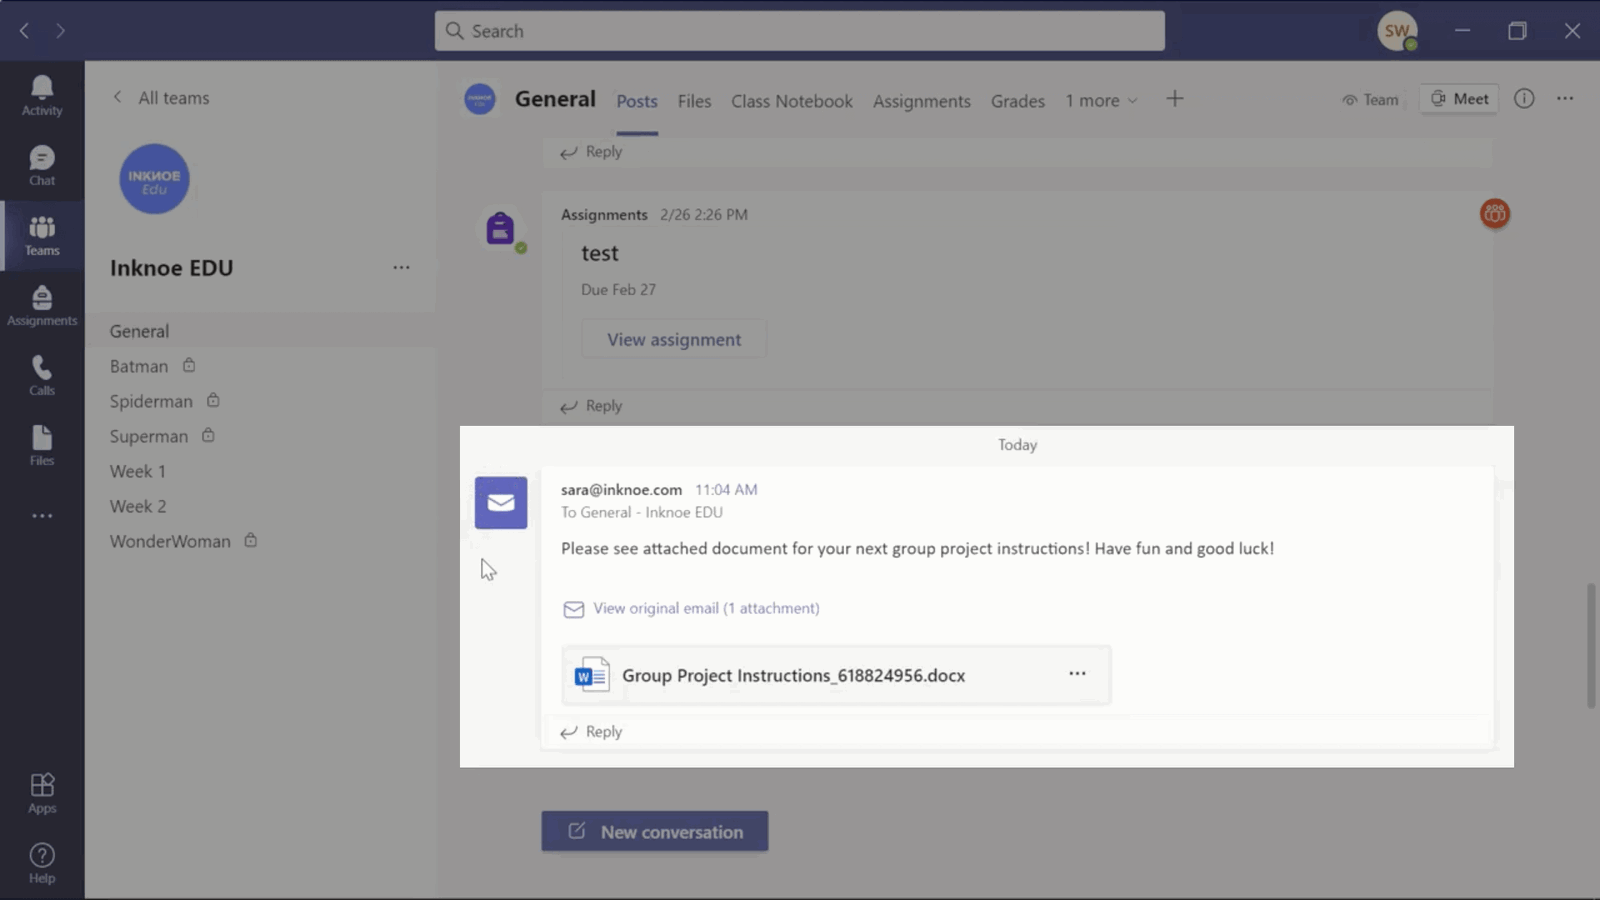
Once you have set the date and time, you can click send. Once the date and time have passed, you will see the message appear in the Teams channel you chose.
PLEASE NOTE: When you do this in Outlook Desktop Application, you must keep the application open until the date and time you chose has passed. Otherwise, your message will not be sent out as you wished.
Schedule with the Outlook Web Application
Very similar to Option 1, except in this version you do not have to keep the web page open for the message to send at the right time.
Step 1: Copy Email Address

In your Microsoft Teams account, decide which channel you will be scheduling a post in. In the side panel, click on the three dots next to the channel name and click “Get Email Address.” Then, copy this address.
Step 2: Create a New Email Message
Create a new message in the Outlook web version (outlook.office.com), and in the body of the email, you can type out what you want your post to say. Include any files or images you want to attach your post for your students to see. Once the message has been completed, paste the channel’s email address from Step 1 in the “To:” field.
Step 3: Send Later
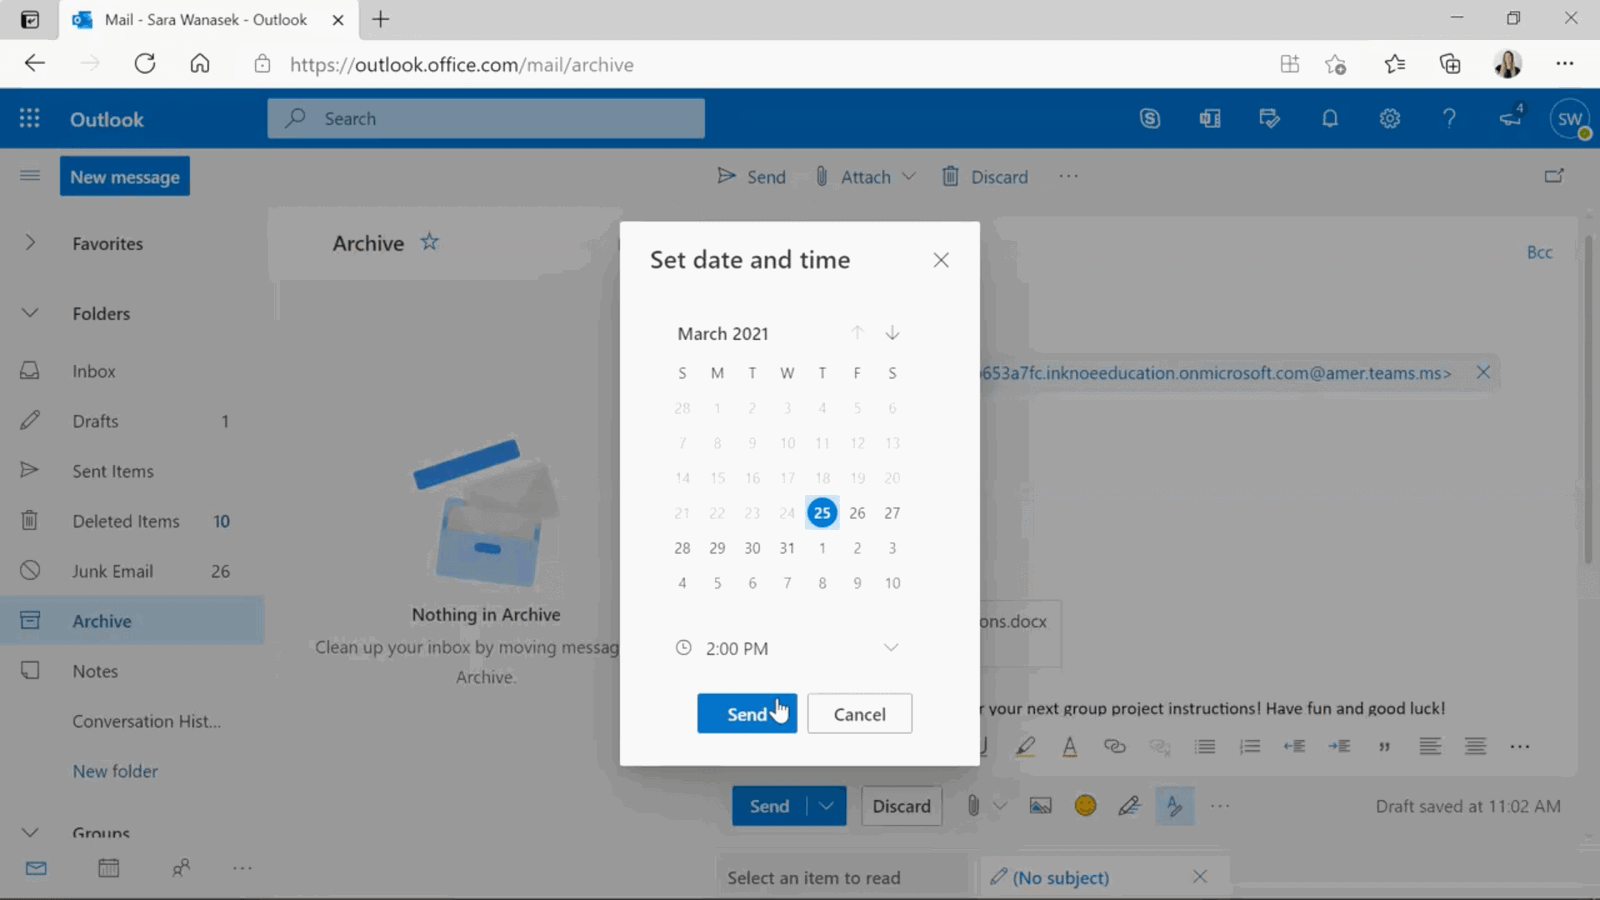
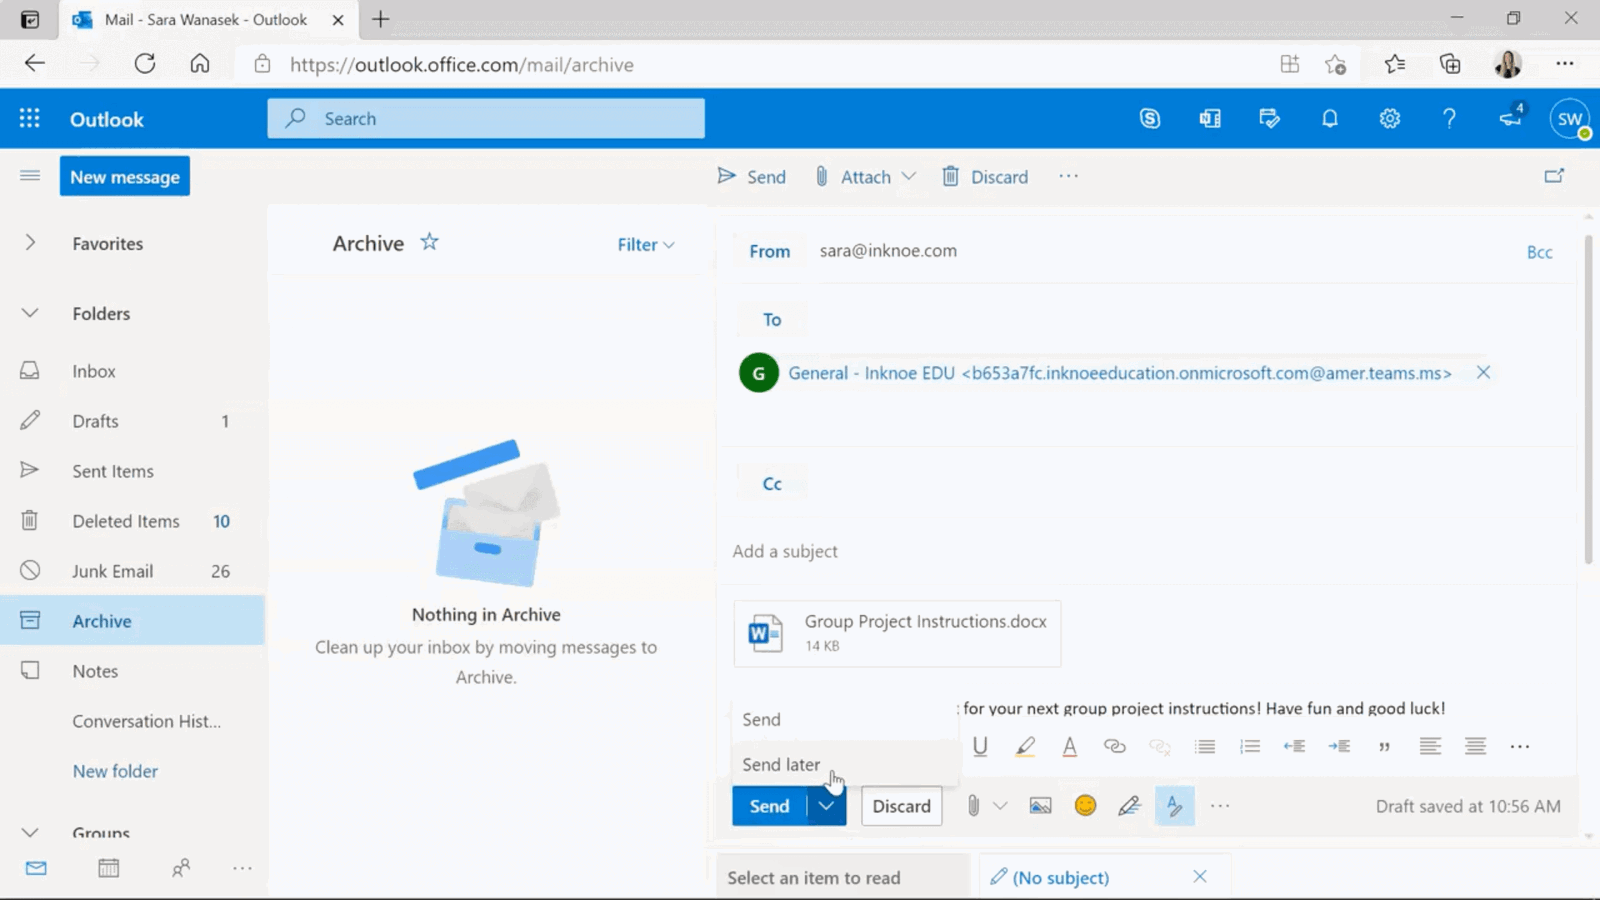
When your message is completed, we can now prepare it to send at a later time. To do this, you will want to click on the down arrow next to the “Send” button and click “Send Later.” Now, you can choose the date and time that you want your message to be posted in Teams. Once the date and time are chosen, just click send later!
Once your date and time have passed, you will see the message posted in your Teams account in the channel you chose.
Optional Step 4: Edit Date and Time Sent
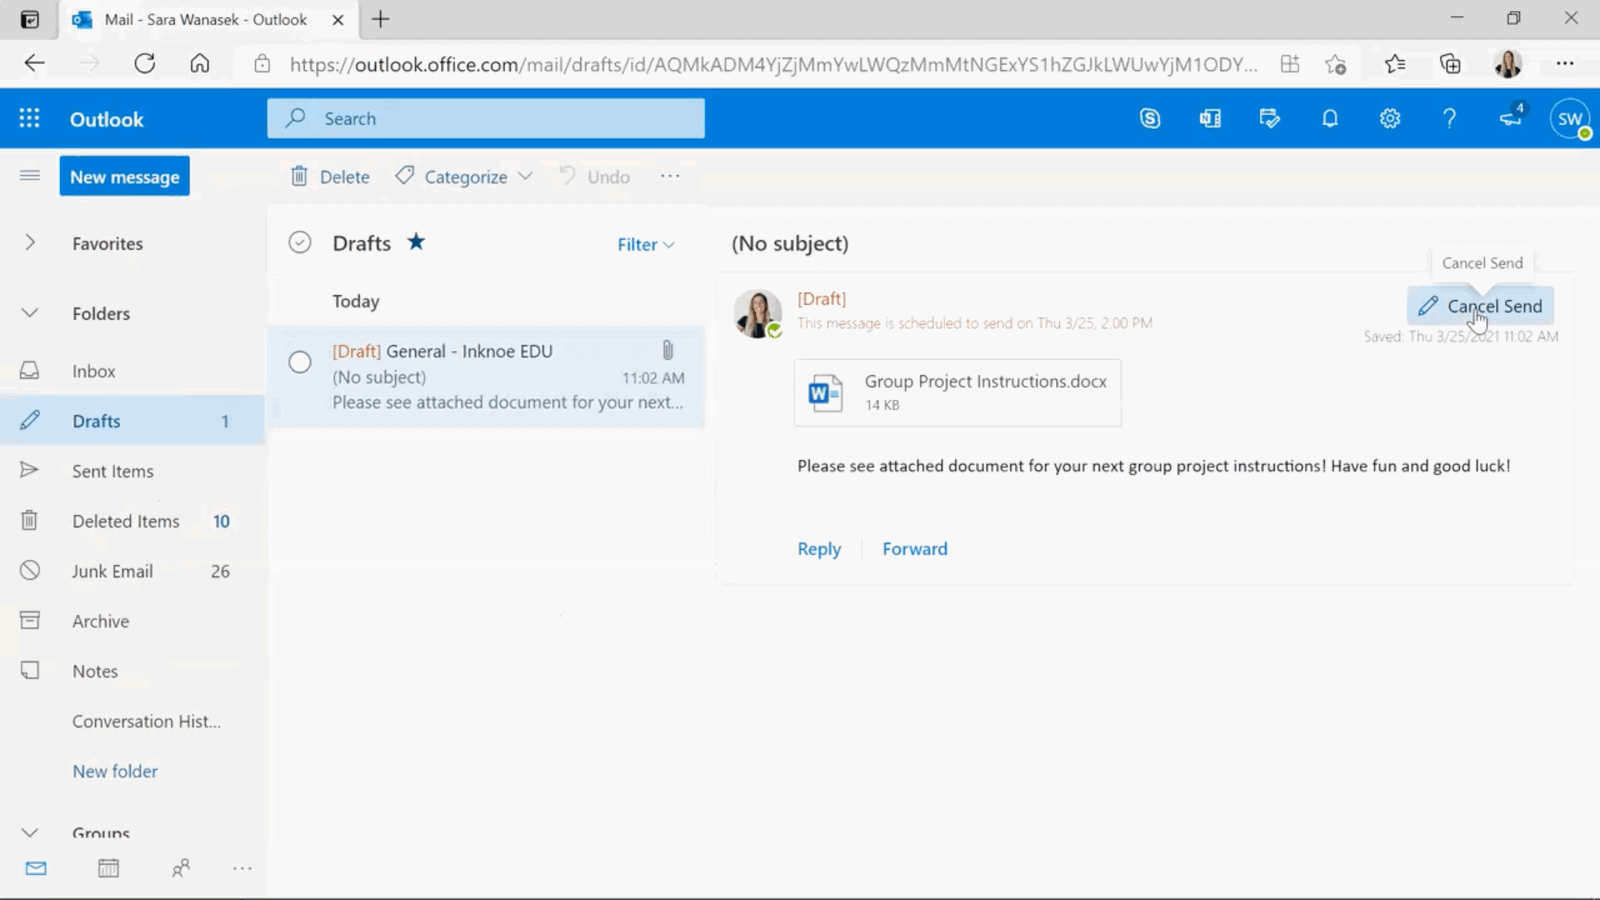
If for any reason, at any point, you need to edit the delivery time and date, you can do so from the Drafts section in your Outlook account. Click “Cancel Send” and then go through the same steps as above to change the date and time.
Hopefully, this has helped you and will save you time in the future! If you want to learn more about Teams, click on the # Topic: Microsoft Teams below!
Also, if you use Microsoft PowerPoint, check out ClassPoint, an all-in-one student-engagement tool that adds a teacher toolbelt including a random name picker, interactive student questions, and a gamified reward system right into PowerPoint. Try out ClassPoint and transform your presentations to be engaging, fun, and student-focused! 👇🏼
