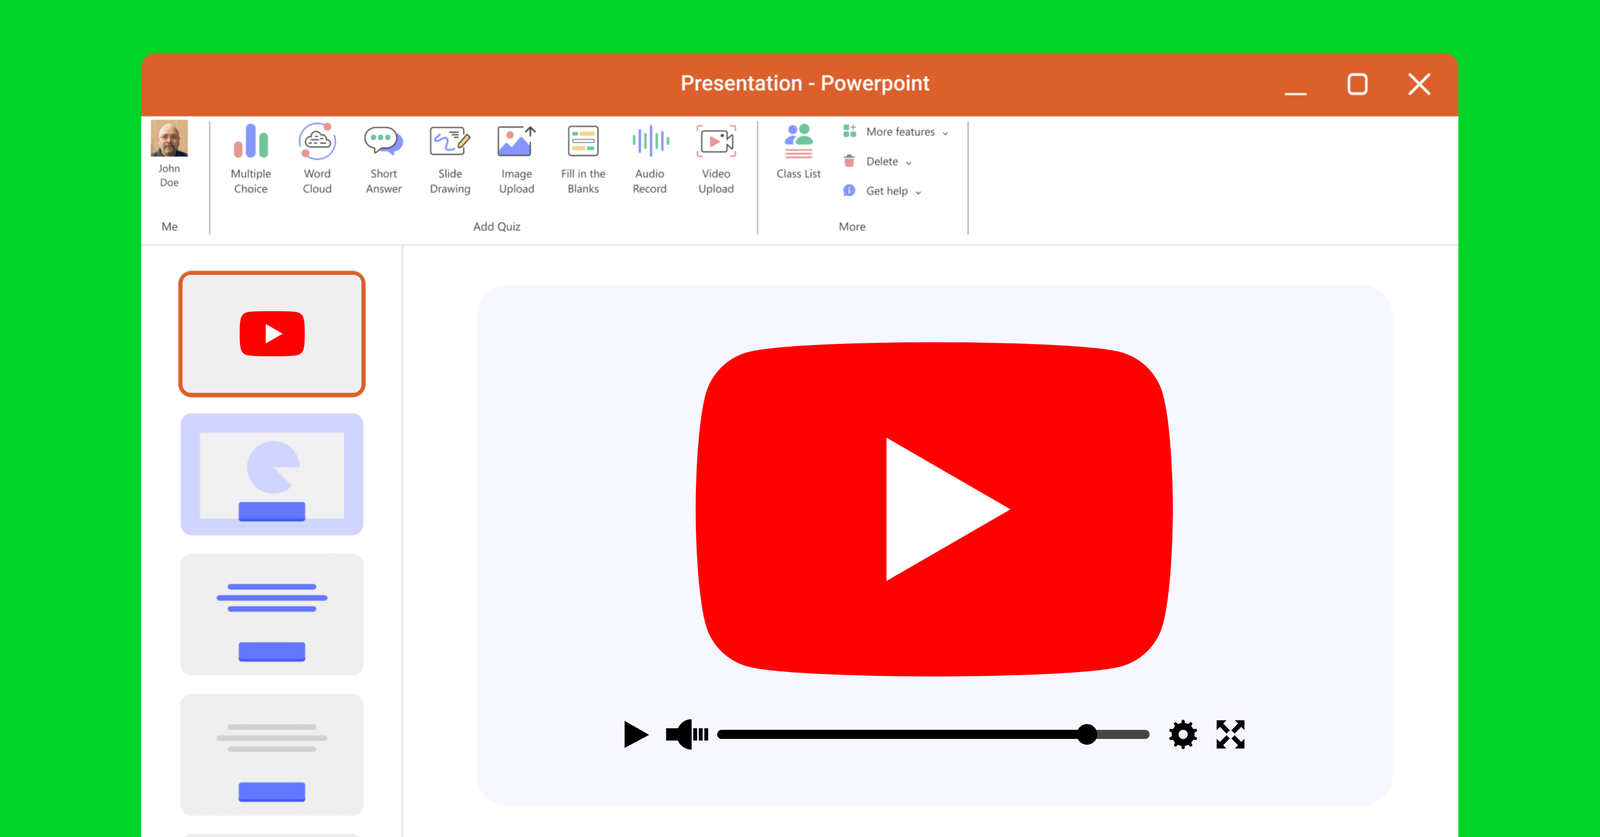
So, you’re putting the finishing touches on your PowerPoint presentation, and you decide to add a YouTube video to drive your point home.
But when it’s showtime, things don’t go as planned. Maybe the video doesn’t load, the link opens awkwardly in a browser, or the whole process feels clunky and unprofessional.
Embedding videos in PowerPoint seem straightforward but you have to know the right method depending on the presentation environment you have.
Are you online at the time of the presentation?
Are you offline?
Or are you looking for something more dynamic?
In this guide, we’ll walk you through six practical methods for mastering how to embed a YouTube video in PowerPoint, along with a bonus hack that will make your presentations stand out!
Speaking about hacks, check out our rundown of 27 Super Hidden PowerPoint Tips and Tricks Only The Pros Know!
1. Embed Online Video (Best for Presentations with Internet Access)
If you have a reliable internet connection during your presentation, embedding an online video is the easiest and most straightforward method.
Steps:
- Go to the Insert tab in PowerPoint and select Video > Online Video/Movie.

- Paste the YouTube video URL (e.g.,
https://www.youtube.com/watch?v=example) into the provided field.

- Click Insert, and the video will appear as a thumbnail on your slide.
- Resize and position the video as needed.
Pros:
- Simple and quick to set up.
- Keeps your PowerPoint file lightweight since the video isn’t stored locally.
- Playback controls (play, pause, volume) are available directly in the slide.
Cons:
- Requires a stable internet connection to play the video.
- If the internet connection is slow or drops, the video may buffer or fail to load.
- Limited offline functionality.
2. Insert Downloaded Video (Ideal for Offline Presentations)
For situations where internet access isn’t guaranteed, downloading the YouTube video and inserting it as a local file ensures smooth playback.
Steps:
- Use a trusted tool like 4K Video Downloader to download the YouTube video in a compatible format (e.g.,
.mp4). - In PowerPoint, go to Insert > Video > Video on My PC / Movie From File and select the downloaded file.
- Resize and position the video on your slide.
Pros:
- No internet connection required during the presentation.
- Full control over playback, even in offline environments.
- Ensures smooth performance regardless of connectivity issues.
Cons:
- The downloaded video can increase the size of your PowerPoint file significantly.
- You must ensure compliance with YouTube’s terms of service when downloading videos.
- Requires additional steps to download and format the video.
3. Hyperlinked Video (For Weightless Videos)
If you don’t want to embed the video directly into PowerPoint, linking to the YouTube video is a lightweight alternative. This method opens the video in your default web browser.
Steps:
- Copy the YouTube video URL.
- In PowerPoint, select a text box, shape, or image, and go to the Insert tab.
- Then, go to Link and paste the YouTube URL to the address field.
- During the presentation, click the linked object to open the video in your browser.

Pros:
- Keeps your PowerPoint file small and lightweight.
- Quick and easy to set up—just paste the URL.
- No need to embed or download the video.
Cons:
- Requires switching between PowerPoint and your web browser, which can disrupt the flow of your presentation.
- An active internet connection is necessary unless the video is preloaded in the browser cache.
- Less polished compared to embedded videos.
4. Screen Recording (Offers Full Control)
If you need more control over the video playback or want to include only specific portions of the video, screen recording is a great option.
Steps:
- Use PowerPoint’s built-in Screen Recording feature (only available in newer versions) or third-party tools like OBS Studio or Snagit.
- Record the YouTube video while it plays in your browser.
- Save the recording as a video file (e.g.,
.mp4) and insert it into PowerPoint using Insert > Video > Video on My PC / Movie From File.
Pros:
- Full control over playback, including edits, annotations, or trimming specific portions of the video.
- No reliance on internet connectivity during the presentation.
- Allows you to focus only on the parts of the video that are relevant to your presentation.
Cons:
- More time-consuming to set up compared to other methods.
- Requires additional tools (e.g., OBS Studio, Snagit, or PowerPoint’s built-in screen recorder).
- May result in larger file sizes depending on the length and quality of the recording.
5. Embed an Entire Playlist (Great for Multiple Videos in One Presentation)
If your presentation involves multiple YouTube videos, embedding a playlist keeps everything organized and streamlined.
Steps:
- Create a YouTube playlist with the videos you want to include.
- Copy the playlist URL (e.g.,
https://www.youtube.com/playlist?list=...). - Follow the same steps for embedding an online video in PowerPoint, but paste the playlist URL instead of a single video URL.
- To access the playlist, click on the playlist icon by the upper-right portion of the embedded video.

- Conveniently browse thru and stream multiple videos during your presentation

Pros:
- Simplifies the process of presenting multiple videos in sequence.
- Keeps your slides clean and professional by avoiding clutter from multiple embedded videos.
- Ideal for workshops, tutorials, or presentations with sequential content.
Cons:
- Requires an internet connection to stream the playlist.
- Limited control over individual video playback (e.g., skipping or pausing specific videos).
- If one video in the playlist fails to load, it may disrupt the entire presentation.
6. Stream via PowerPoint Browser (Bonus Hack!)
If you want to present a YouTube video in PowerPoint uniquely, using ClassPoint’s Embedded Browser will (for sure) be a hack that only you will know in the room. This feature allows you to browse the web directly within PowerPoint during slideshow mode without the need to switch between applications.
But, what is ClassPoint?
ClassPoint is a Microsoft PowerPoint add-in built to bring interactivity to presentations and give presenters access to tools that make any slide show dynamic and different.
One such tool is the Embedded Browser feature, which functions like a regular web browser but is accessible directly in PowerPoint slide show mode. This means you can browse YouTube (or any website) live during your presentation without leaving PowerPoint.

Steps:
- Install the ClassPoint add-in from the official ClassPoint website.
- Open PowerPoint and enable slideshow mode.
- During slideshow mode, click the Embedded Browser icon in the special ClassPoint toolbar located at the bottom of your slideshow screen.

- Go to YouTube and play any desired video directly within the slide show.

Why This Hack Stands Out:
- Unique Edge: While others might struggle with switching apps or dealing with broken links, you’ll effortlessly stream videos right from your slides.
- Professional Polish: The seamless integration of the browser into your presentation creates a smooth, uninterrupted flow that impresses your audience.
- Real-Time Flexibility: Forgot to embed a video? No problem! With ClassPoint, you can pull up any YouTube video on the fly, as if it’s just part of your presentation flow!
Pros:
- No need to switch between PowerPoint and a web browser—everything happens within the presentation.
- Real-time browsing allows you to search for and play videos on the fly.
- Professional and polished look, as the transition between slides and the browser is seamless.
- Works with any online content, not just YouTube.
Cons:
- Requires an active internet connection to stream videos.
FAQs on How to Embed a YouTube Video in PowerPoint
How do I troubleshoot issues when embedding a YouTube video in PowerPoint?
Embedding a YouTube video in PowerPoint can sometimes lead to playback issues, especially if you’re relying on an internet connection. To troubleshoot:
– Ensure your internet connection is stable during the presentation.
– Double-check that the YouTube link is correct and accessible (not restricted or private).
– Update PowerPoint to the latest version for better compatibility with online videos.
– If all else fails, consider downloading the video and inserting it as a local file for offline use.
What are the best practices for embedding a YouTube video in PowerPoint?
When embedding a YouTube video in PowerPoint, keep these best practices in mind:
– Test the video beforehand to ensure it plays correctly.
– Resize and position the video so it fits seamlessly into your slide design.
– Use smooth transitions between slides to maintain a professional flow.
– Always have a backup plan, such as a downloaded version of the video, in case of technical issues.
How to embed a YouTube video in PowerPoint for maximum impact?
To make the most of embedding a YouTube video in PowerPoint, focus on timing and context. Introduce the video with a brief explanation or question to engage your audience, and use animations or transitions to create a seamless flow between your content and the video. Additionally, ensure the video is relevant and enhances your key message rather than distracting from it.
Are there tools to enhance embedding a YouTube video in PowerPoint?
Yes, tools like ClassPoint’s Embedded Browser take embedding a YouTube video in PowerPoint to the next level. With this feature, you can browse and stream YouTube videos live during your presentation without leaving PowerPoint. This eliminates the need to switch between applications and keeps your presentation polished and professional.
Can I edit or trim a YouTube video before embedding it in PowerPoint?
While PowerPoint doesn’t offer built-in editing tools for YouTube videos, you can use screen recording software to capture and trim specific portions of the video. Once recorded, save the file and insert it into PowerPoint as a local video. This allows you to include only the most relevant parts of the YouTube video in PowerPoint.
Why isn’t my embedded YouTube video playing in PowerPoint?
If your embedded YouTube video isn’t playing, it could be due to several reasons:
– Your internet connection may be unstable or unavailable.
– The YouTube link may be incorrect, expired, or restricted.
– PowerPoint may not be updated to support online video embedding.
– Playback controls may not work properly if the video is set to private or unlisted. To resolve this, test the video beforehand and consider downloading it as a backup.
